Remote Backup: Rsync
Please review the list of prerequisites for a backup to an rsync-compatible server before following the instructions:
- The rsync-compatible NAS must be connected to a network, local or offsite.
- Your rsync-compatible NAS may require a unique username and password to act as a backup destination. Review the user manuals for your rsync-compatible NAS and router.
- Local network: you must have the name or IP address of the rsync-compatible NAS.
- Offsite: you must have its public IP address. You can find the public IP address by visiting http://www.whatismyip.com/ or by accessing your router's management software. When searching for the public IP address, use a computer connected to the same router as the destination NAS. For further information, review the user manual for the offsite network router or contact your internet service provider. An explanation of IP addressing is available at http://en.wikipedia.org/wiki/IP_address.
- Offsite: you may need to open ports using your router's management software. Review the user manuals for your rsync-compatible NAS and router.
Adding an rsync backup
- Go to Dashboard > Backup.
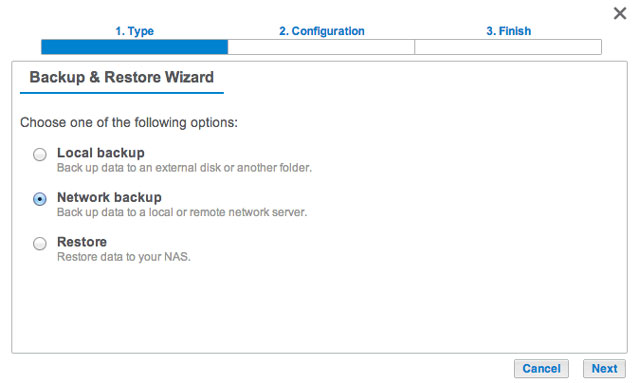
- Choose Add backup to launch the Backup & Restore Wizard.
- Select Network backup and choose Next.
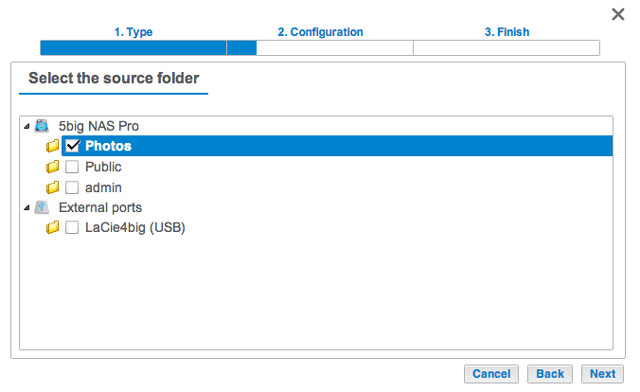
- Select the share(s) you want to back up and choose Next.
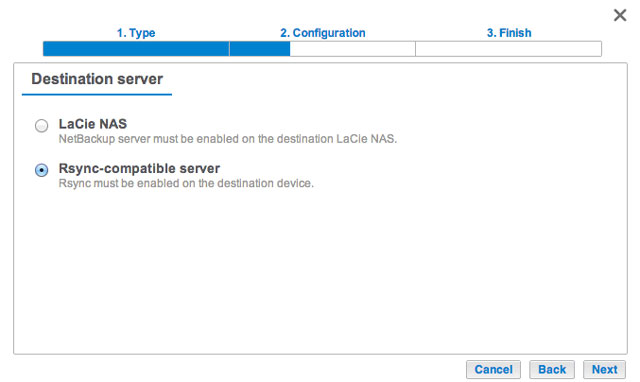
- Select Rsync-compatible server and choose Next.
- Local network: enter the destination NAS's name or IP address. Offsite network: enter the destination NAS's public IP address. If you do not know the public address for the destination NAS, please refer to the offsite network router's documentation or contact the internet service provider. Choose Next to continue.
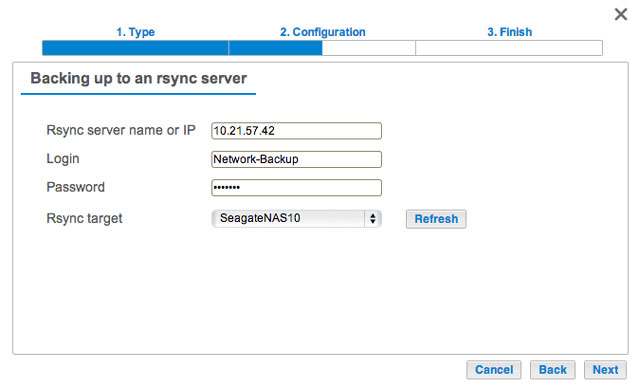
- Enter the login and password for the rsync-compatible NAS (see the rsync-compatible NAS's documentation for details on creating a login and password for network backups). If the destination NAS cannot be found, please make certain that:
- It is powered on and out of sleep mode.
- The proper IP address has been entered.
- The Advanced parameters window lists four options for your backup job. See the explanations below. It is not mandatory to select one or more of the parameters to continue with the backup:
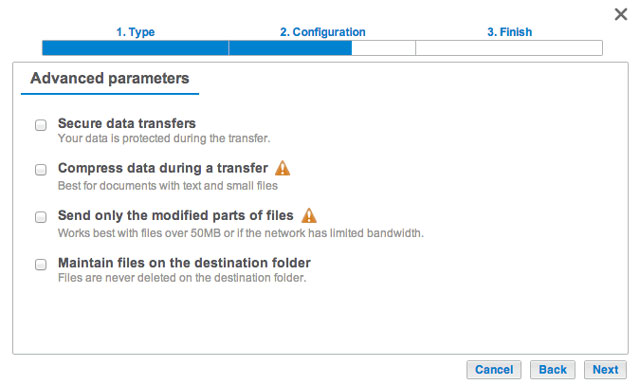
- Secure data transfers uses encryption during the data transfer. The data is not encrypted once it is stored on the destination NAS. This option is ideal for offsite backups.
- Compressing data optimizes data transmission rates. Data is compressed during the transfer only. While this option is good for low bandwidth networks, it can affect the NAS's performance.
- Sending modified parts of files is best used with backups that include files larger than 50MB. For example, if you edit a document that has already been backed up, only the edits will be copied during the next backup. This option can affect the NAS's performance.
- Maintain files on the destination folder keeps files on the destination NAS even if they are deleted from the original NAS's source folder.
- Choose Next.
- Set the frequency for the backup.
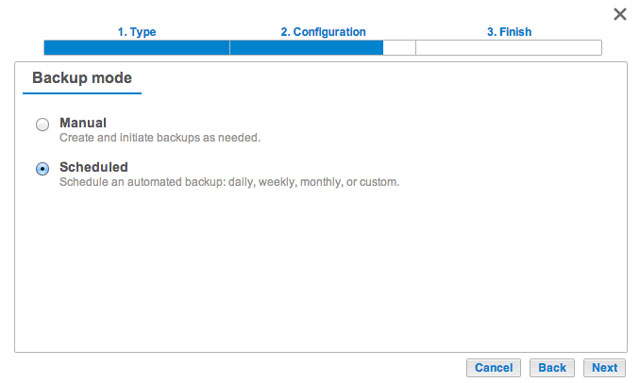
- Manual: You must initiate the backup. See the note below.
- Scheduled: The backup will begin at the scheduled time.
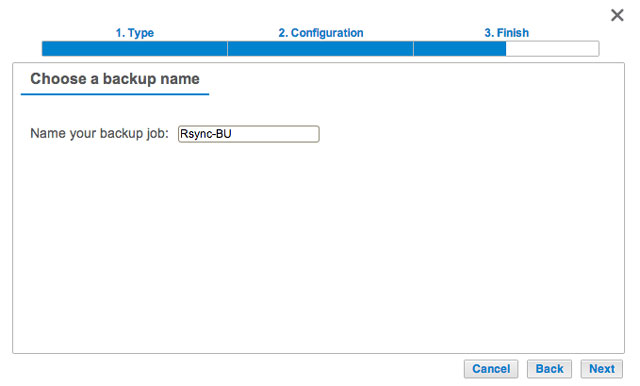
- Enter a name for the backup job then choose Next.
- Confirm the backup settings on the Summary page. If you wish to begin the backup immediately, keep the box checked below the summary and choose Finish.
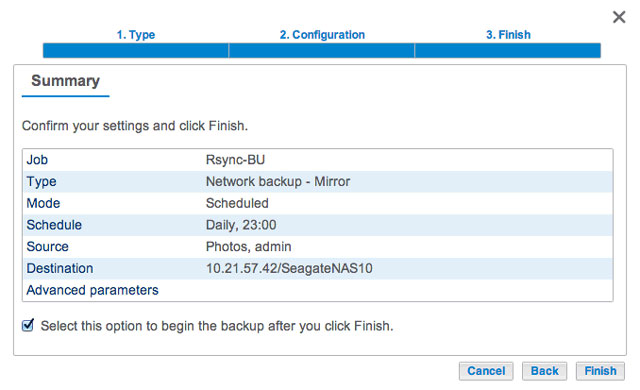


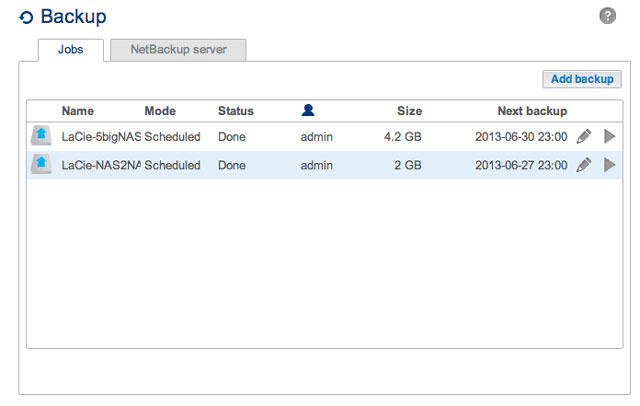
The Backup job will appear on the Backup page.

Note on Manual Backups: A manual backup must be started by the administrator:
- Go to Dashboard > Backup.
- Locate the manual backup job you wish to start then click on its grey arrow icon on the far right.