User Tools
Site Tools
Technical Brief: Getting Started
User Manuals Print page
 Save page as PDF
Table of Contents


Table of Contents
Shared Folders
Important info on Windows Default Shares: For optimal server performance, the system partition should not be used to store data. Therefore, the pre-configured RAID includes a Data (D:) partition with greater storage capacity than the System volume. However, the Windows operating system places its default shared volumes (Shares) on the System (C:) volume. For ease of use and superior operation, LaCie highly recommends that you move the default Shares to the Data partition before using the server to store data.
Create Shared Folders (“shares”) on your LaCie professional server so that users on the network may access data. Naming shares can help administrators organize data by department, subject, or user. Once created, the administrator decides who can have access to the data within the share. Access is divided into three categories: no access, read only, and read/write. A Shared Folder will appear as network storage to the user.
Your LaCie professional server Dashboard will help you create shares compatible with Windows workstations via an intuitive setup wizard. For a more in-depth explanation of Shared Folders, please read the Technical Brief: Shared Folders. The Technical Brief: Shared Folders is especially helpful to administrators who must create Shared Folders compatible with NFS for Linux workstations.
Partitions
Your LaCie professional server has a large storage capacity to hold your company's data. For your convenience, the storage is preconfigured for use out of the box. The three default partitions on the 4big Office are: Windows (C: drive), Data1 (D: drive), and Data2 (E: drive).


Note on Partitions/RAID: For more detailed information on the partition and RAID configurations of your LaCie professional server, please read the Technical Brief: 4big Rack Office RAID. You will find an explanation of the RAID levels as well as instructions on how to format, configure, and repair the disks. The Technical Brief: 4big Rack Office RAID is especially helpful to administrators who wish to resize the partitions for use with the Windows backup wizard (see Backup).
Shared Folders and Partitions
The Windows (C: drive) partition is reserved for the Windows operating system. Therefore, it is recommended that you do not store any Shared Folders on the C: drive since it may affect the server's performance.

Refer to the table below for details on how the RAID is configured on the 4big Rack Office. Please note:
- The Data1 (D: drive) has the greatest capacity which makes it ideal for your Shared Folders.
- The Data2 (E: drive) may be used for a page file to enhance server performance as well as a limited amount of Shared Folders.
| Volume | Disks and RAID Level | Usage | Notes |
|---|---|---|---|
| Windows (C: drive) | 2 Disks Mirror (RAID 1) | Server performance is optimized when the operating system is run from a dedicated volume. Storing data on the system volume will impact server performance. Page file* (optional) | A Mirror offers redundancy, duplicating each file on the two disks that make up the volume. If one disk should fail, the system data will be available on its mirrored drive. |
| Data1 (D: drive) | 4 Disks RAID 5 | The Data1 volume should be used to create Shared Folders for data. | RAID 5 requires three or more disks. RAID 5 offers improved storage capacity. While mirroring has an overhead of 50% storage capacity due to file duplication, RAID 5 parity on a server with four disks has approximately 25% overhead. This means that close to 75% of the total capacity is available for storing data. (NOTE: Overhead refers to the parity control data that will require storage capacity. In this case, 25% of the total RAID 5 storage capacity will be used for parity data.) |
| Data2 (E: drive) | 2 Disks Mirror (RAID 1) | The Data2 volume can be used for the page file* (optional) and to host a limited amount of Shared Folders. Write the page* file to this volume to extend the server's physical memory. | If one disk should fail, the data will be available on its mirrored drive. |
*A page file is used by the Windows operating system to temporarily increase the available memory. It can be created on the Windows volume or the Data2 volume.
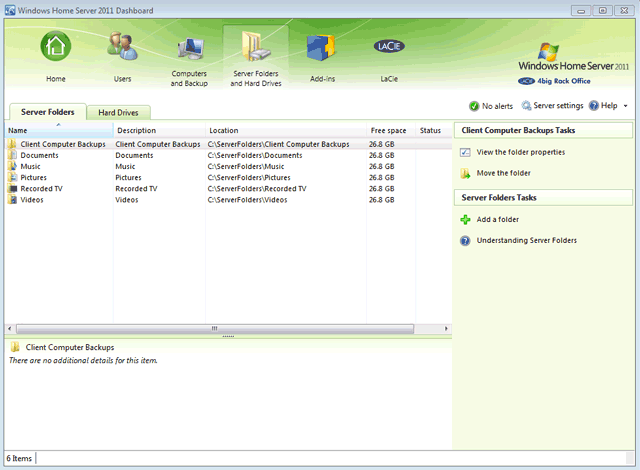
Default Shared Folders
A LaCie professional server includes the following Shared Folders by default:
- Client Computer Backups
- Documents
- Music
- Pictures
- Recorded TV
- Videos

Moving the Default Shared Folders
Note: The steps below may be used to move any Shared Folder.
The default Shared Folders will first appear on the Windows (C: drive) partition.

Due to the potential constraints this may cause on the server's performance, LaCie highly recommends that you move all default Shared Folders from the Windows (C: drive) partition to the Data1 (D: drive) partition.
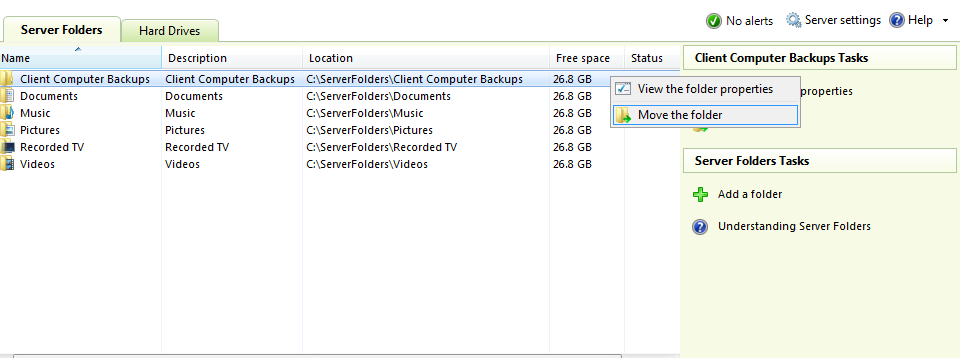
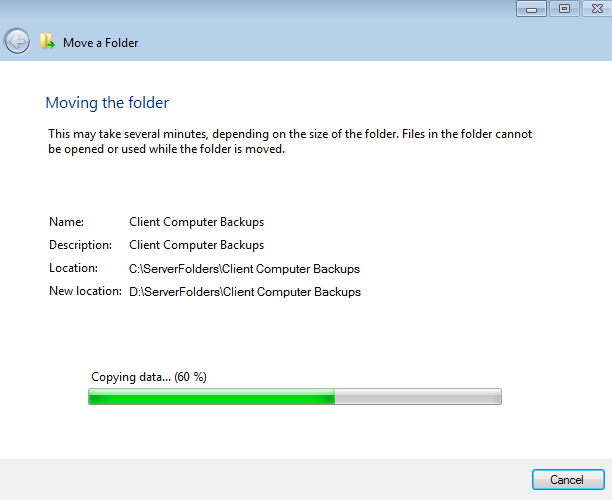
- Right click on the Shared Folder to select Move the folder. In this example, we will move the Shared Folder Client Computer Backups.
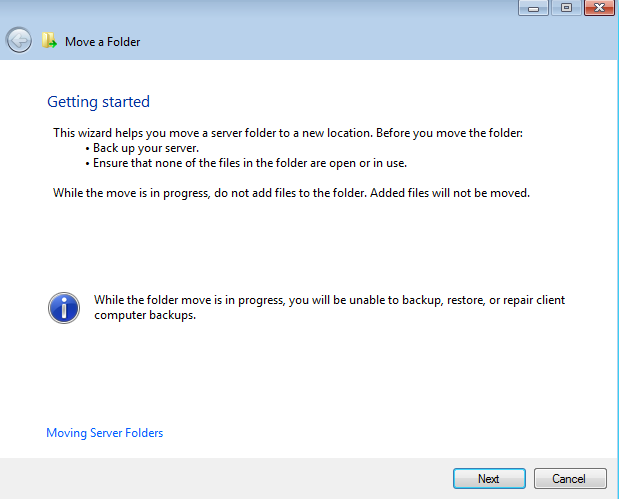
- Read the Getting Started page and click Next to continue.
- Choose the Data1 (D: drive) partition then click Next.

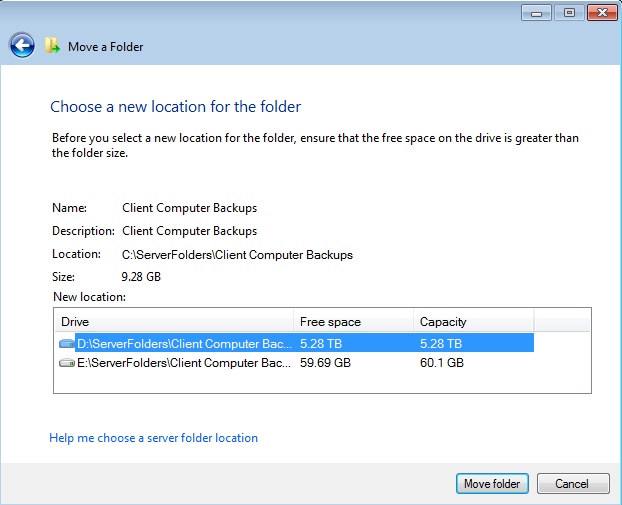
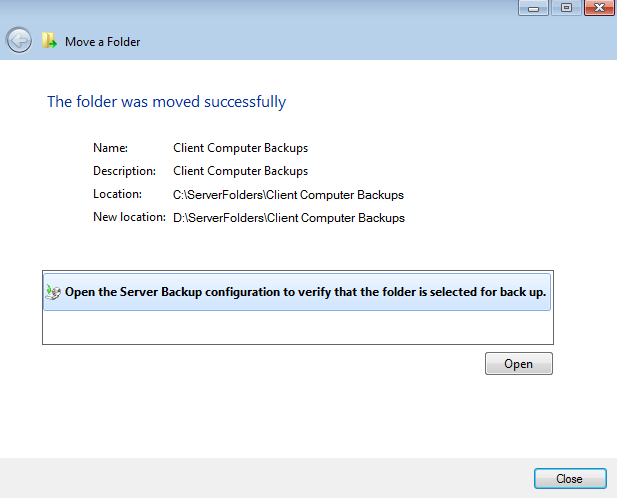
- The move may take time depending upon the amount of data on the Shared Folder.
- Click Close to exit.


Repeat the steps for each Shared Folder on the Windows (C: drive) until they are all on the Data1 (D: drive).

Create, Delete, or Modify Shared Folders
Create a Shared Folder
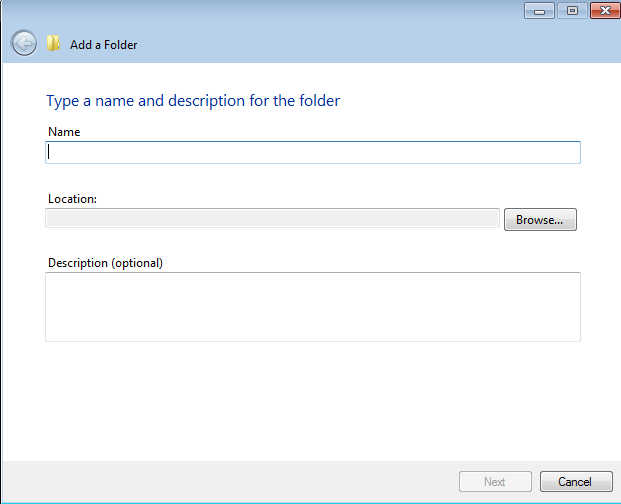
- Click on Add a folder.

- Enter the Name and Location for the new Shared Folder. LaCie recommends that you choose the Data1 (D: drive) as the Location. A description is optional.
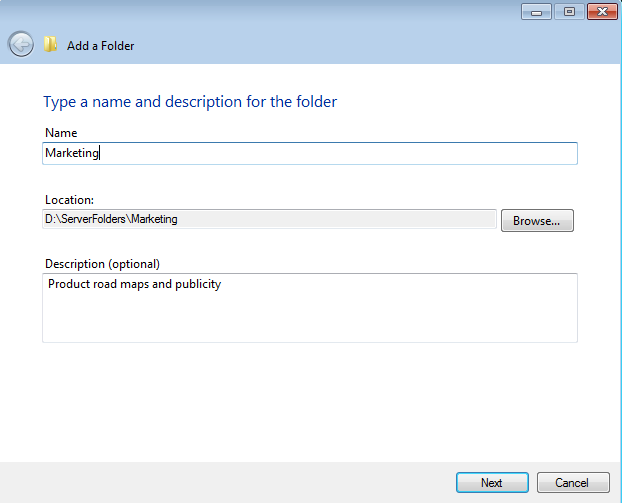
- Click Next.
- Choose the type of access users will have to the Shared Folder. Please note that this may be modified at any time.

- The Shared Folder has been created. Click Close to exit.
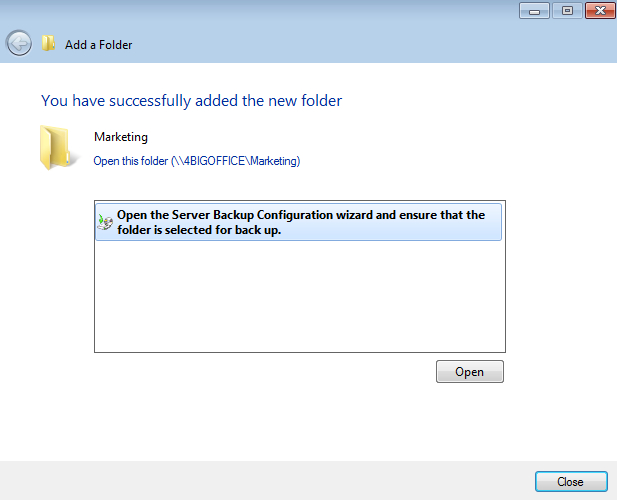
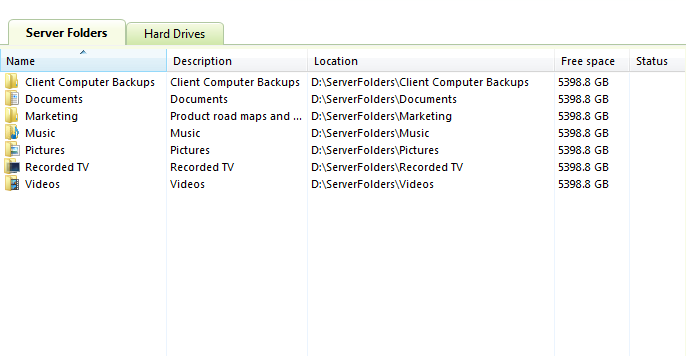
- The new Shared Folder will appear on the list within the Server Folders and Hard Drives tab.


Delete a Shared Folder
Important info: Deleting a Shared Folder will remove the folder and all of its contents. All data will be deleted. Please back up all data that you wish to keep before performing the steps below.
Note: Default Shared Folders cannot be deleted.
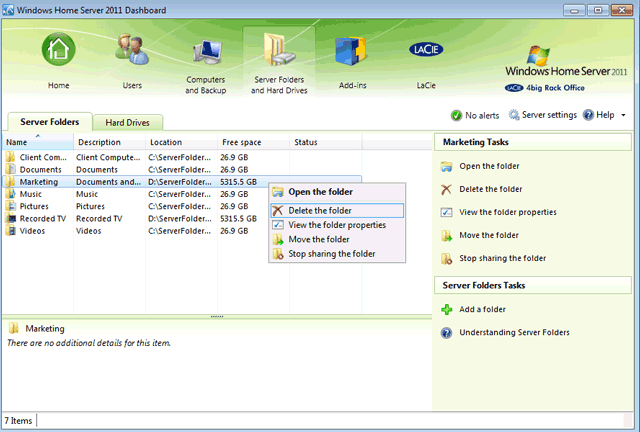
- Right click on the Shared Folder you wish to delete.
- Check the box next to I understand the folder and its contents will be permanently deleted.
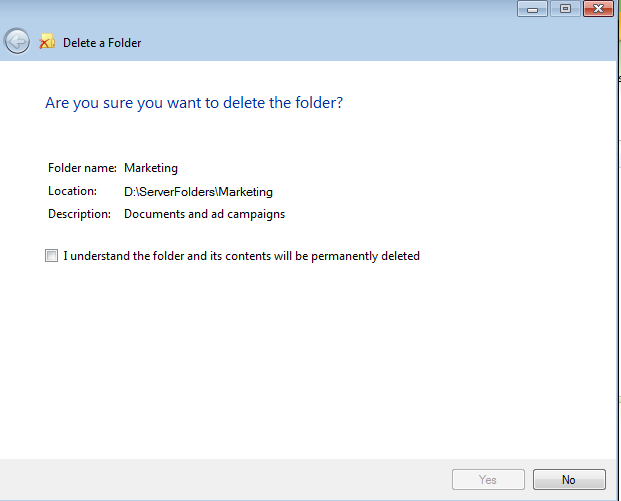

- Click Yes to confirm that you wish to delete the folder and all of its data.
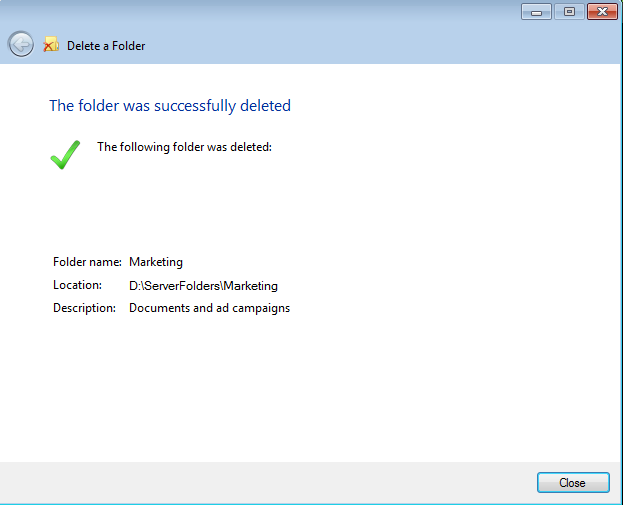
- The Shared Folder has been deleted. Click Close to exit.


Modify Access Rights to a Shared Folder
Administrators can revise access rights to Shared Folders:
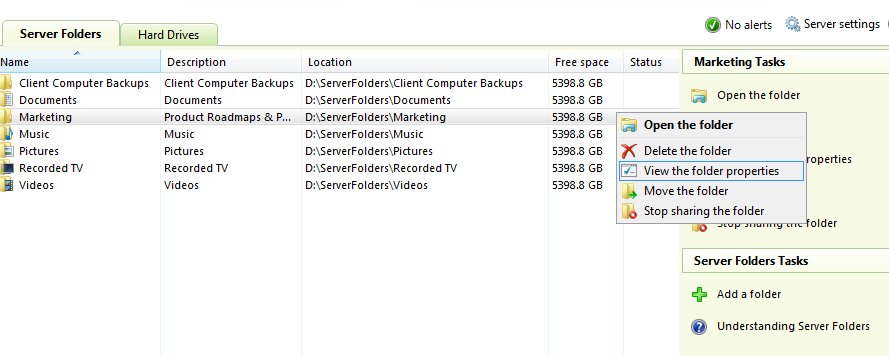
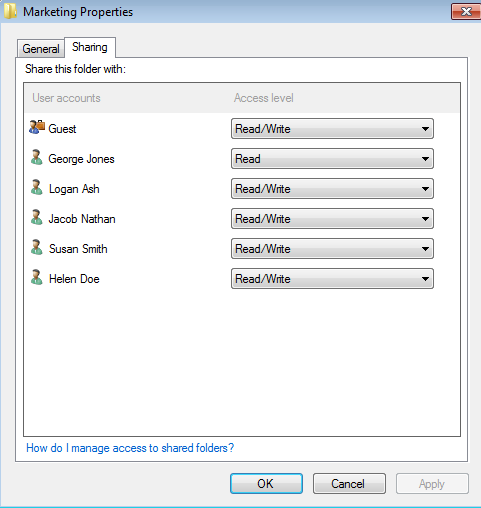
- Right click on the Shared Folder you wish to modify. Select View the folder properties.
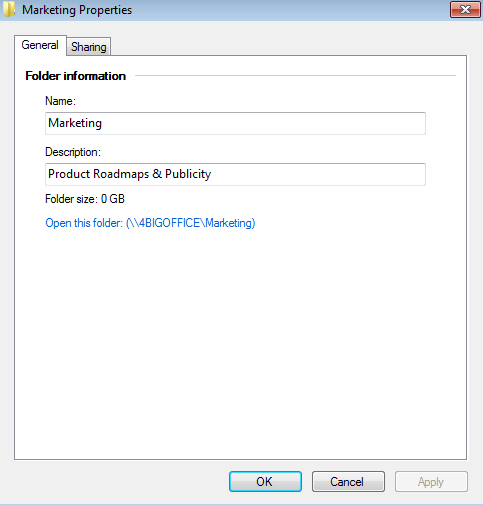
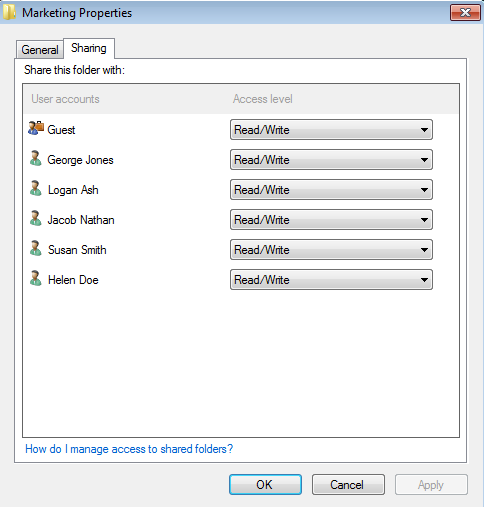
- The Folder Properties window will appear. Click on the Sharing tab.
- Use the pulldown menus to adjust the access rights to one or more users.

- Once the modifications are finished, click OK to exit.


© LaCie 2024
Last modified : Mar 01, 2013