User Tools
Site Tools
Technical Brief: Backup
User Manuals Print page
 Save page as PDF
Table of Contents


Table of Contents
Server Backup - DAS
It is easy to configure automated data backups to a desktop attached storage device (DAS). Once you have connected a DAS to one of its USB 2.0 and/or eSATA 3Gb/s ports, your LaCie professional server will walk you through the setup. Automated backups run twice a day though you may start a manual backup at any time using the server Dashboard.
Important info: The Windows Server Backup Configuration Wizard requires that the server source volume does not exceed 2TB. Before following the steps below, please see LaCie RAID Configurations and Windows® Backup
Configuring the Server Backup (DAS)
Important info: The steps below will delete all data stored on your DAS device. Please make certain to backup all data stored on your DAS before connecting it to your LaCie professional server.
- Connect one or more DAS devices to the USB 2.0 and/or eSATA 3Gb/s ports on the back of your LaCie professional server.
- Launch the Dashboard from a Windows workstation on the same network as your LaCie server. Start > All Programs > Windows Home Server 2011/Windows Storage Server 2008 R2 > Windows Home Server 2011 Dashboard/Windows Storage Server 2008 R2 Dashboard
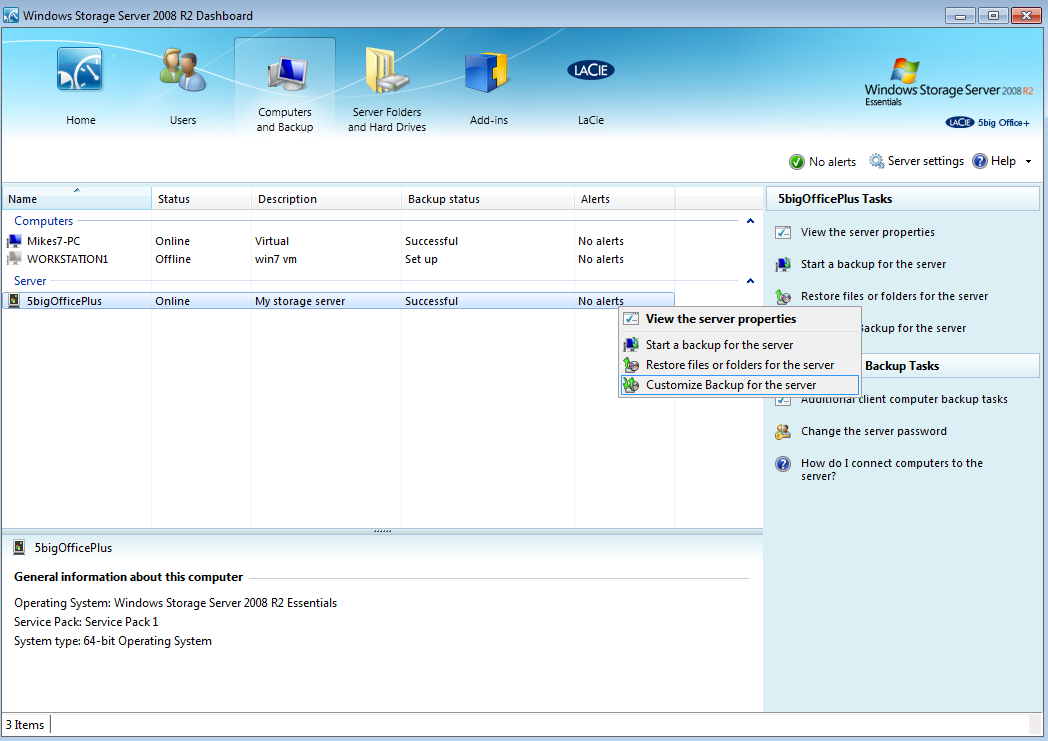
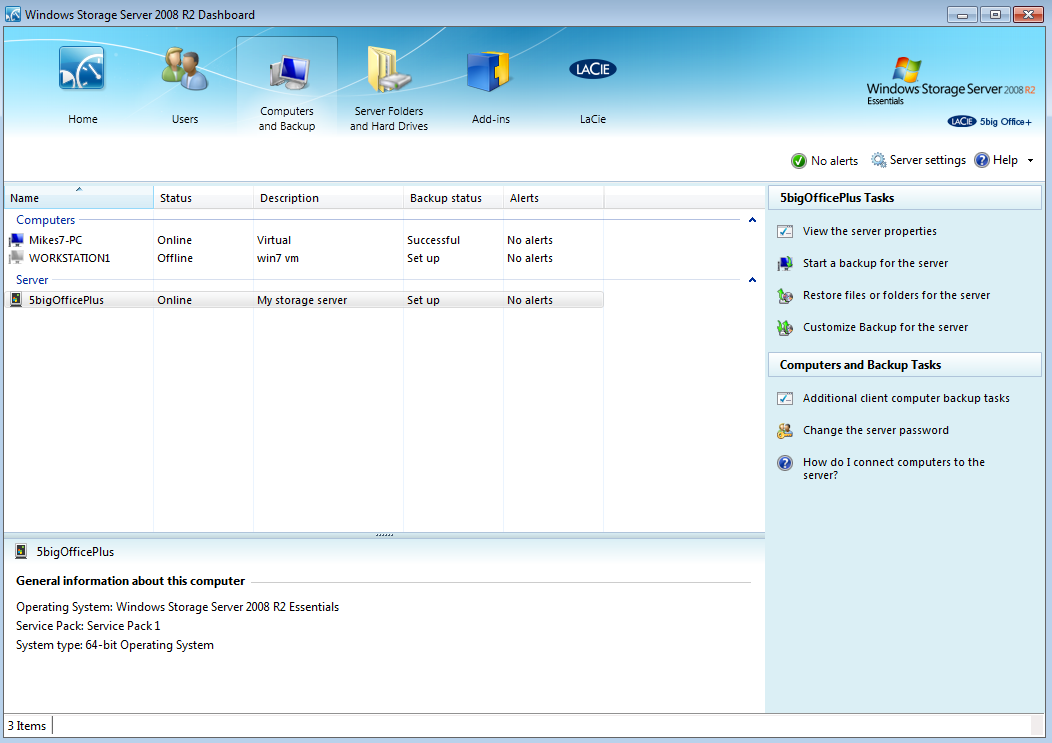
- Select the Computers and Backup tab.
- In this example, the server backup has not been configured yet.
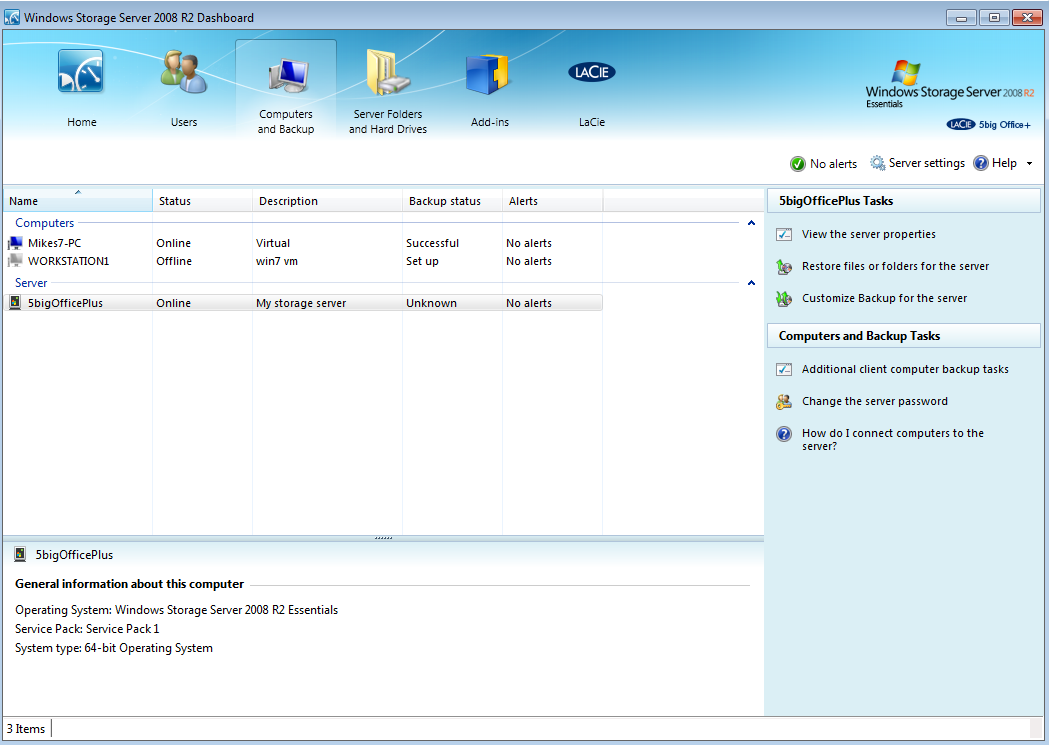
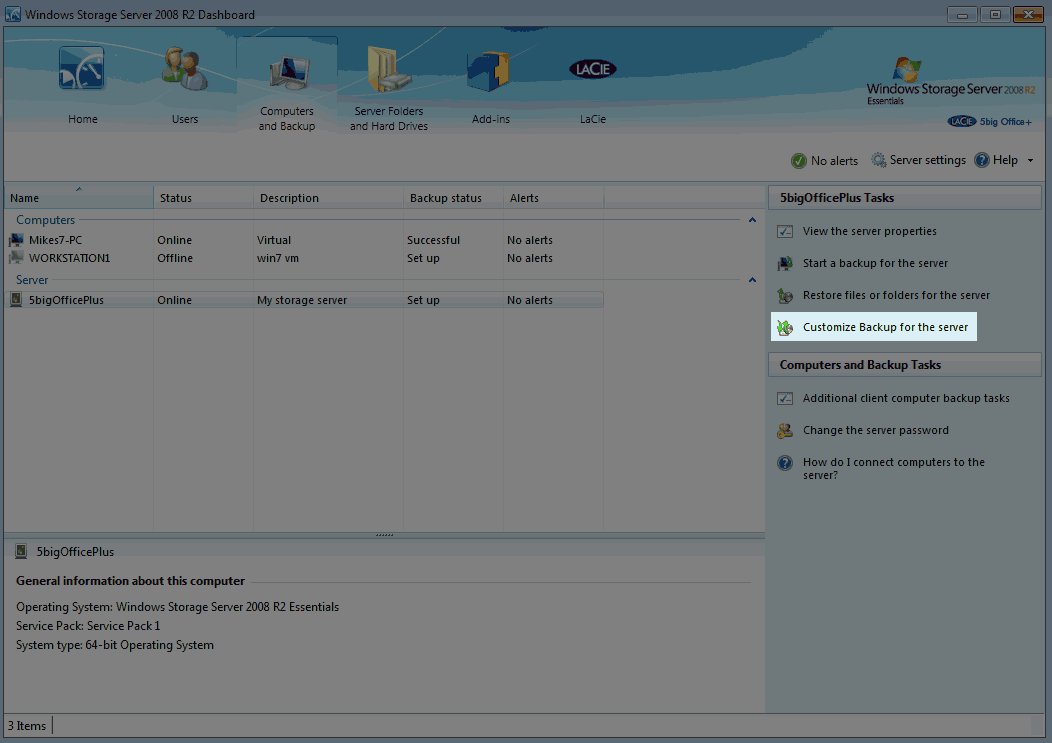
- Click on Customize Backup for the server.

- It will take a few moments to load the server data.

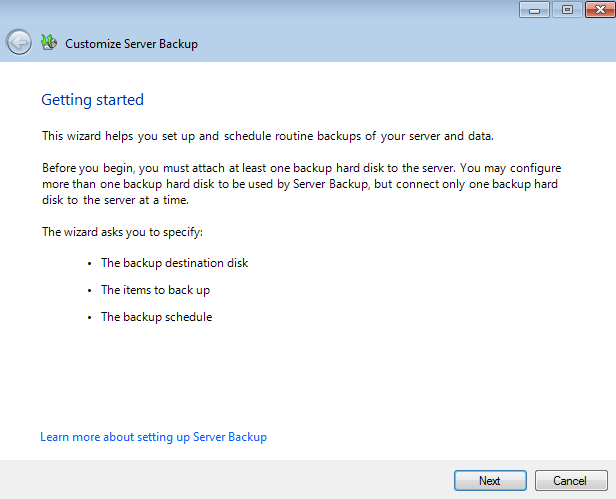
- Please read the Getting started window carefully.
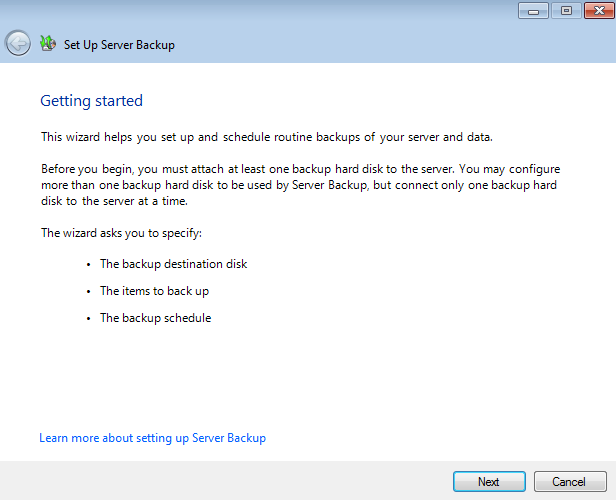
- Click Next.
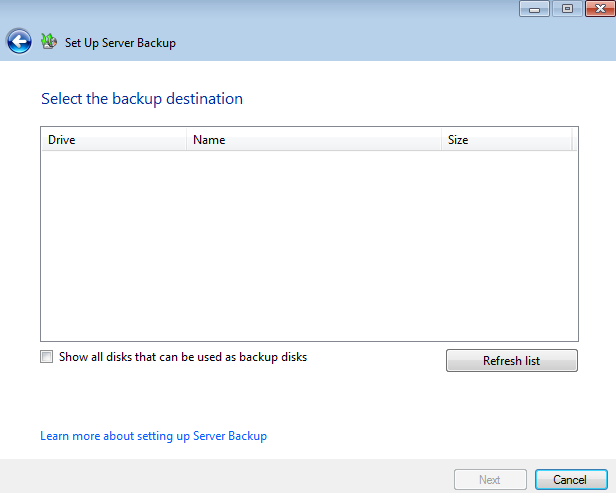
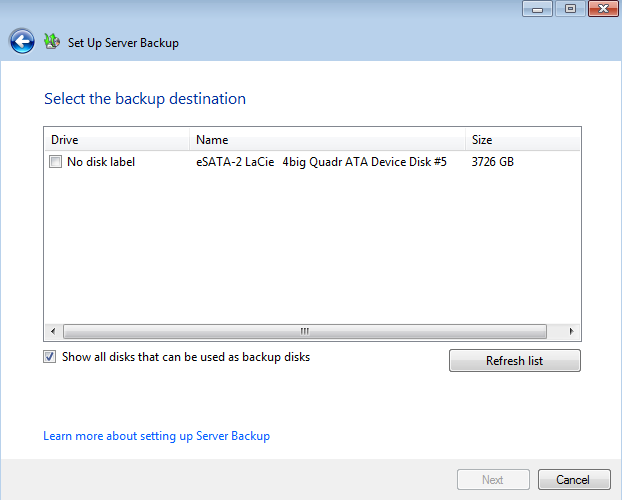
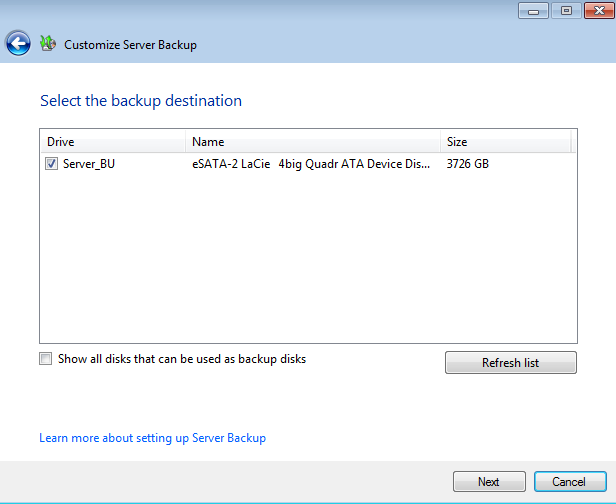
- The Select the backup destination window will open. It is likely that your DAS device will not appear in the window.
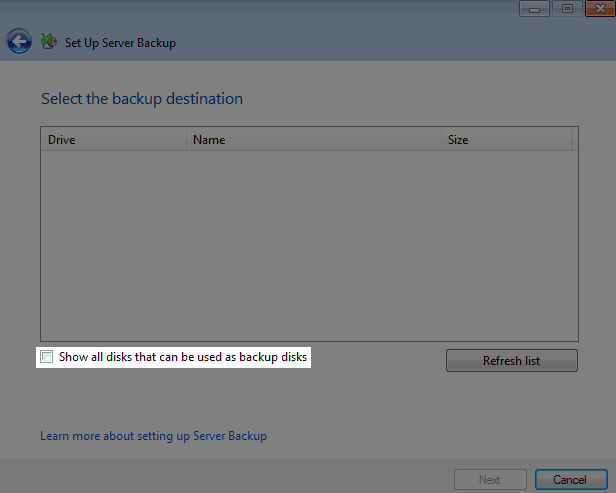
- If your DAS device does not appear in the window, click the checkbox next to Show all disks that can be used as backup disks.
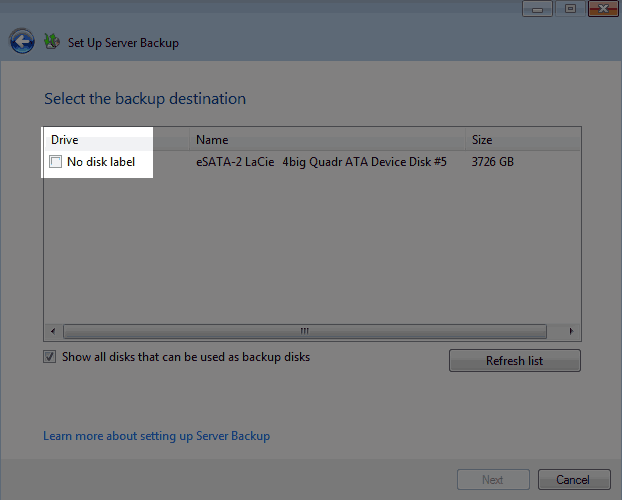
- The DAS should appear in the window. Note that, by default, the box in the Drive column is not checked.
 }
}
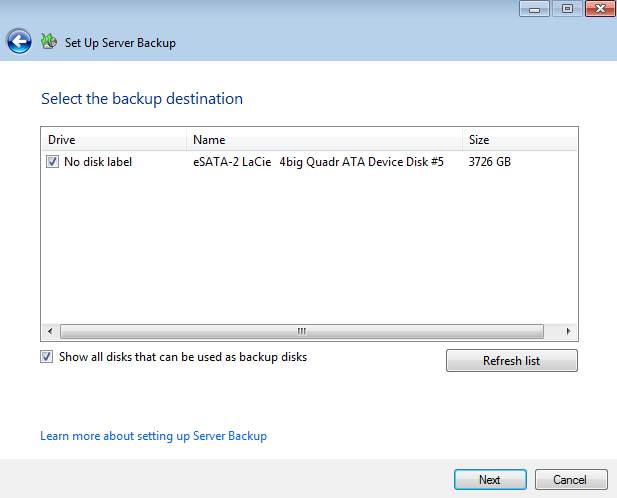
- Click on the checkbox then click Next.
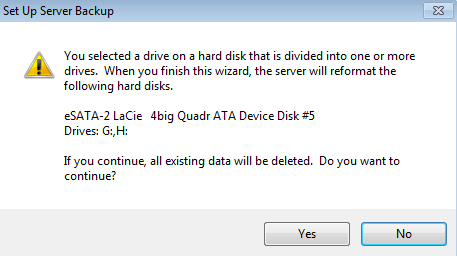
- You will be asked to confirm that you wish to proceed. Please note that all data stored on your DAS will be deleted if you continue. If you have data that you wish to keep, click No to backup your files. If your DAS is ready to be formatted as a backup volume, click Yes.
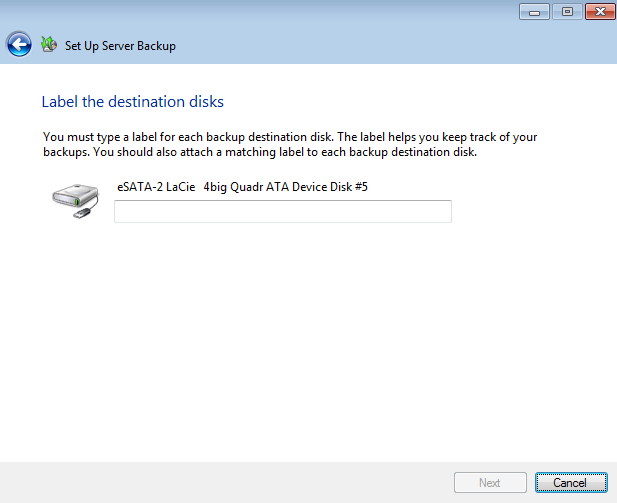
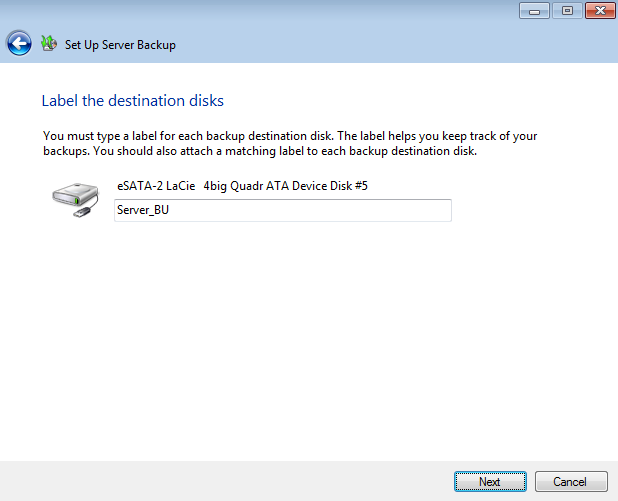
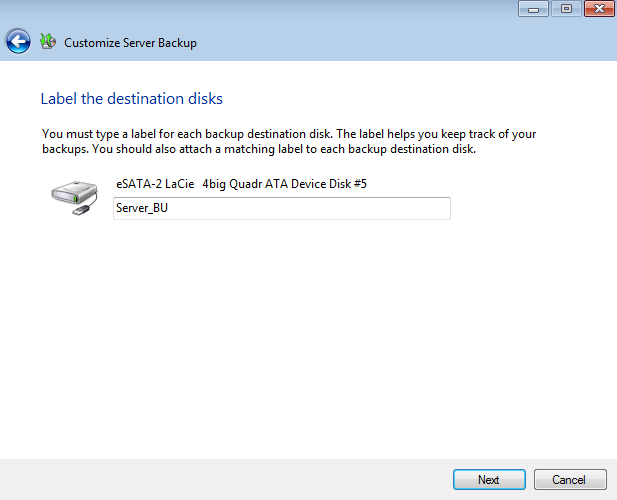
- Enter a name for the server backup volume.
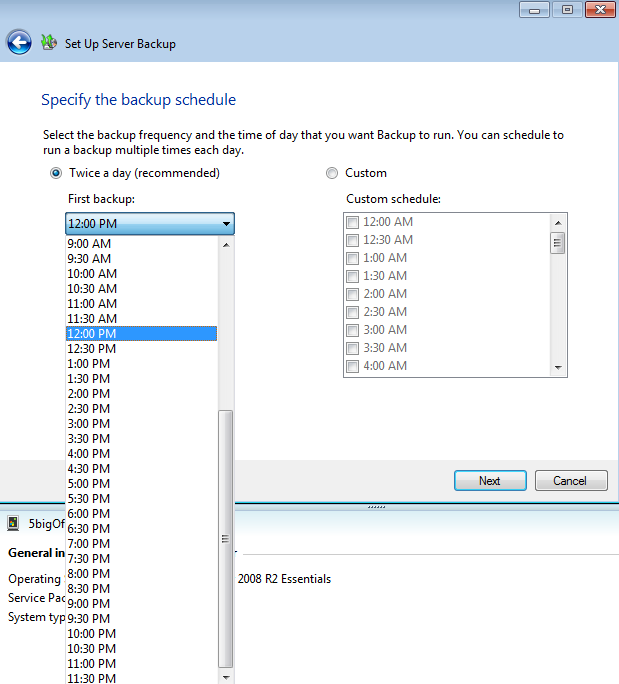
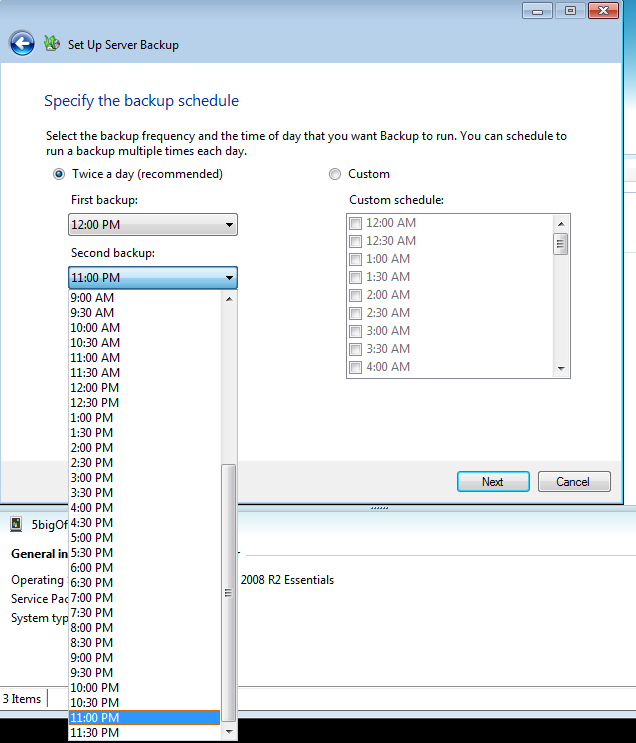
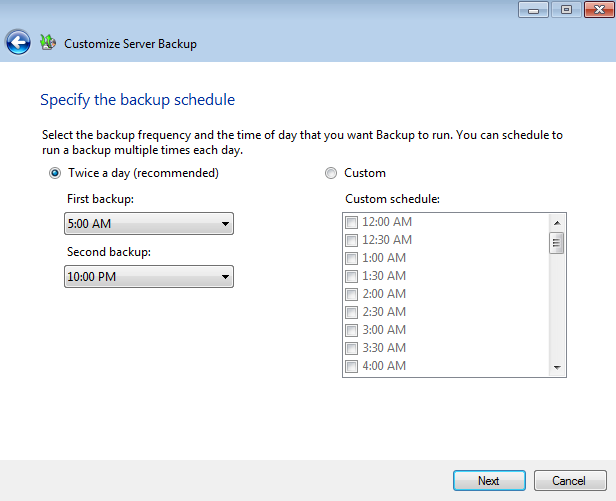
- The automated backup will run twice a day. Choose the times that are most convenient for your working environment.
 Time for the first backup
 Time for the second backup
 Backup times
 - Click Next.
- Choose the files that you wish to backup to the DAS. By default, all files are checked.
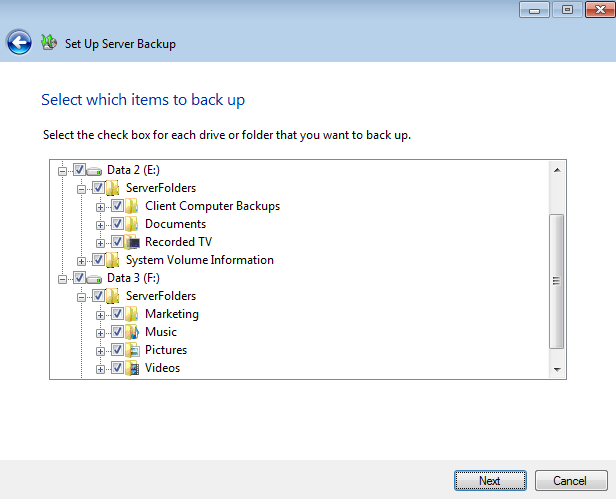
- Click Next.
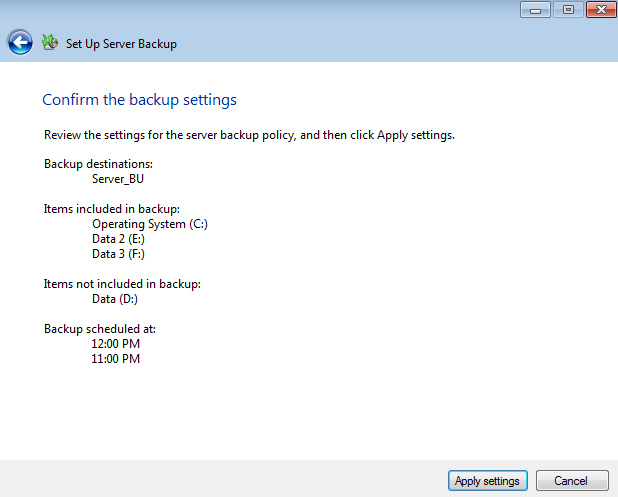
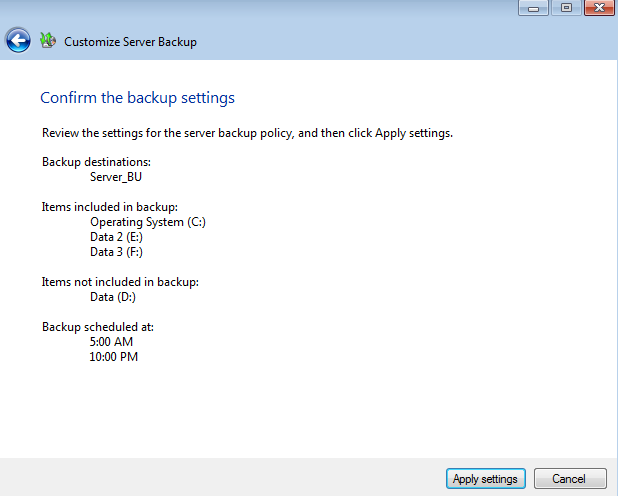
- Confirm your settings then click Apply settings.
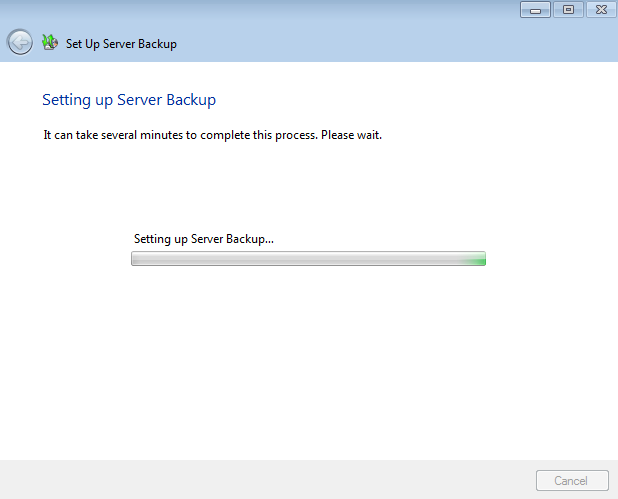
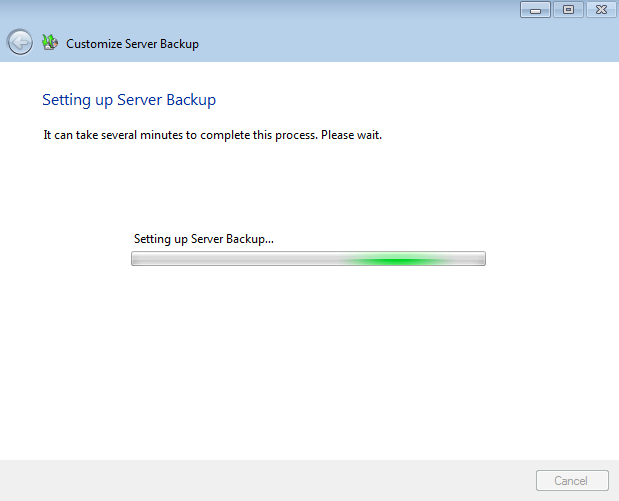
- It will take several minutes for the settings to be updated.
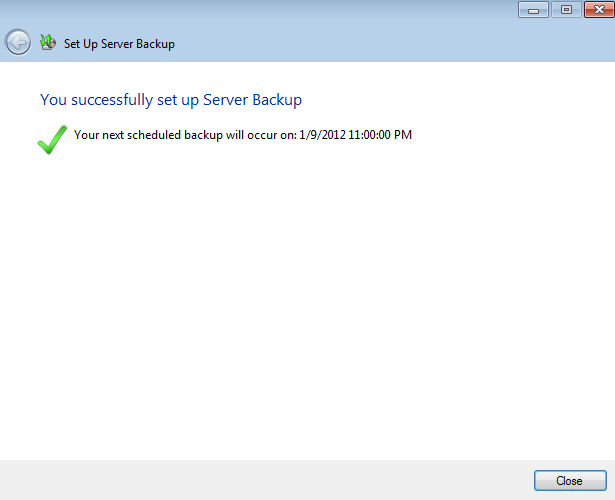
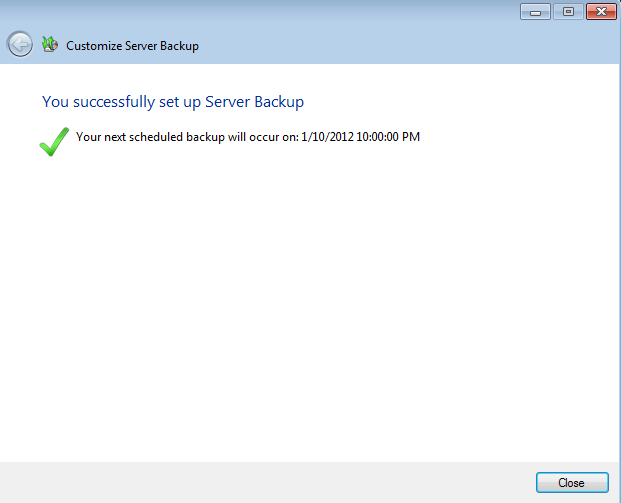
- A prompt will let you know that the backup has been successfully configured.


Customize an Existing Backup
Adjust the settings
It is possible to change the settings for your server backup. In this example, the times of day will be revised.
- Launch the Dashboard from a Windows workstation on the same network as your LaCie server. Start > All Programs > Windows Home Server 2011/Windows Storage Server 2008 R2 > Windows Home Server 2011 Dashboard/Windows Storage Server 2008 R2 Dashboard.
- Select the Computers and Backup tab.
- Right-click on the server to select Customize Backup for the server.
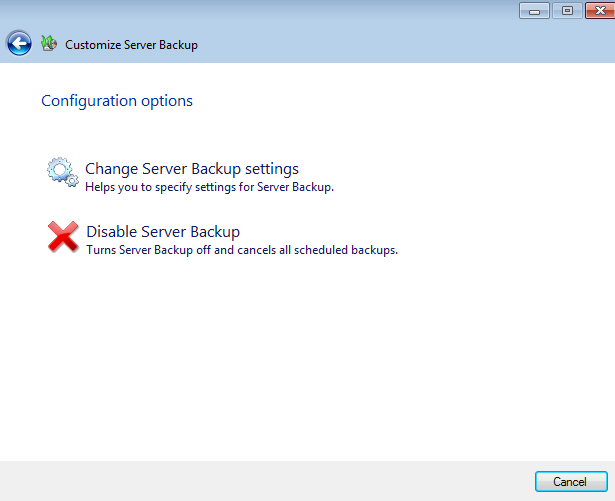
- Read the explanation in the Customize Server Backup window then click Next.

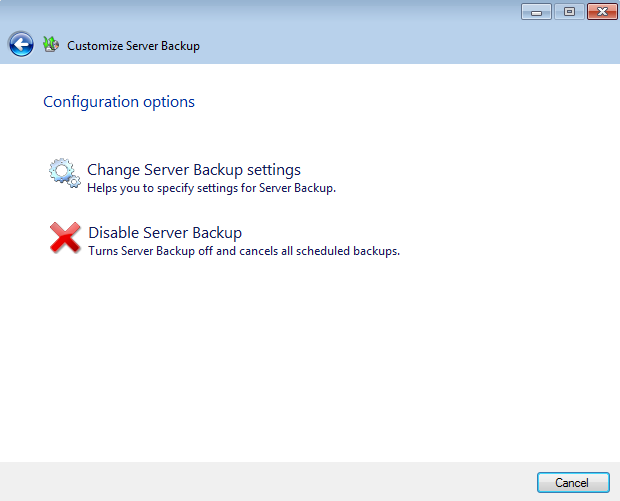
- To adjust settings, click on Change Server Backup settings.
- The current drive is listed in the backup destination window. You may make changes or click Next to continue.
- The name of the current backup disk is listed. The name may be revised in this window. Click Next to continue.
- The times for the two automated backups are listed in this window. As the screenshot below shows, the scheduled backups occur at 12:00 PM and 11:00 PM.

- In this example, the times will be changed to 5:00 AM and 10:00 PM by clicking on each pulldown menu.

- The times have been updated.
- Click Next.
- This window allows you to adjust the files you wish to backup. Click Next to continue.

- Confirm your settings and click Next.
- It will take several minutes to update the settings.
- A prompt will let you know that the backup has been successfully configured.


Delete the backup
Please note that following the instructions below will discontinue all scheduled backups from your server. Most businesses understand the importance of maintaining multiple copies of all files stored on workstations and server(s) in an office. Keeping multiple copies and versions of files offers superb protection against data corruption, accidents, natural events, and hardware failure. If you wish to delete the automated backup currently configured on your server, please consider an alternative backup solution to keep your data secure.
- Launch the Dashboard from a Windows workstation on the same network as your LaCie server. Start > All Programs > Windows Home Server 2011/Windows Storage Server 2008 R2 > Windows Home Server 2011 Dashboard/Windows Storage Server 2008 R2 Dashboard.
- Select the Computers and Backup tab.
- Click on Customize Backup for the server.
- Read the explanation in the Customize Server Backup window then click Next.
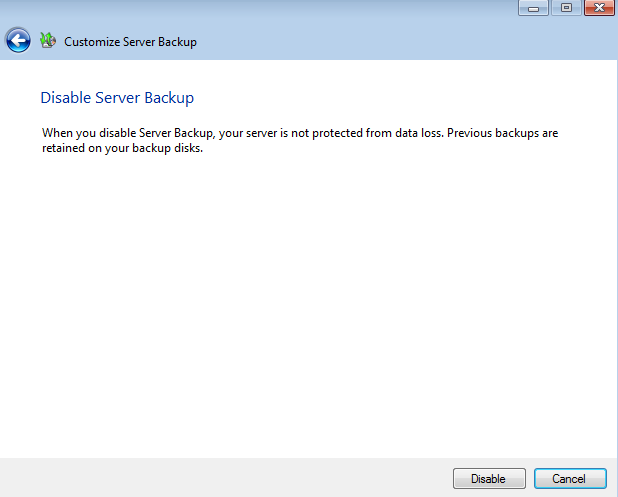
- To delete the settings for an existing automated backup, click on Disable Server Backup.
- Please read the Disable Server Backup message carefully before clicking Disable.
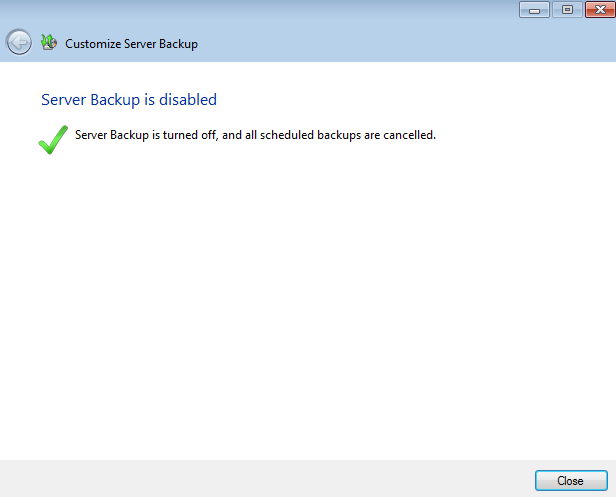
- The server backup has been deleted. Click Close to exit the window.
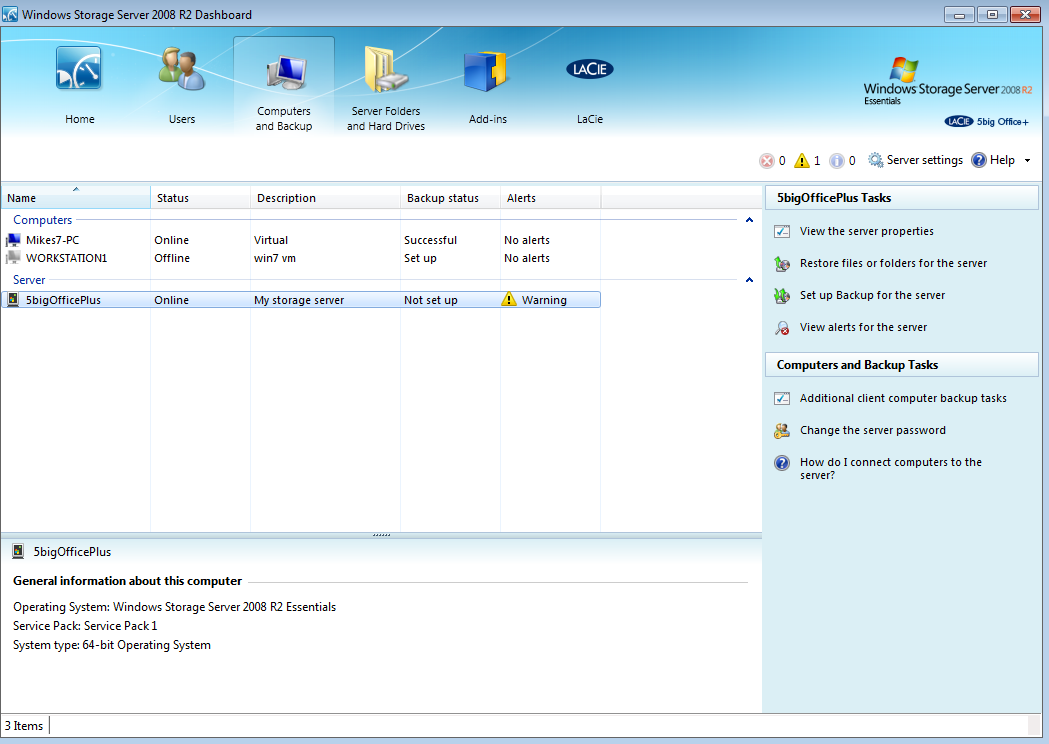
- The Dashboard now lists the backup as Not set up.


© LaCie 2024
Last modified : Mar 01, 2013