User Tools
Site Tools
Technical Brief: Backup
User Manuals Print page
 Save page as PDF
Table of Contents


Table of Contents
Server Recovery - DAS
Your LaCie professional server makes it easy to configure automated backups to direct attached storage (DAS). See Server Backup - DAS for instructions on setting up regular backups to DAS connected to its USB 2.0 and eSATA 3Gb/s ports. Automated backups will run twice a day though you may start a manual backup at any time using the server Dashboard. Should the server encounter system failure, the backups on the DAS will help you to restore it to a working state.
Requirements to perform a full system restore - Windows Storage Server 2008 R2 Essentials
You will need the following items to perform a server system recovery:
- Your LaCie professional server or, a LaCie professional server that has:
- Equal or greater storage capacity
- The same number of hard drives
- The DAS storage used as the destination for the server backups. Please make certain that it is connected to one of the server's USB 2.0 or eSATA 3Gb/s ports and powered on.
- The Setup and Recovery DVD included with your LaCie professional server.
- A USB keyboard to connect to your LaCie professional server.
- A VGA monitor to connect to your LaCie professional server.
- A USB flash drive to use as a boot key. All data stored on the USB flash drive will be deleted during the boot key creation. Make certain to backup all data stored on the USB flash drive before creating the boot key.
- A Windows workstation connected to the same network as the LaCie professional server. The Setup and Recovery DVD will walk you through the full system restore from the Windows workstation.
Requirements to perform a full system restore - Windows Home Server 2011
You will need the following items to perform a server system recovery:
- The LaCie professional server or, a LaCie professional server that has:
- Equal or greater storage capacity
- The same number of hard drives
- The drive lock tool shipped with your LaCie professional server.
- The DAS storage used as the destination for the server backups. Please make certain that it is connected to one of the server's USB 2.0 or eSATA 3Gb/s ports and powered on.
- The Setup and Recovery DVD included with your LaCie professional server.
- A USB flash drive to use as a boot key. All data stored on the USB flash drive will be deleted during the boot key creation. Make certain to backup all data stored on the USB flash drive before creating the boot key.
- A Windows workstation connected to the same network as the LaCie professional server. The Setup and Recovery DVD will walk you through the full system restore from the Windows workstation.
Important info - Restoring to a server with greater storage capacity: You may restore your data and settings to a LaCie professional server with a greater capacity than the original. Following the restore, Windows Disk Management will list the additional capacity on the server disks as Unallocated. You may create another RAID volume using the Unallocated partitions (see Technical Brief: RAID).
Important info - Recent changes to your server: You will be prompted to select the system backup as the base for the restore operation. Please take into account any changes that you may have made to your server between the date of the selected backup and the date of the restore. For example, recent revisions to passwords will not be available on older backups. Choosing an older backup would revert the sever to a previous password.
Full System Restore
The full system restore includes two central steps:
- Creating a server boot key.
- Running the full system restore from a Windows workstation on the network.
Create the boot key
To perform a full system restore, the server requires that the workstation boot from a USB boot key. Therefore, you will be prompted to insert a USB flash drive into one of the server's USB 2.0 ports as part of the recovery operation. LaCie recommends using a flash drive that does not contain important files since all data will be deleted during the boot key creation.
- On a workstation that is connected to the same network as the LaCie professional server, insert the Setup and Recovery DVD into the optical drive.
- Click Run LaCie.exe at the AutoPlay prompt.

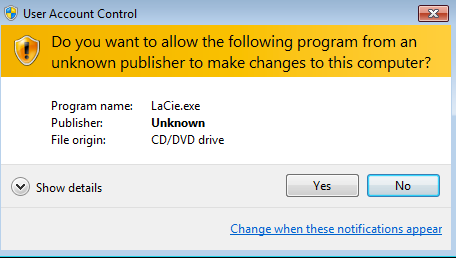
- Choose Yes if the User Account Control window appears.
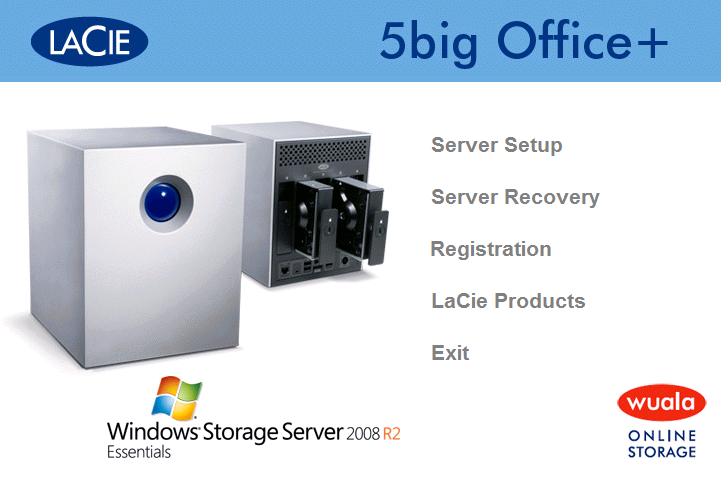
- Click on Server Recovery at the DVD selection window.
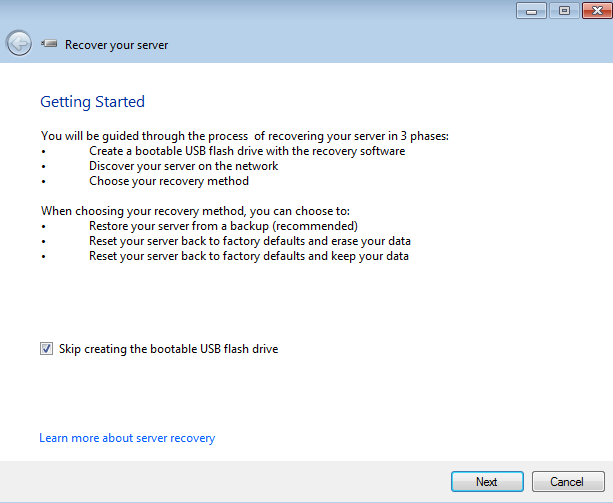
- Read the Getting Started page carefully then click Next

- Please read the window carefully before attaching the USB flash drive to one of the USB 2.0 ports on the workstation.
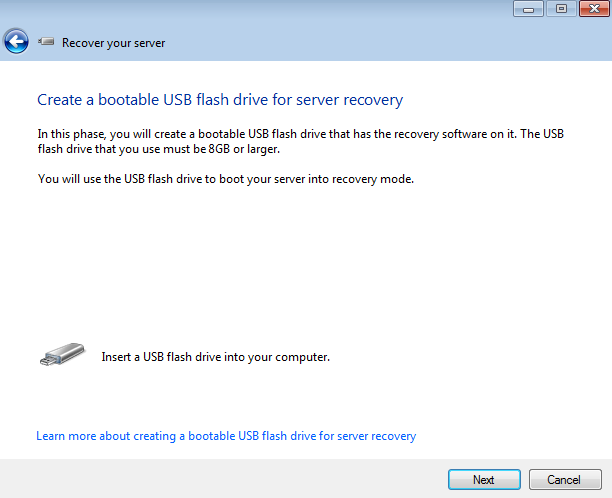
- Click Next.
- If your USB flash drive is not listed, use the pulldown menu to find it. Since creating the boot key will delete all data on the USB flash drive, make certain to choose the correct device.
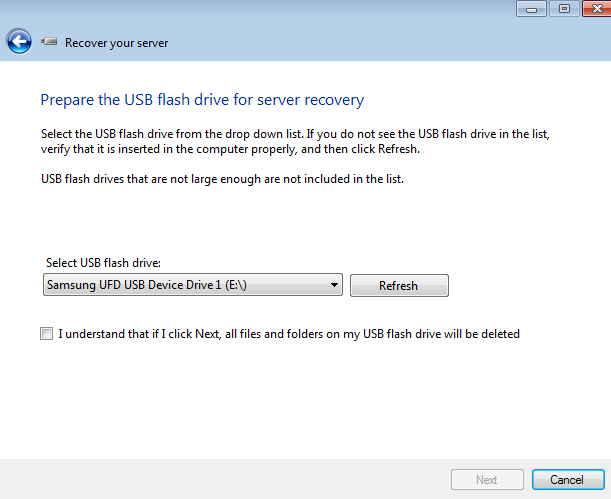
- Click the checkbox next to I understand that if I click Next, all files and folders on my USB flash drive will be deleted.
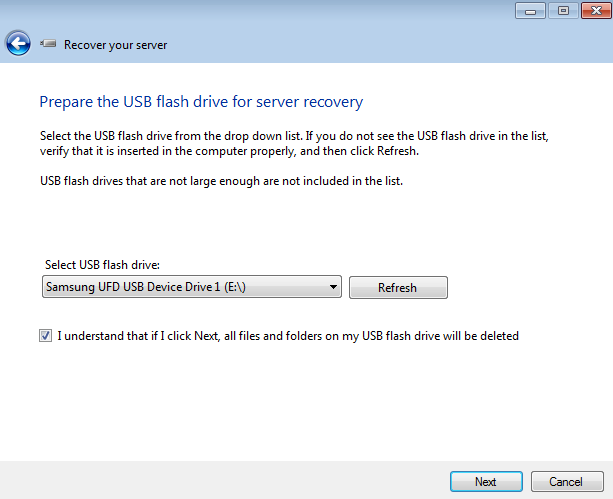
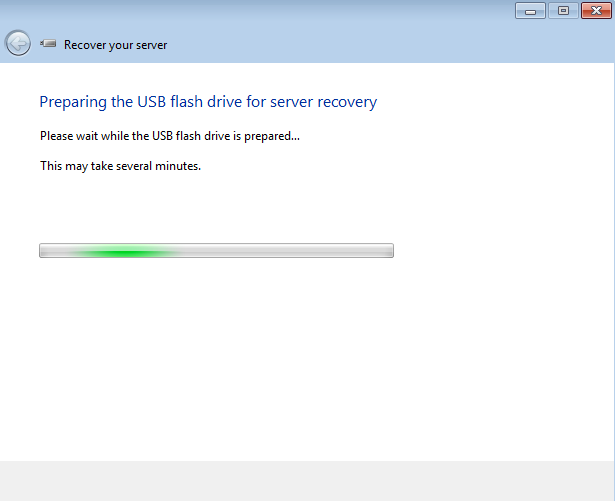
- Click Next. It will take a bit of time to create the boot key.
- Once the boot key has been created, the server will prompt you to remove it from the server. Please keep it in a secure location since you will need it to perform the server system recovery.
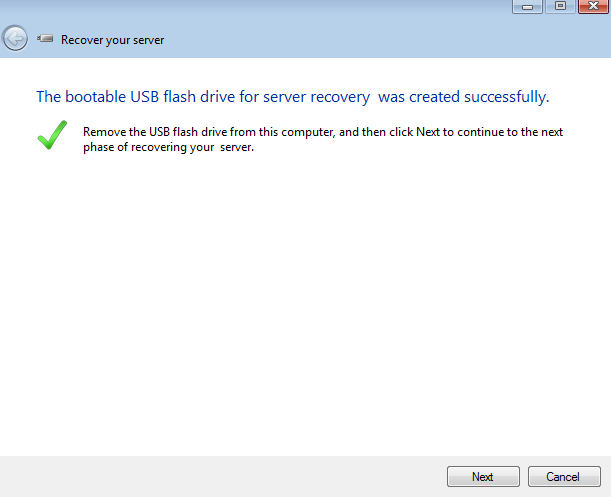
- Before selecting Next, you must prepare the server for the system recovery using the newly created boot key. Please see the instructions below that match your LaCie server.


LaCie 5big Office+ (Windows Storage Server 2008 R2 Essentials)
Follow the steps below to boot from the server boot key.
- Before booting from the flash drive, please shut down the server. Launch the Dashboard from the Windows workstation. Go to Start > All Programs > Windows Home Server 2011/Windows Storage Server 2008 R2 > Windows Home Server 2011 Dashboard/Windows Storage Server 2008 R2 Dashboard.
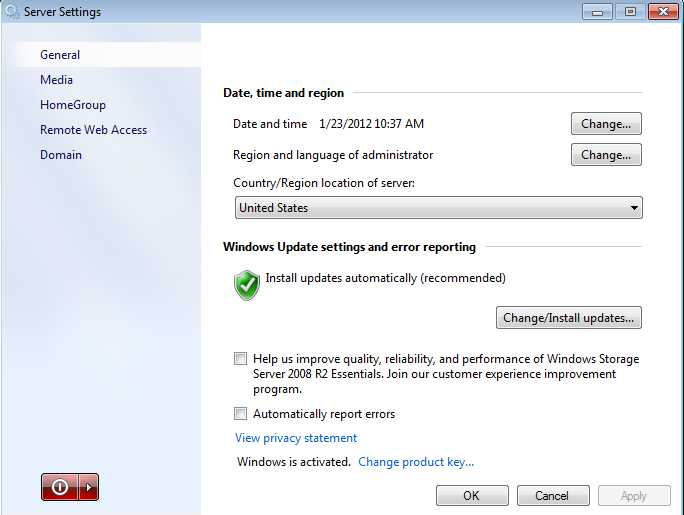
- In the Dashboard, click on Server settings.
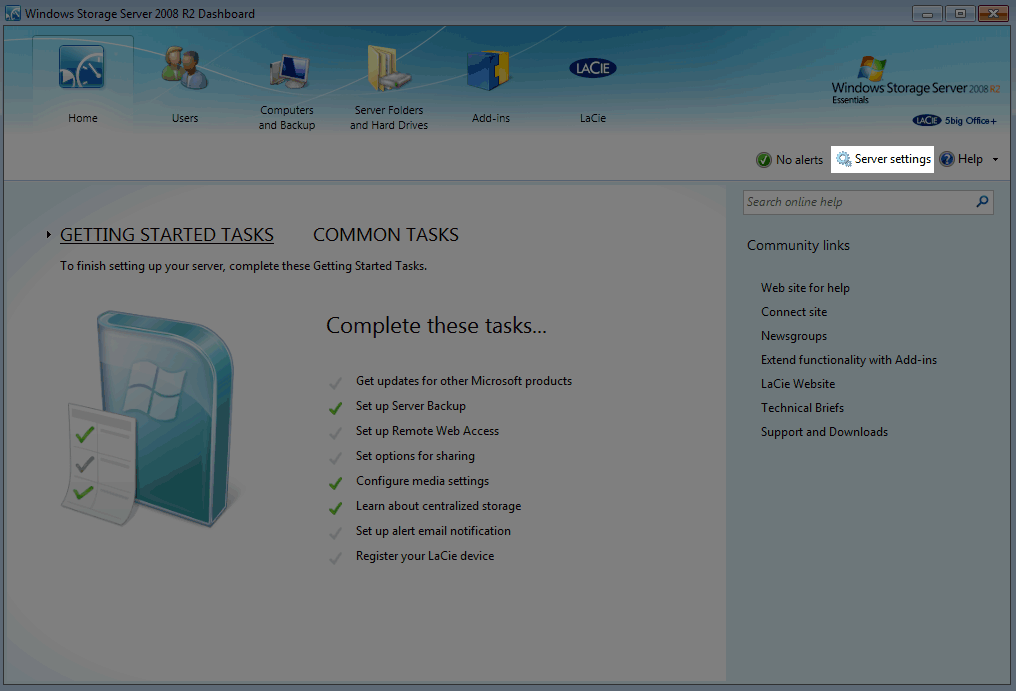
- The Settings window will open. Note the red button on the lower left.
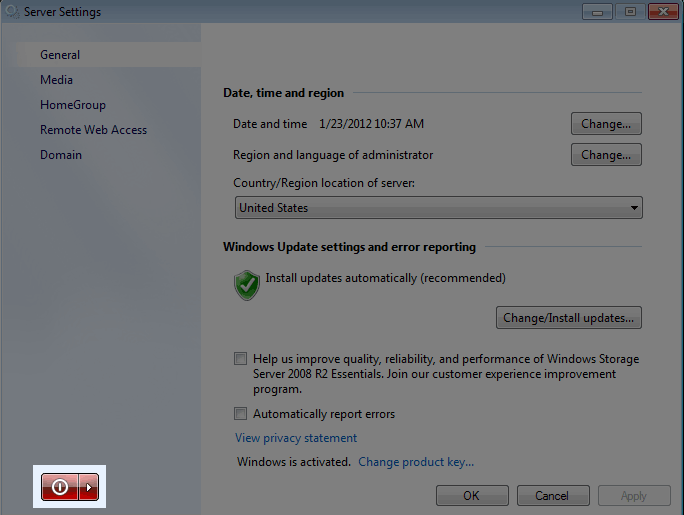
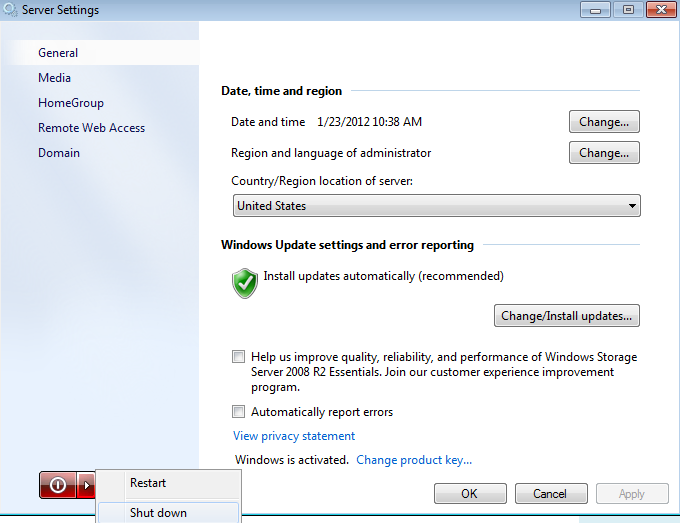
- Click on the red button to select Shut down.
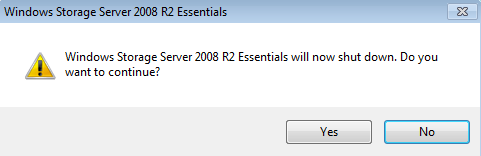
- Click Yes at the prompt to confirm that you wish to shut down the server.
- Connect the USB keyboard to one of the server's USB 2.0 ports.
- Connect the USB boot key to one of the server's USB 2.0 ports. Please make certain that this is the only USB flash drive connected to the server.
- Connect a VGA monitor to the VGA port.
- Start the server by depressing the LED button.
- Do not let the server boot to the Windows desktop. Watch the VGA monitor to push F11 on the USB keyboard at the first available window. You will be directed to the Boot Selection Popup.
- Using the arrow keys, scroll down to the USB device. This is the boot key.
- Press Enter on your USB keyboard.
- Once the server has booted to the USB flash drive, go to the Full System Restore.


LaCie 5big Office (Windows Home Server 2011)
Follow the steps below to boot from the server boot key.
- Before booting from the flash drive, please shut down the server. Launch the Dashboard from the Windows workstation. Go to Start > All Programs > Windows Home Server 2011/Windows Storage Server 2008 R2 > Windows Home Server 2011 Dashboard/Windows Storage Server 2008 R2 Dashboard.
- In the Dashboard, click on Server settings.
- The Settings window will open. Note the red button on the lower left.
- Click on the red button to select Shut down.
- Click Yes at the prompt to confirm that you wish to shut down the server.
- Once the server has shut down, plug the USB boot key into one of its USB 2.0 ports. The ports may be found in the back of the device.
- Insert the pointed end of the drive lock tool into the system recovery button. The button may be found next to the power connection on the back of the server. See A below.
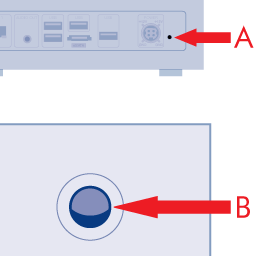
- While pushing the system recovery button, turn on the server using the front LED button. Please do not push the LED button for an extended period of time. See B above.
- Once the front LED blinks at a slower pace, release the system recovery button. The server will enter into recovery mode.
- Since entering recovery mode requires time to initialize, LaCie recommends waiting three to five minutes before moving to Full System Restore.

Important info: To restore the data and settings, please make certain that your server backup disk is connected to the workstation. You risk losing your server settings when restoring the server to its factory default state.
Full System Restore
To complete the recovery, please return to the workstation with the Setup and Recovery DVD.
- If the Server Recovery window is still open, please click Next. Skip Step 2.
- If the Server Recovery is not running, please launch it from the Setup and Recovery DVD. At the Getting Started window, you will be prompted to create a boot key. Since the server has booted from the flash drive, you may skip the steps by checking the box next to Skip creating the bootable USB flash drive. Click Next.
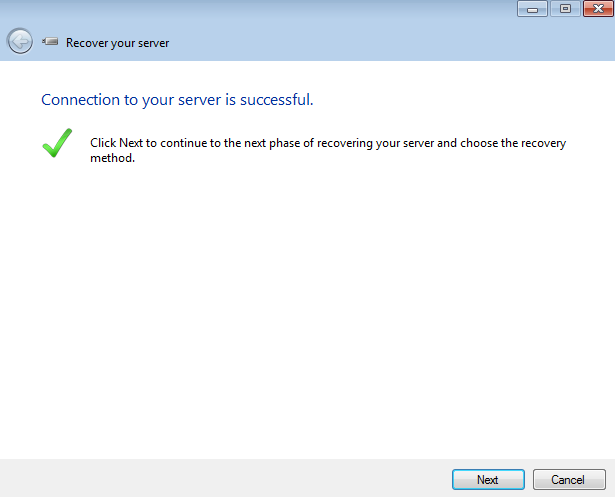
- The recovery will search for your server on the network. You will receive the message below if it finds the server. Click Next and skip Step 4.
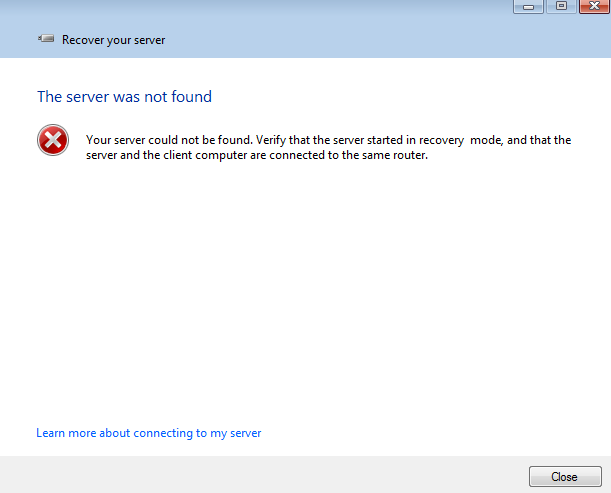
- If the recovery does not find your server, it may still be booting to recovery mode. Please select Close and wait three to five minutes. Once it has booted to recovery mode, return to the Step 2.
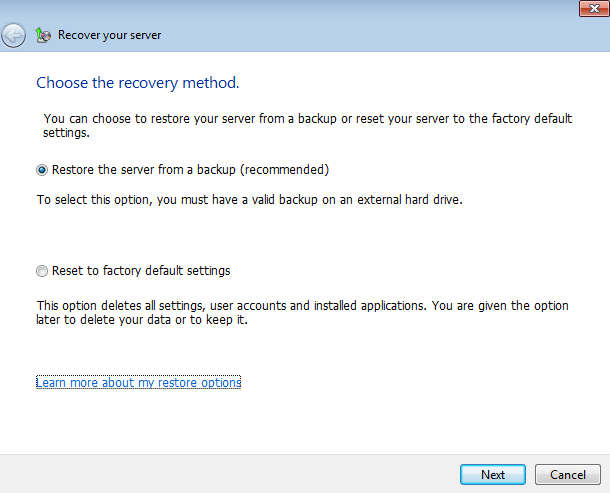
- Select the recovery method. LaCie recommends Restore the server from a backup. Before moving to the next step, make certain that the DAS used for the server backups is connected to the server and powered on.
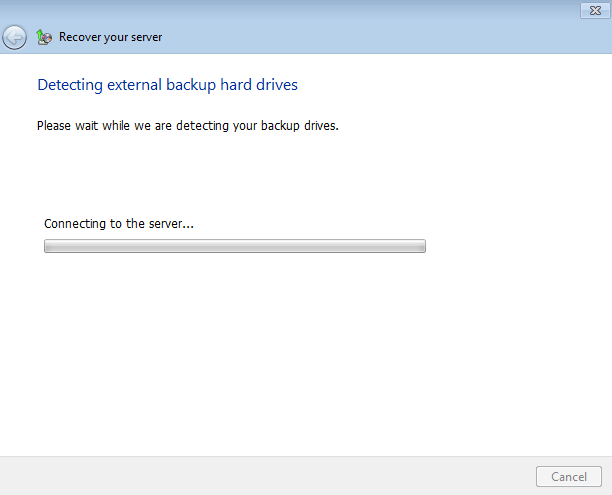
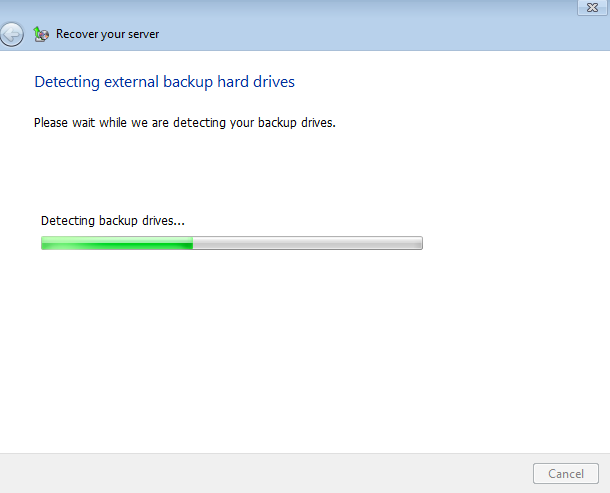
- The recovery will search for the available backups to use for recovery. It may take several minutes.
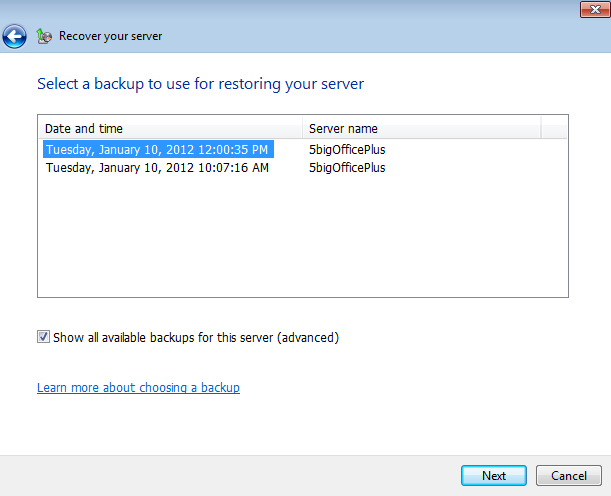
- Review the list of backups. This example has two but you may see many more.

- Choose the backup you wish to restore and click Next.
- Review the restore selections. You may have to check the box next to I understand that all data on the affected drive and volumes will be erased.
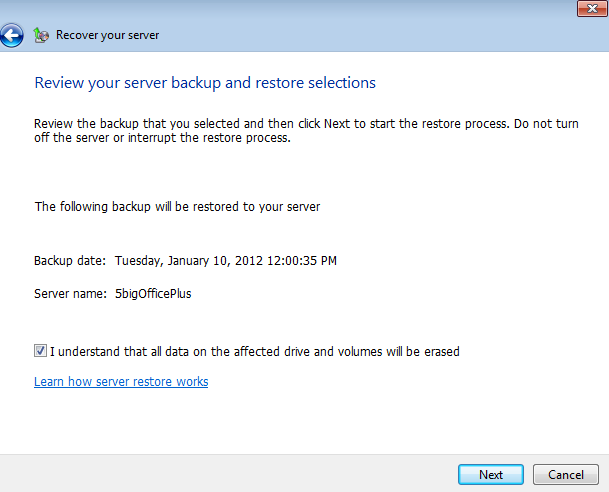
- Click Next.
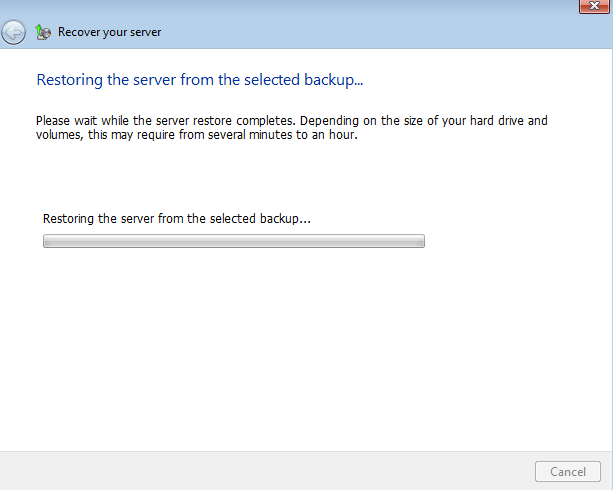
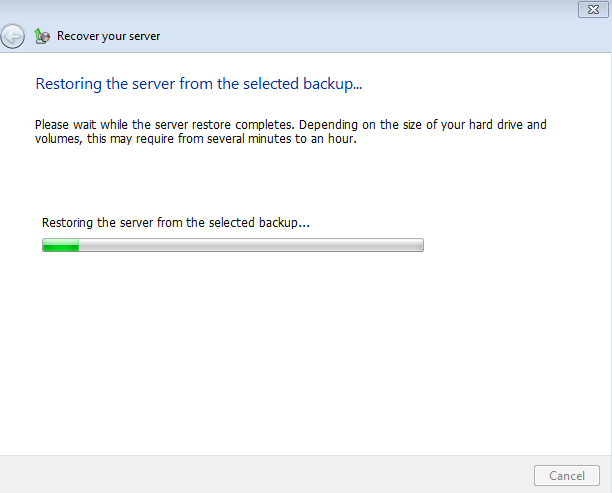
- The recovery will begin. Please be patient during the recovery. The time to complete the recovery is based upon the amount of data stored on your server.
- A message will tell you when the recovery has finished.
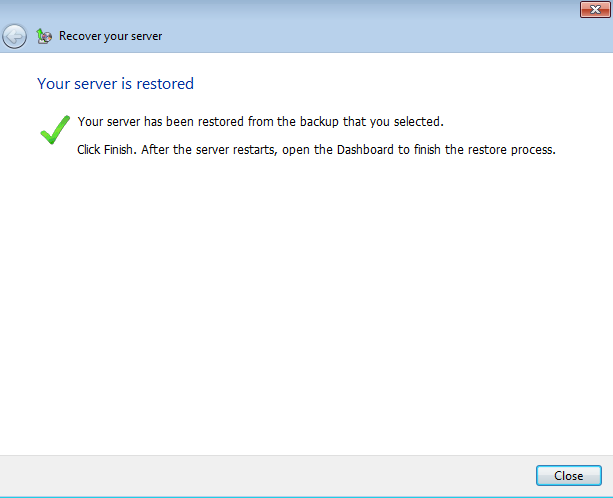
- Click Close.
- The server will reboot. You may remove the boot key.
- If applicable, you may remove the USB keyboard and VGA monitor.


Technical note: The LaCie professional server will reboot automatically following a full system recovery. Upon restart, Windows Disk Management will begin the synchronization of the server's RAID configuration. The synchronization may take several hours to a day based upon the total storage capacity of your server. You may access, transfer, share, and backup your data during the synchronization. Please note that server performance may be reduced during the synchronization.
© LaCie 2024
Last modified : Mar 01, 2013