User Tools
Site Tools
Technical Brief: Backup
User Manuals Print page
 Save page as PDF
Table of Contents


Table of Contents
Workstation and File Recovery
Should you lose files or a workstation experiences system failure, the automated backups stored on the LaCie server can help you to recover data or restore the computer to a working state.
File Recovery
A recovery can be a simple operation such as recuperating one or more files that are lost or corrupt. It can also assist you with larger demands, such as a full system restore.
Recovering Files
- Launch the Dashboard from a Windows workstation on the same network as your LaCie server. Start > All Programs > Windows Home Server 2011/Windows Storage Server 2008 R2 > Windows Home Server 2011 Dashboard/Windows Storage Server 2008 R2 Dashboard.
- Select the Computers and Backup tab.
- Select the workstation among the list of Computers.

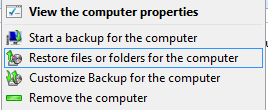
- Right-click on the workstation to select Restore files or folders for the computer.

- From the list of available backups, please choose the date and time you wish to view. In our example there is only one backup but you will see several with the passage of time.
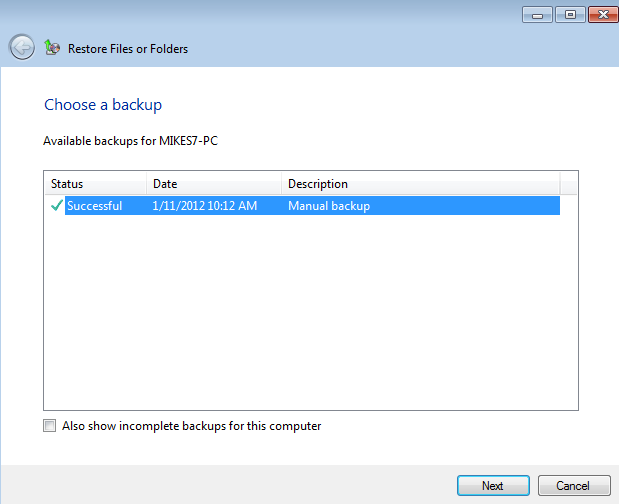
- Click Next. The Restore operation will find all the files from the backup.
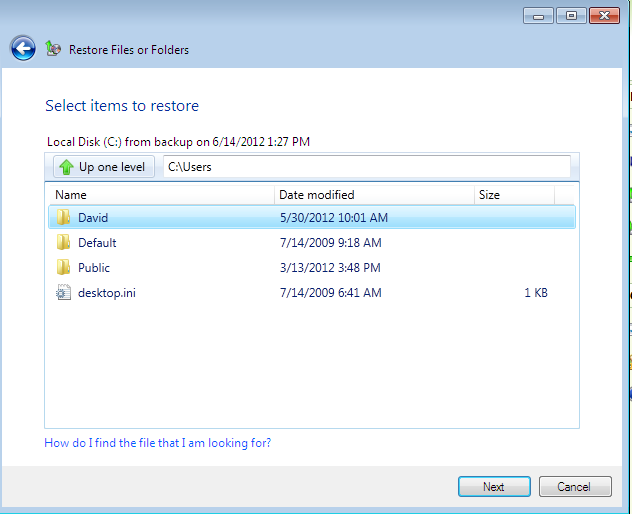
- You may select one or more files to restore to the workstation. Folders must be opened to select individual files.
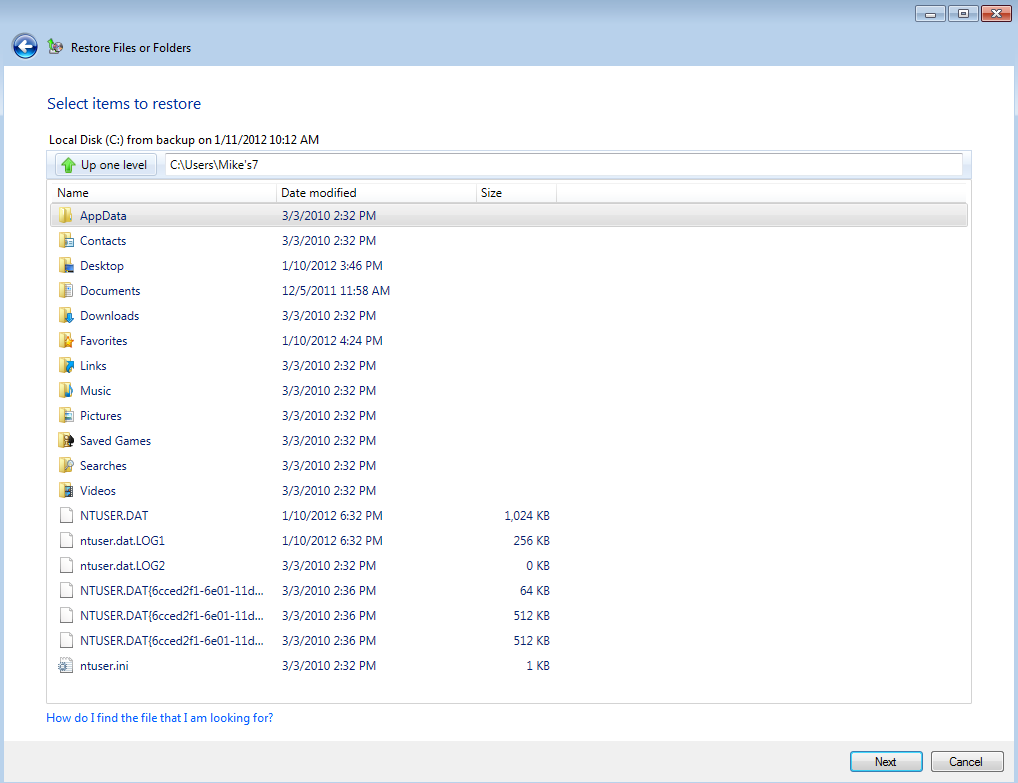 Initial list of available files and folders
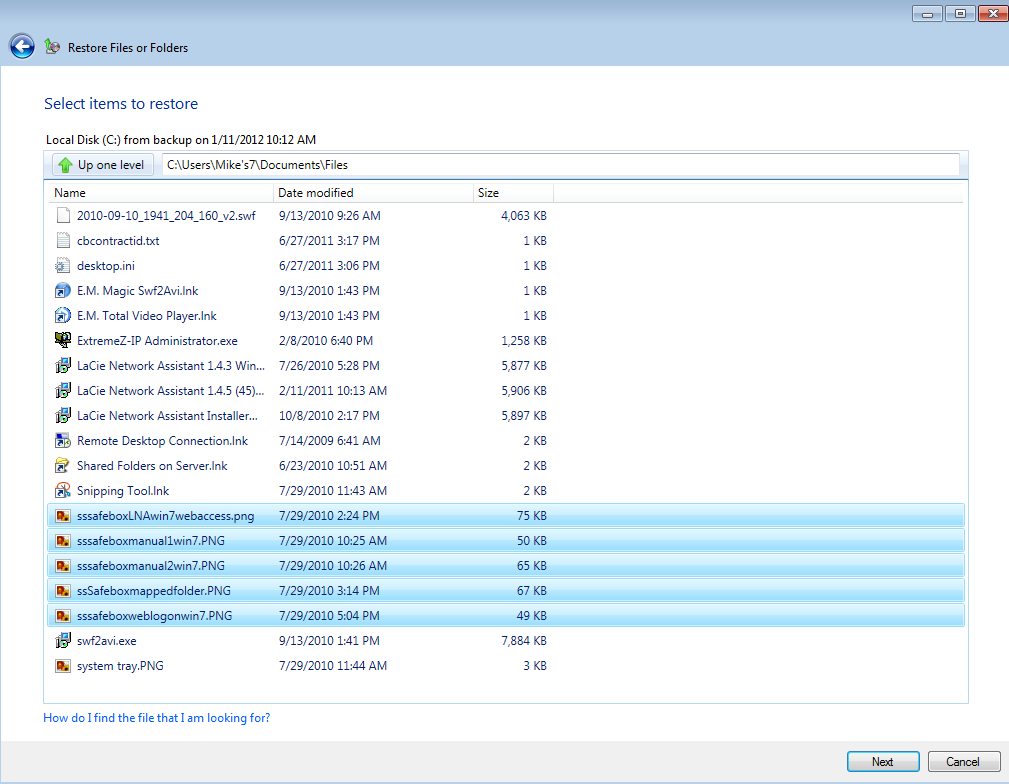 Opening a folder to reveal files available to restore
- Click Next after you have chosen all the files to be restored.
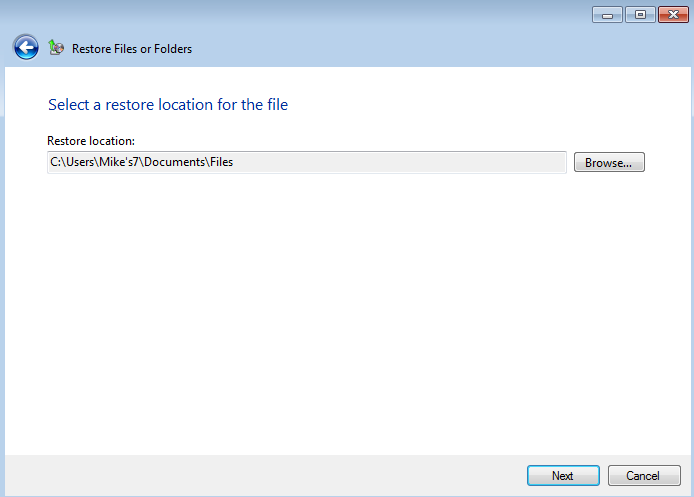
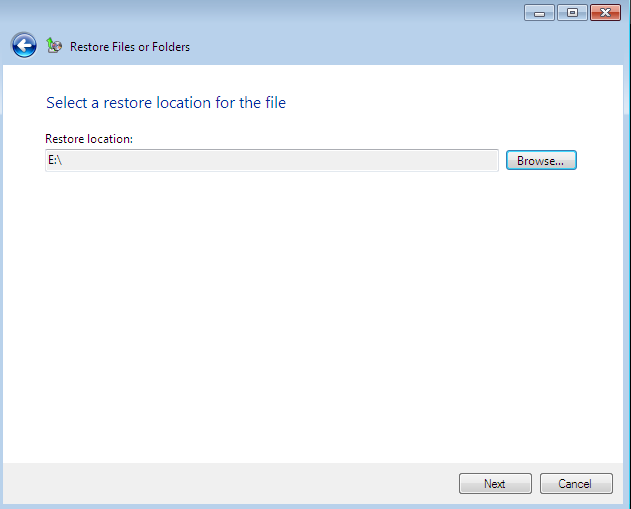
- Choose a location to restore the files.
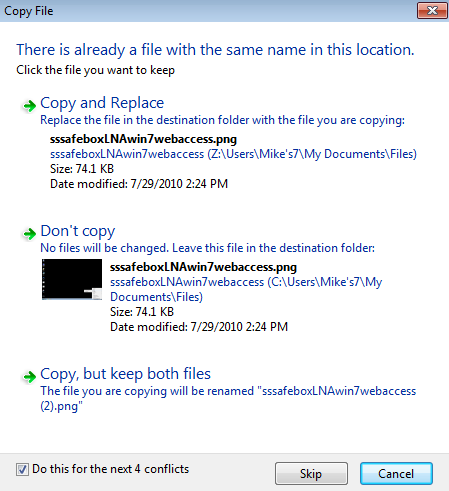
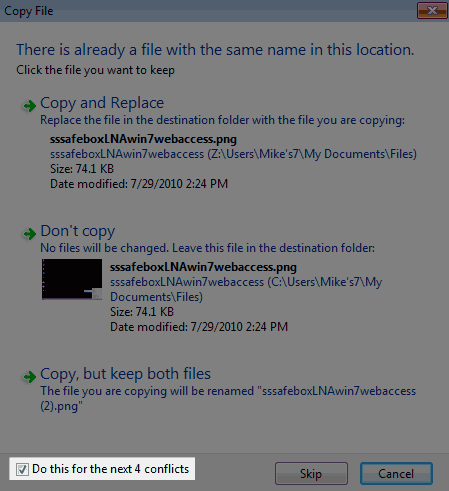
- If the file already exists in the location, the restore will ask how to proceed. Please read all the options carefully. If you are restoring multiple files, you can check the box on the bottom left of the window to avoid seeing the message again. To proceed, click on the option that is optimal for your restore.
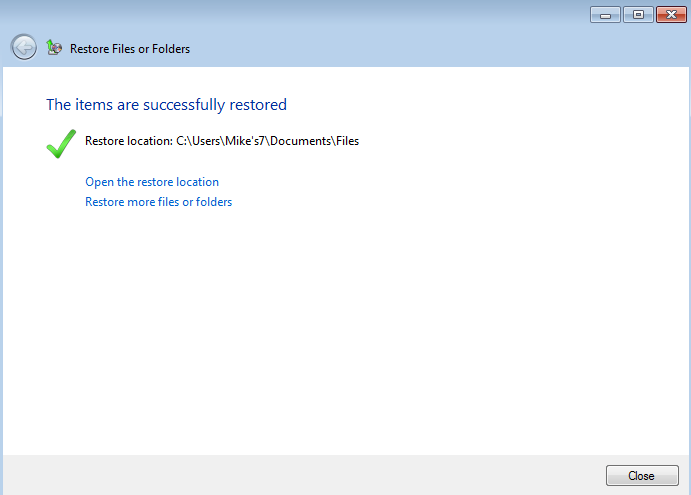
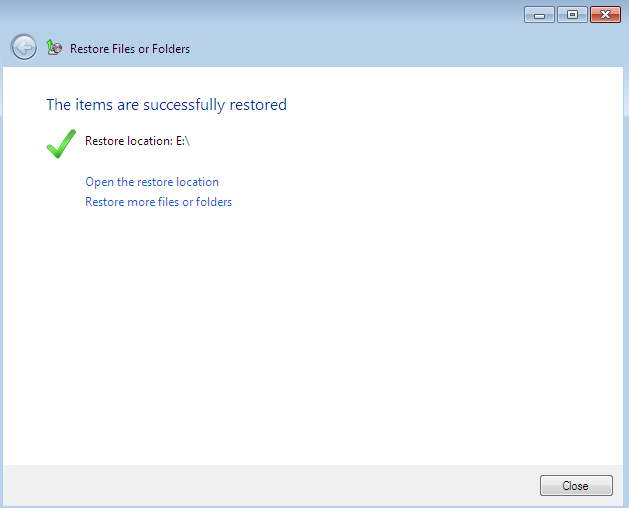
- The restore will prompt you when it has finished. Click Close to exit the window.


Full System Restore
To perform a full system restore, the server requires that the workstation boot from a USB boot key. Therefore, you will be prompted to insert a USB flash drive into one of the server's USB 2.0 ports as part of the recovery operation. LaCie recommends using a flash drive that does not contain important files since all data will be deleted during the boot key creation.
Create the boot key
- Launch the Dashboard from a Windows workstation on the same network as your LaCie server. Start > All Programs > Windows Home Server 2011/Windows Storage Server 2008 R2 > Windows Home Server 2011 Dashboard/Windows Storage Server 2008 R2 Dashboard.
- Select the Computers and Backup tab.
- Click on the workstation you wish to restore.
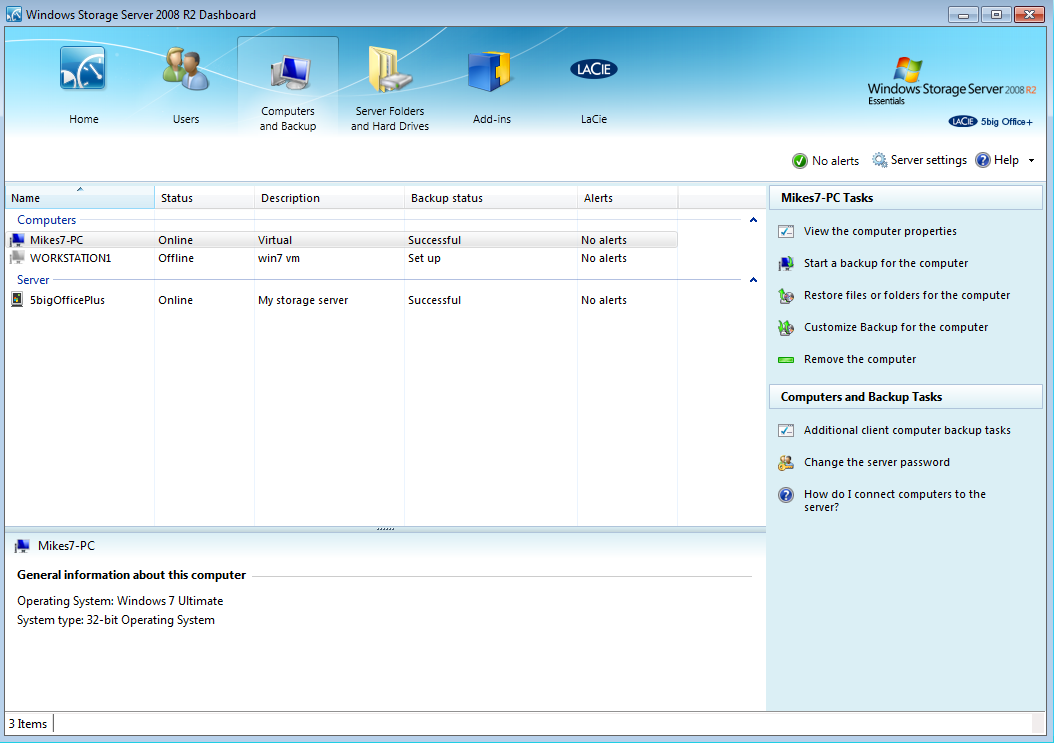
- The right side of the window includes a section entitled Computers and Backup Tasks. Click on the option Additional client computer tasks.

- Choose the tab Tools in the Additional client computer backup tasks window.
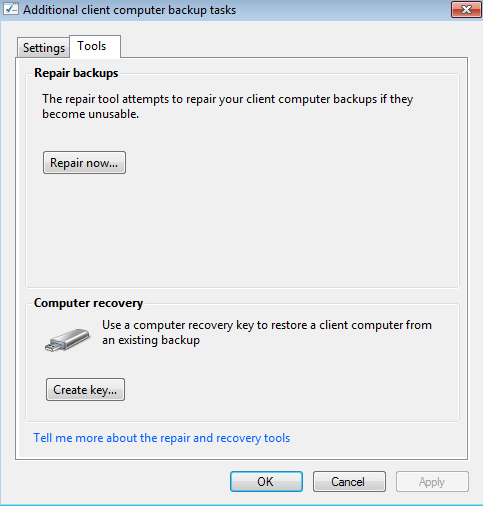
- Click on the button Create key…

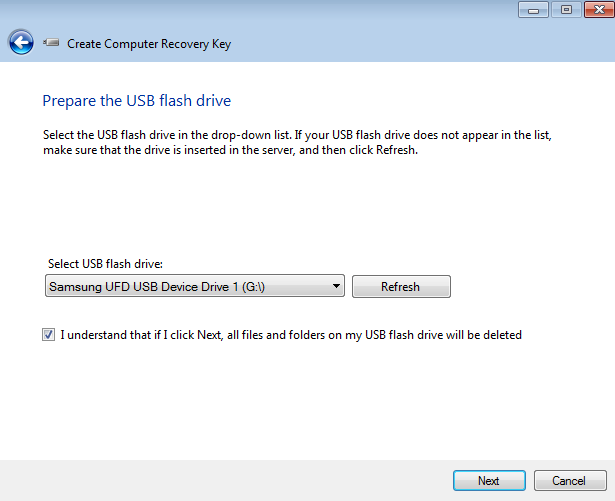
- Please read the window carefully before attaching the USB flash drive to one of the USB 2.0 ports on the back of the server.
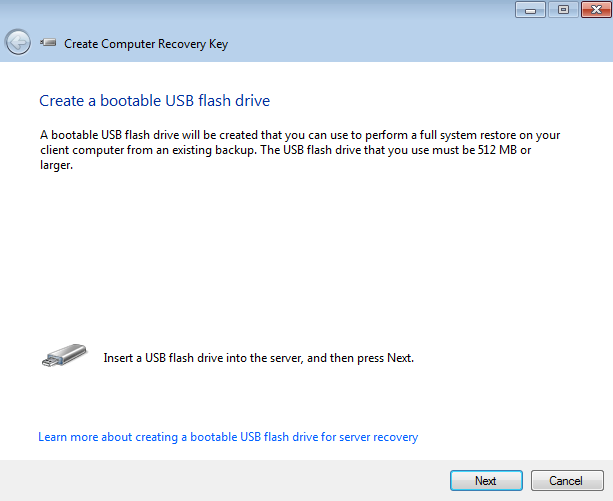
- Click Next.
- If your USB flash drive is not listed, use the pulldown menu to find it.
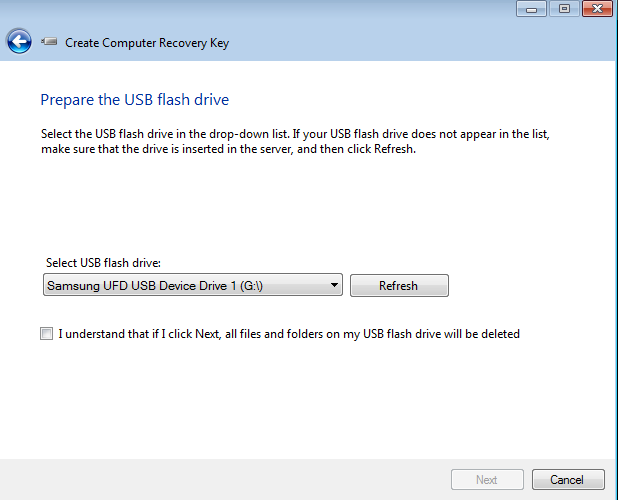
- Click the checkbox next to I understand that if I click Next, all files and folders on my USB flash drive will be deleted.
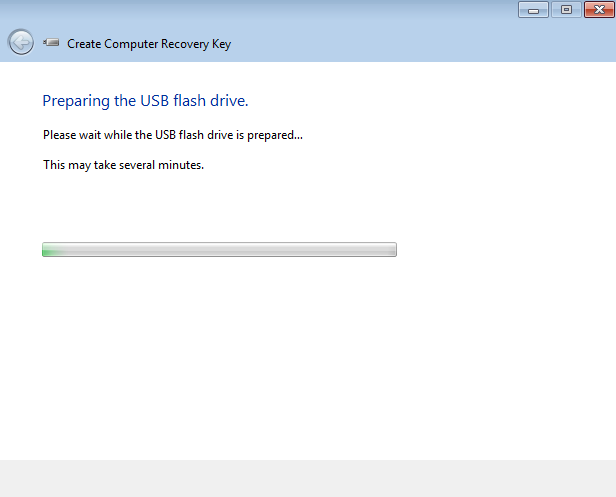
- Click Next. The server will take a bit of time to create the boot key.
- Once the boot key has been created, the server will prompt you to remove it from the server. Please keep it in a secure location since you will need it to perform the workstation system recovery.
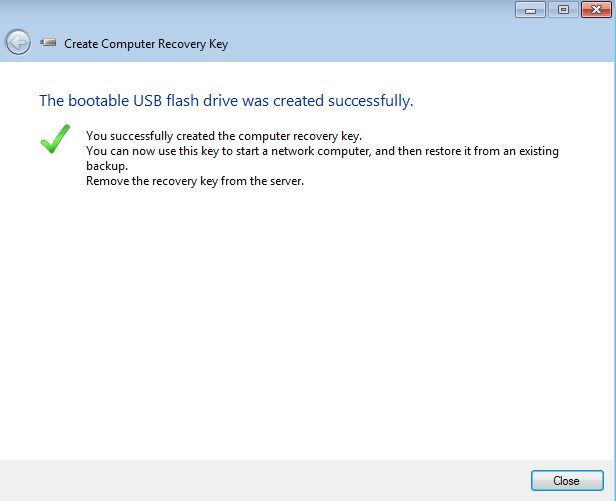
- Click Close to exit the window.


Restore the workstation
Before attempting a system restore, please see the steps above for creating a boot key.
- Insert the USB boot key into one of the workstation's USB ports.
- Boot the workstation from the USB boot key. Please make certain that the option to boot from a USB device is set in the workstation's BIOS.
- The boot key will prompt you to select your region and keyboard. Click Continue.

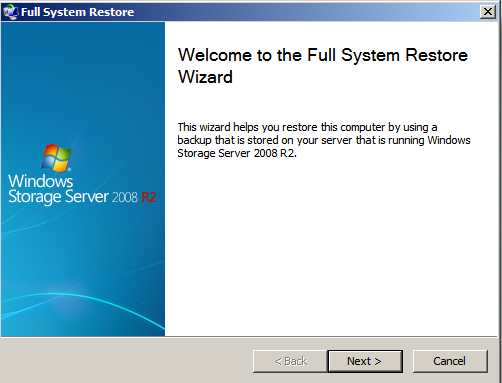
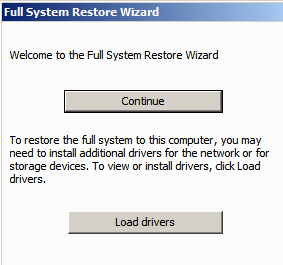
- The Full System Restore Wizard will walk you through each step.
- LaCie recommends selecting Continue so that the server may start the recovery. In most instances, you will have all the drivers required for the full system restore. If you receive a prompt asking you for drivers or you wish to add them manually, please make certain they are available on a separate storage device and select Load drivers (see Manually Loading Drivers for the Windows Recovery (Optional).

- Otherwise, click Continue.
- Click Next at the Welcome window.
- Select the server that you have been using for backups. Use the pulldown menu to find the backup source if you have more than one server on the network.
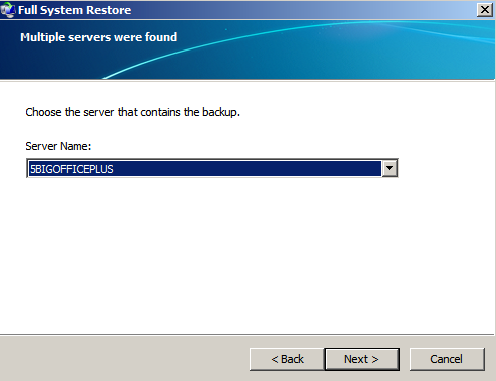
 Multiple servers on the network
 - Click Next.
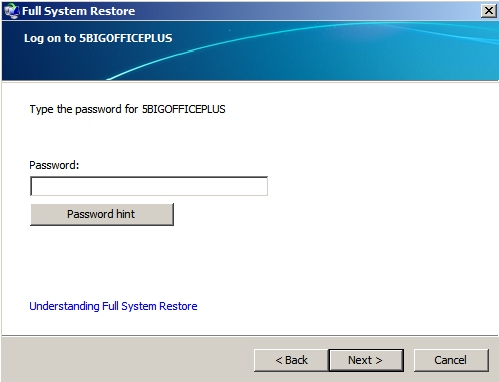
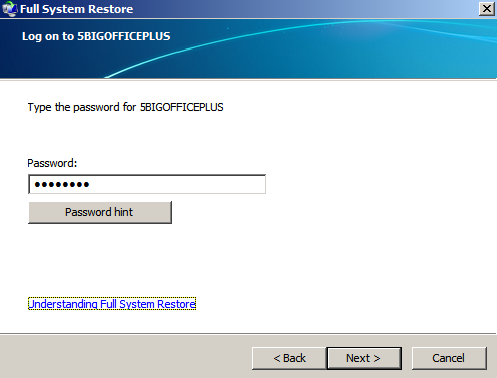
- Enter the administrator password.
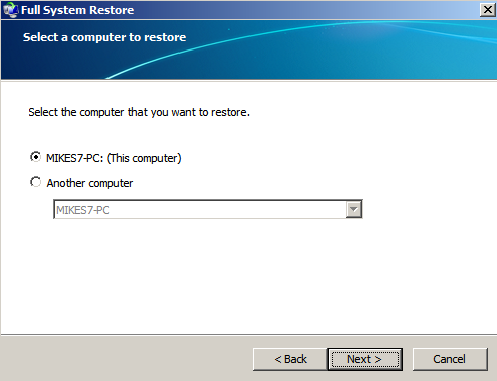
- Choose the workstation that you wish to recover.
- From the list of available backups, please choose the backup you wish to Restore. In our example there is only one backup but you will see several with the passage of time.
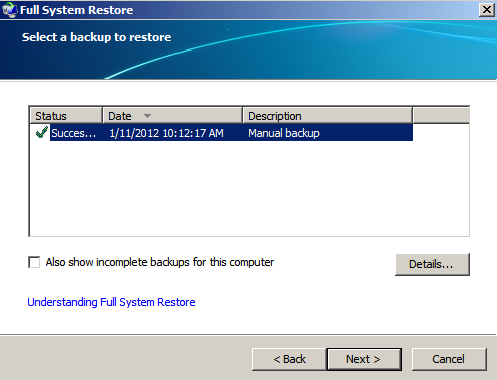
- Click Next.
- You have the option to let the Wizard restore the computer or to manually select files. Unless you know of files that you do not wish to recover, LaCie recommends that you allow the Wizard to perform the restore.

- Choose the volumes to use for the Restore. Please note that the restore will format the volumes before copying the data.
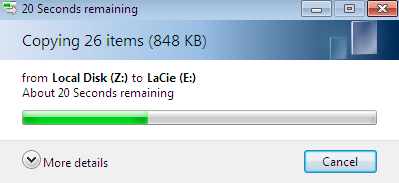
- The time to complete the operation is based upon the amount of data you are restoring. You will be prompted once the Restore is complete.


Manually Loading Drivers for the Windows Recovery (Optional)
While your LaCie professional server provides a complete backup of connected Windows workstations, the recovery may encounter difficulty installing all the drivers. For example, recent computers or proprietary hardware often demand specific drivers for the network connection or internal hard drive. For this reason, the server places certain drivers in a special folder called Drivers for Full System Restore.
Provided that a workstation has been backed up to your LaCie professional server, you may save drivers within the Drivers for Full System Restore folder to a USB key before performing the recovery. Please note that drivers are available from any workstation on the network that has been connected to the LaCie professional server. For example, if Windows Workstation A is no longer responsive and you must perform a full recovery, its system drivers may be retrieved from Windows Workstation B on the same network.
Save the drivers to external storage
To find the folder:
- Before starting, please make certain that the server is not backing up computers on the network.
- Connect an external USB hard drive to the computer you are using. LaCie recommends a USB Key since the folder Drivers for Full System Restore does not require more than 1GB of storage capacity.
- Launch the Dashboard.
- Select the Computers and Backup tab.
- Right-click on the computer that you will be recovering and choose Restore files or folders for the computer. (Even if the computer is not active and its image is grey, you can still access the backups).
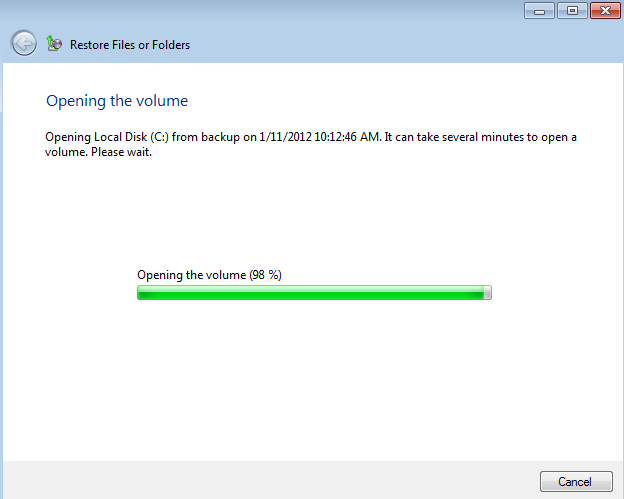
- Select a backup and click Next. In the example below, the server is opening the most recent backup.
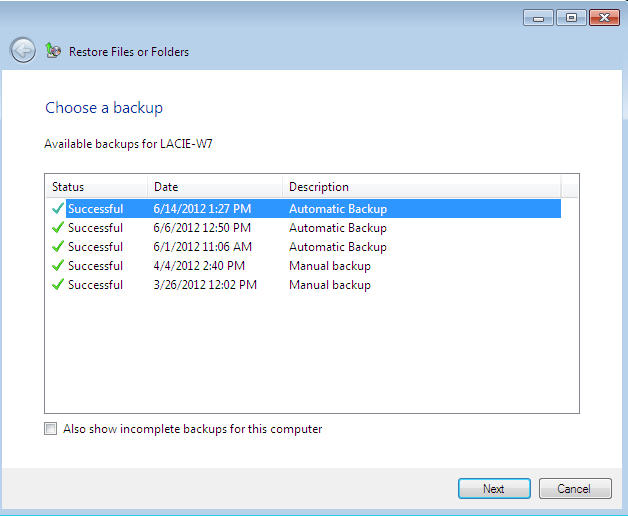 Select a backup
 The server will retrieve the backup files
 - The folder Drivers for Full System Restore is not available on the initial prompt. Click on Up one level two times until the the folder appears.
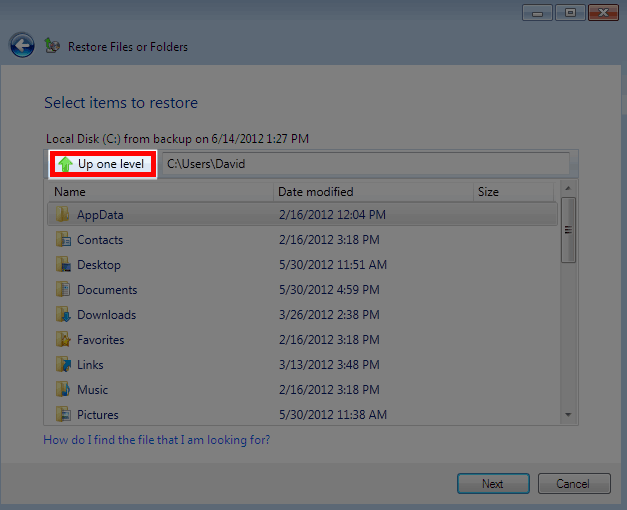 Click Up one level
 Click Up one level a second time
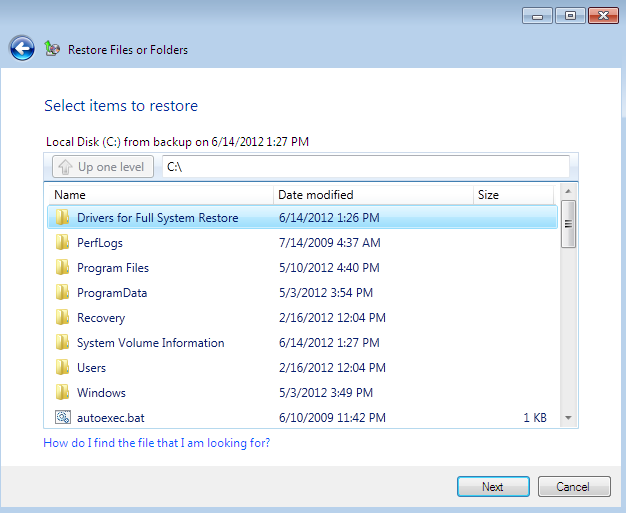 The folder Drivers for Full System Restore is available
 - Click Next.
- Locate the external storage.
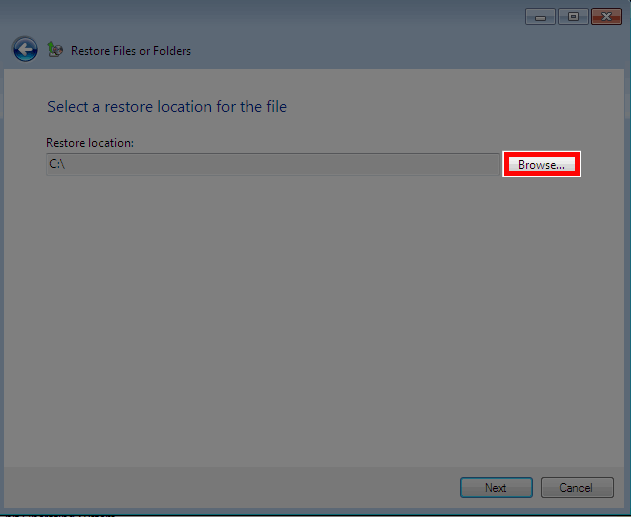 Click Browse to locate external storage
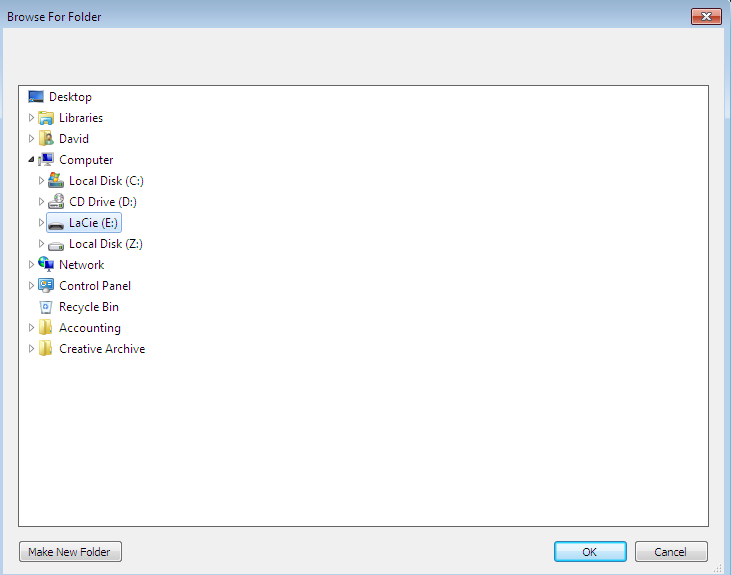 Select the storage and click OK
 Click Next
 - The server will save the drivers to the external storage.
 The Drivers for Full System Restore folder will be saved to the external storage
 - The server will prompt you when the backup is complete. Click Close to exit.
 The drivers have been saved to the external storage


Load the drivers manually (Optional)
Important info: You may skip this section if you have successfully restored your workstation.
- If you see a prompt similar to the example below, click OK to continue. Go to the next step if you are adding drivers manually.

- Click Load Drivers.
- At the Detect Hardware prompt, click Install Drivers…

- Confirm that the external storage device with the Drivers for Full System Restore folder is connected to your workstation then click Scan.

- The driver will be retrieved. Click Continue.


© LaCie 2024
Last modified : Mar 01, 2013