Table of Contents
Manage RAID
About RAID modes
Review the table below for an overview of the different RAID modes:
| RAID mode | Capacity | Protection | Speed | Factory default |
|---|---|---|---|---|
| RAID 0 | 100% | None | Excellent | Yes |
| RAID 1 | 50% | Excellent | Good | No |
RAID 0: RAID 0 is the fastest RAID mode. In a RAID 0 array, the available capacities of each hard drive are added together so that one logical volume mounts on the computer. It offers the best performance but no data protection should a hard drive fail.

RAID 1: RAID 1 provides data protection since all data is written to each hard drive at the same time. In the event of a single hard drive failure, data remains available on the other hard drive. Due to the time it takes to write the data twice, performance is reduced when compared to RAID 0. RAID 1 is a good choice when safety is more important than speed. However, RAID 1 also reduces the available drive space by 50% due to the need to write every bit of data to each hard drive.

Check the RAID level
You can check the current RAID level in LaCie Desktop Manager (see LaCie Desktop Manager) or by using the RAID select button.
To check the RAID level using the RAID select button:
- Confirm that the Rugged RAID is connected to a computer and powered on.
- Locate a thin, pointed object such as the end of a paperclip.
Follow the steps below:
- Use the pointed end of the paperclip to push the RAID select button. The RAID select button is located within a small recess.
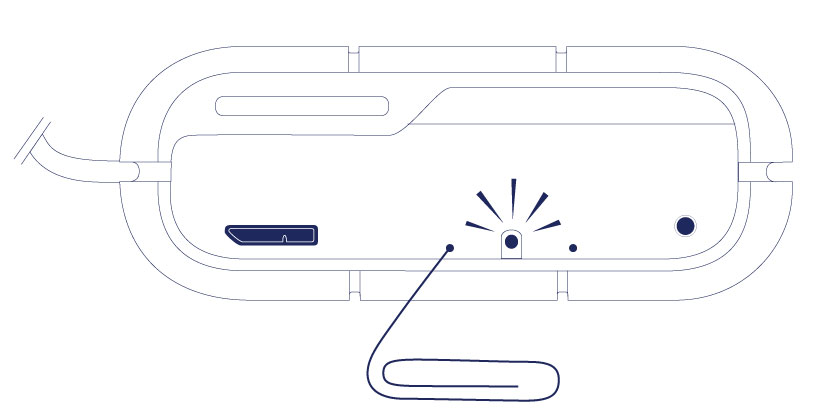
- The RAID LED:
- Turns solid if the device is set to RAID 0.
- Blinks if the device is set to RAID 1.

The RAID LED provides the current level for approximately 5 seconds.
Modify the RAID level
Consider the following before moving to the steps below:
- Confirm that the Rugged RAID is connected to a computer and powered on.
- The RAID select and RAID confirm buttons are located within small recesses. To push them, you can use a thin pointed object such as the end of a paperclip.
- Know the the RAID level you want to use.
- Step 4 is time sensitive.
- Unmount the LaCie Rugged RAID’s volumes from your computer (see Unmounting Your Hard Drive).
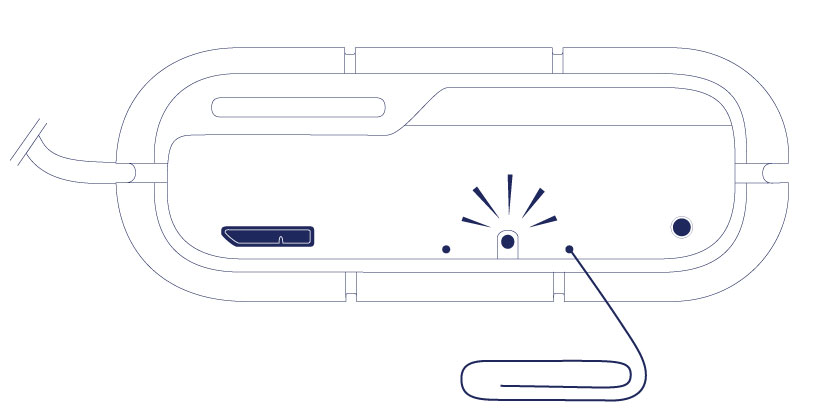
- Use the pointed end of the paperclip to push the RAID select button two times. Make certain that the second push is applied immediately after the first push.
- The RAID LED:
- Turns solid if the device will be changed to RAID 0.
- Blinks if the device will be changed to RAID 1.
- Use the pointed end of the paperclip to push the RAID confirm button. The RAID confirm button must be pushed within five seconds of completing the second push of the RAID select button. The Rugged RAID restarts after pushing the RAID confirm button.
- Once the Rugged RAID has restarted, your computer prompts you to initialize the new volume. You must initialize and format the hard drives for use with your computer (see Optional Formatting and Partitioning).
