User Tools
Site Tools
Porsche Design Desktop Drive
User Manuals Print page
 Save page as PDF
Table of Contents


Table of Contents
Getting Connected
Caution: Do not stack multiple LaCie Porsche Design P'9231 hard drives, as they may overheat.
Installing your LaCie hard drive is easy for all users thanks to LaCie Setup Assistant. Please follow the setup steps in the order they are given to ensure that your LaCie hard drive's volume mounts correctly on your computer.
STEP 1 - Connect the Power Cable
- Connect the appropriate wall plug adapter for your country to the power supply.
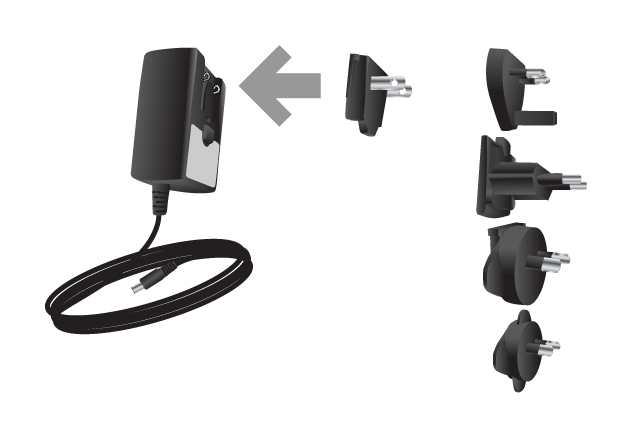
- Connect the power supply to a wall outlet and to the drive.
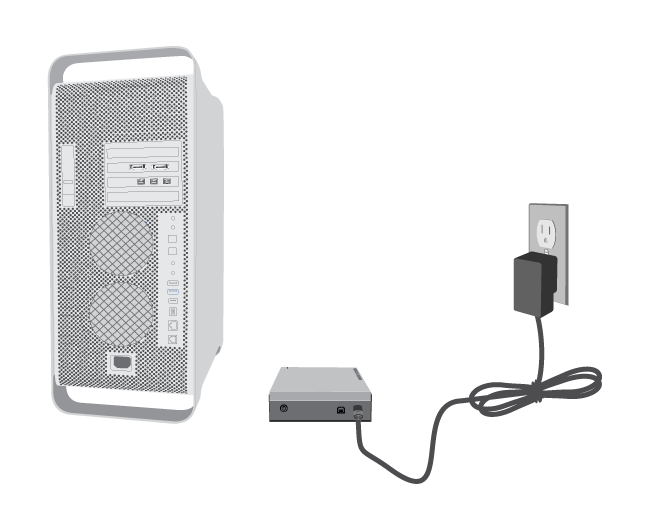


STEP 2 - Connect the USB Cable
Connect the USB cable from the drive to the computer.

STEP 3 - Turn on the Drive
Turn on the drive by pressing the power switch. The drive will mount in My Computer (Windows XP), Computer (Vista or Windows 7) or on your desktop (Mac).

Note: If the drive does not mount on your computer, see troubleshooting topics at Getting Help.
STEP 4 - Launch LaCie Setup Assistant
LaCie Setup Assistant (LSA) must be launched before using your drive. It will allow you to:
- Easily format the hard drive according to your needs
- Copy the User Manual to your computer
- Install software for added features
- Register your LaCie device
Important info: If you do not launch LSA or if you quit it after the formatting has begun, your drive will not be ready to use and will require manual formatting. The User Manual and utilities will not be available and will have to be downloaded from the LaCie website: www.lacie.com/support/.
Launch LaCie Setup Assistant
Windows users
AutoPlay: Windows AutoPlay may detect your LaCie hard drive as soon as it is connected to your computer. If the AutoPlay window appears, choose Open folder to view files using Windows Explorer and double-click LaCie Setup.

Manual access: Open the LACIE SETUP volume in Computer (My Computer for Windows XP) and double-click LaCie Setup.

Mac users
Open the LACIE SETUP volume on your desktop and then double-click LaCie Setup

Setup
LaCie Setup Assistant does not prevent you from using your computer's native disk utility program to format or partition your LaCie drive. Simply follow the Setup Assistant through completion, then use Disk Management for Windows or Disk Utility for Mac to reformat your drive.
Important info for Windows users: While running LaCie Setup Assistant, generic pop-up windows may ask if you wish to change your computer's settings. This is a normal request when formatting a disk or installing certain software, such as Genie Timeline. To successfully complete LaCie Setup Assistant, LaCie recommends that you agree to change the settings.


Important info for Mac users: You may be prompted to enter your computer password to continue with LaCie Setup Assistant.
Important info regarding Mac OS X: Certain versions of LaCie Setup Assistant are not compatible with USB connections on Macintosh computers running Mac OS X 10.11, also known as El Capitan. If LaCie Setup Assistant experiences problems, you can try connecting your LaCie storage using another interface port on your computer (e.g. FireWire 800 or Thunderbolt). If you are unable to use another interface port, format your LaCie hard drive using Disk Utility. For instructions on how to format your LaCie hard drive for Mac, see the chapter Formatting and Partitioning > Mac Users.
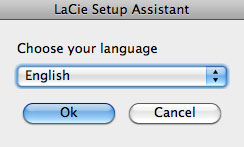
Follow the on-screen instructions as listed below to format your drive and install software utilities:
- Select your language.
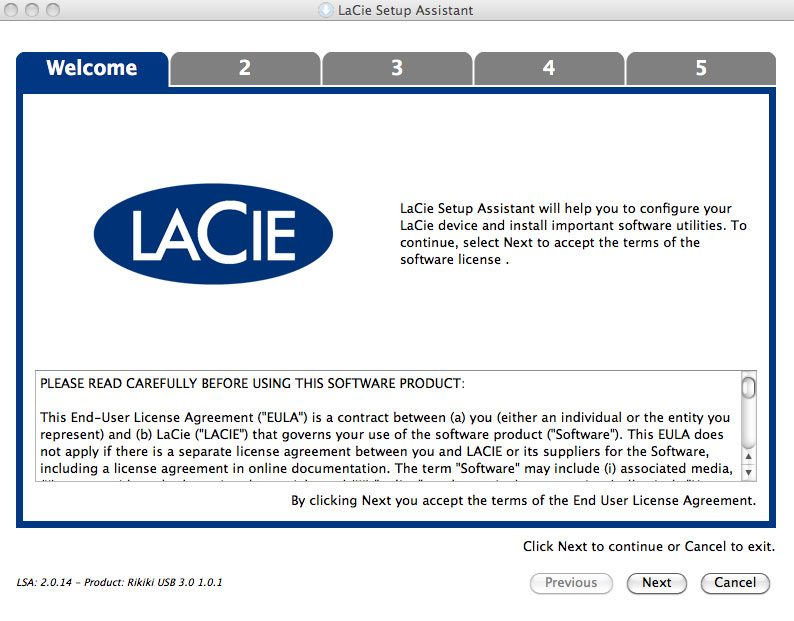
- Read the license agreement before choosing Next. Selecting Next confirms that you accept the license agreement.
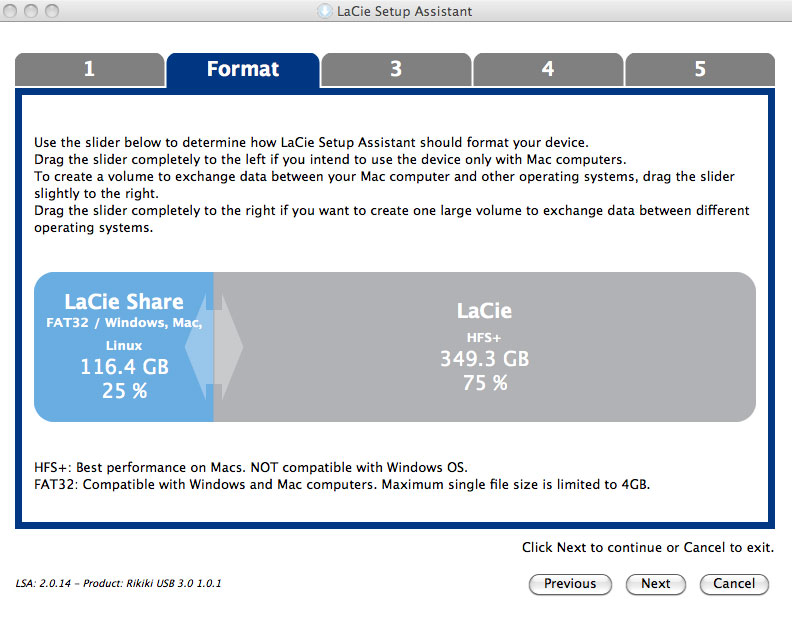
- Use the slider to partition your LaCie hard drive. Moving the slider to the left will reduce the size of the Compatible volume (called LaCie Share on some products) (for Windows and Mac). If you do not want the Compatible / LaCie Share volume, move the slider all the way to the left. The LaCie volume will be formatted for your operating system, NTFS for Windows and HFS+ for Mac. Once you have made your selection, choose Next to begin the format.
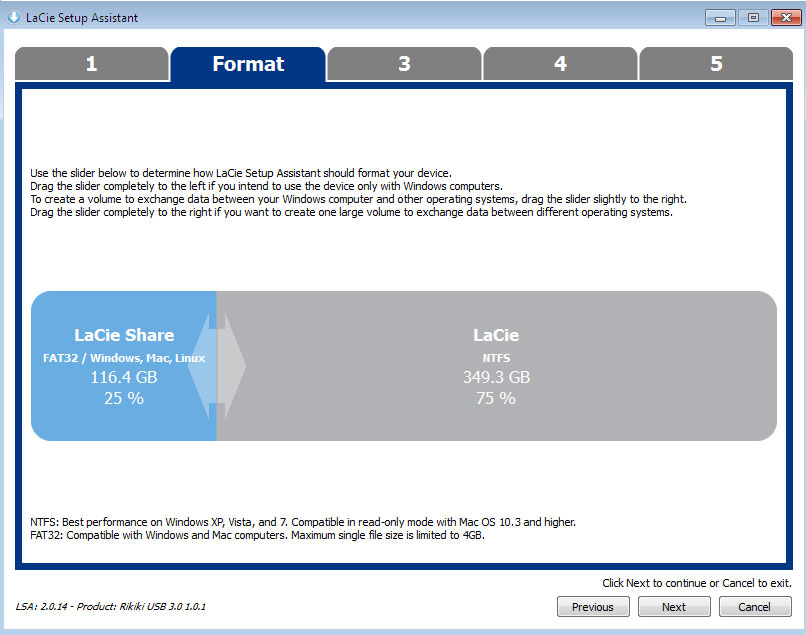

Windows
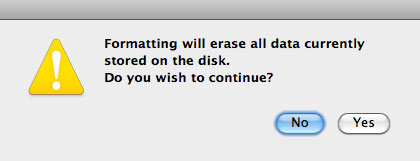
Mac - A window prompt alerts you that the disk will be formatted. Select Yes to continue.
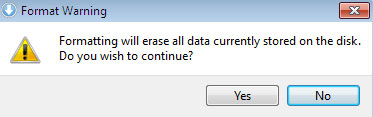
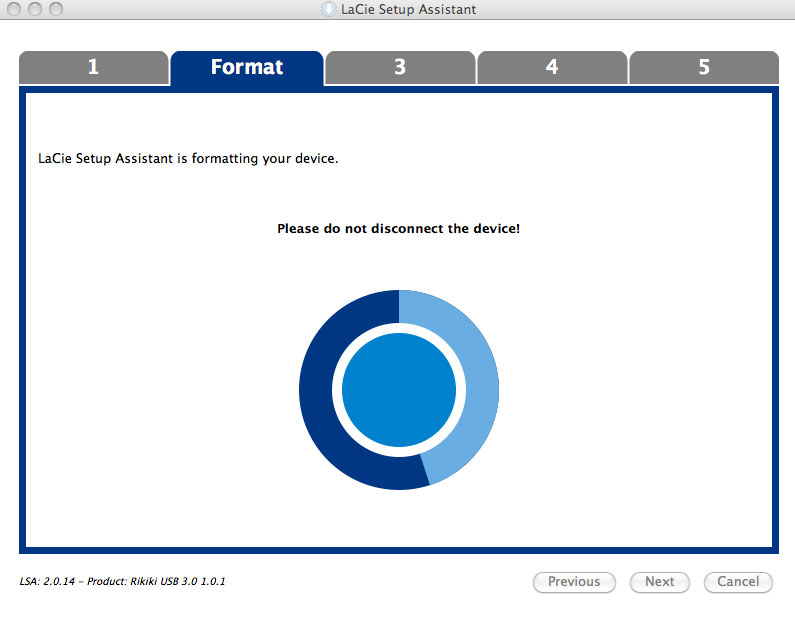
Windows
Mac - LaCie Setup Assistant will format the hard drive.
- Register your LaCie device. Choose Next to continue.
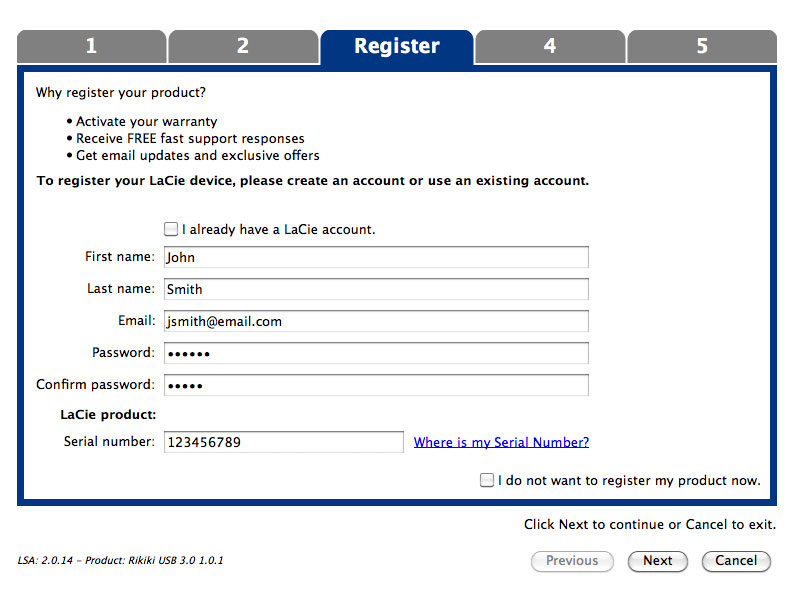
New Account
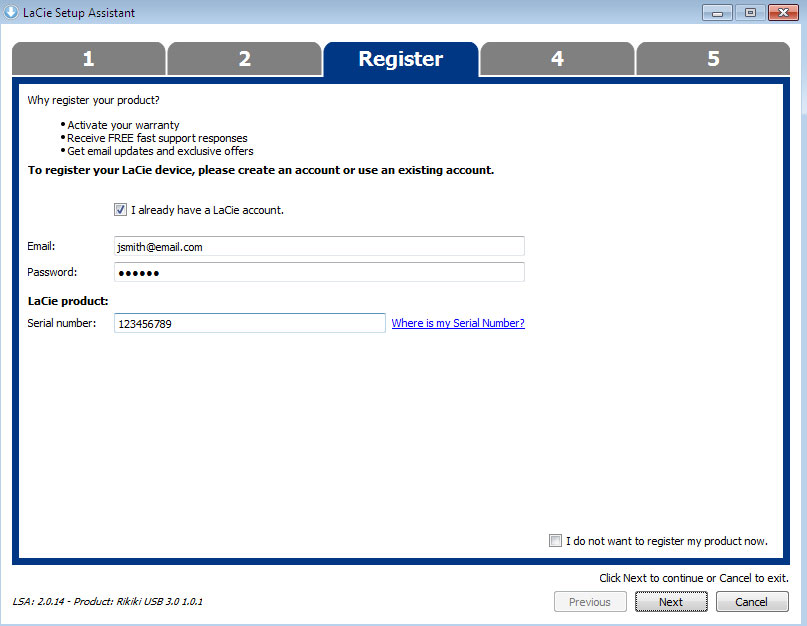
Existing Account - Choose the software utilities that you want to install. Certain software utilities may begin to install before LaCie Setup Assistant has finished. Follow the software utility installer before completing LaCie Setup Assistant.
- Choose Next to continue.
- LaCie Setup Assistant provides a summary of the installation. Choose Finish to close the program. Your LaCie hard drive is now ready for use.


Software will be installed on the product's storage, not on your computer. It will be located on the volume entitled “Compatible” or “LaCie Share” if it exists, otherwise on “LaCie”.
LaCie software utilities may be installed at any time. Once the format is complete, the LaCie Setup Assistant application will be available on:
- LaCie: if you created one partition
- Compatible/LaCie Share: if you created two partitions
To install the software utilities, simply launch LaCie Setup Assistant and follow the steps listed above.
STEP 5 - Install LaCie Desktop Manager (Optional)
Install LaCie Desktop Manager to manage your drive's advanced functionality. See LaCie Desktop Manager for details.
© LaCie 2024
Last modified : Jul 22, 2013