User Tools
Site Tools
Technical Brief: Shared Folders
User Manuals Print page
 Save page as PDF
Table of Contents


Shared Folders - NFS
NFS Shared Folders offer support for:
- Linux workstations
- Virtualization
NFS shares may be created using the Server Manager on your LaCie professional server. You can easily access the Server Manager from any Windows workstation on the network. To create NFS shares, please follow the steps below.
Important info: LaCie does not recommend creating SMB shares using the Server Manager. Please launch the LaCie server Dashboard as explained in Shared Folders - SMB.
Share and Storage Management
- Launch Remote Desktop Connection from any workstation on the network. In most instances, it can be found at Start > Programs > Accessories > Remote Desktop Connection.
- Enter the name of your LaCie server and click Connect.

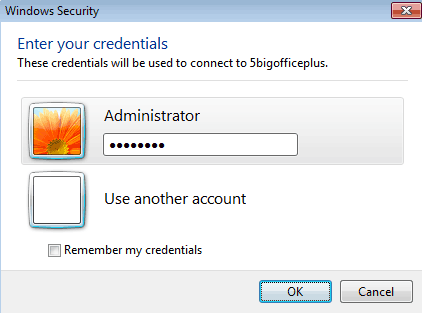
- Enter the username and password. Click OK.
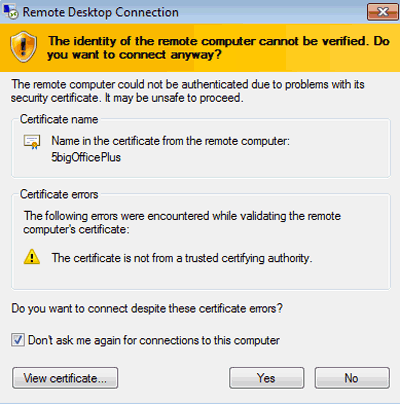
- A prompt may warn you about the identity of your workstation. To continue, please select Yes.
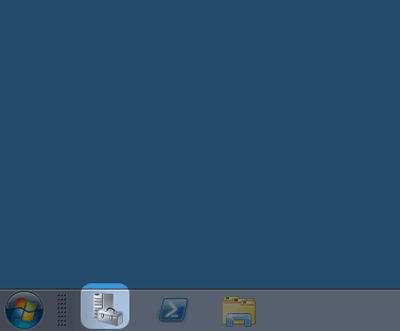
- You now have access to your LaCie professional server.

- Click on the icon for the Server Manager on the bottom left of the window.
- The Server Manager window will open.
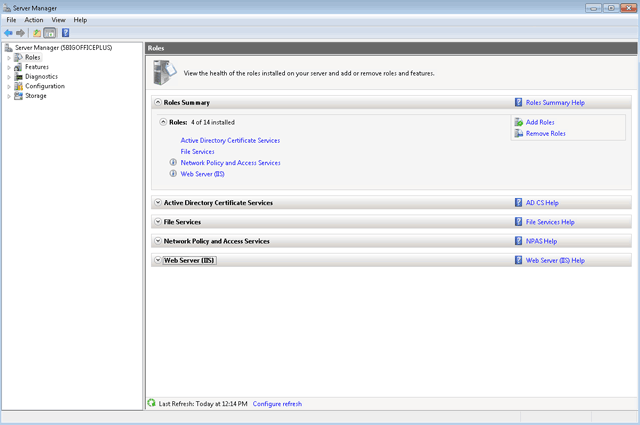
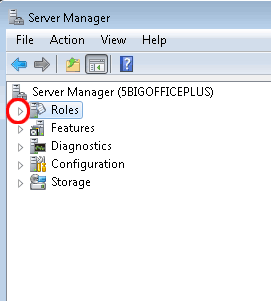
- Click on the arrow to the left of Roles.
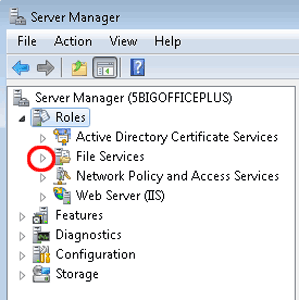
- Click on the arrow next to the left of File Services.
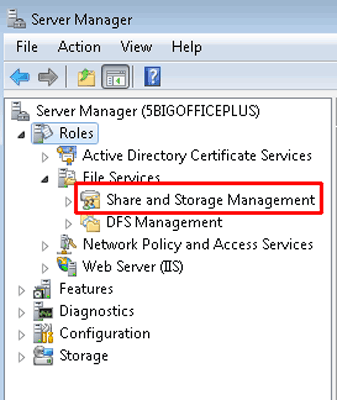
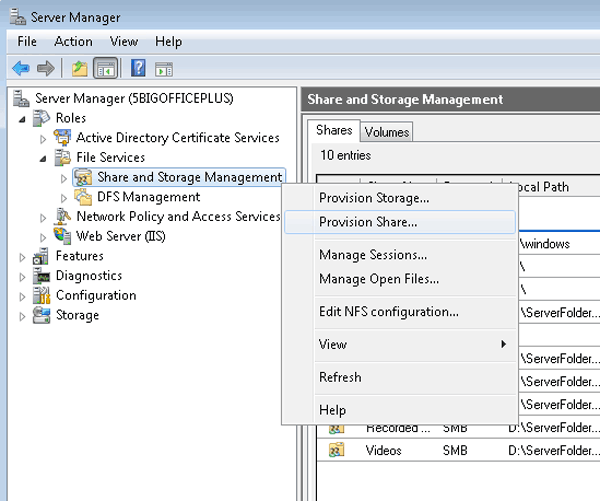
- Click on the words for Share and Storage Management. Please do not click on the arrow for this step.
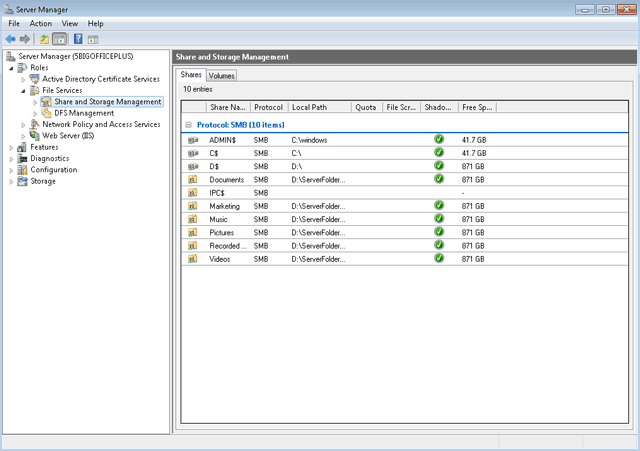
- Shares currently available on the LaCie server are listed in the window.
- Right-click on Share and Storage Management to select Provision Share…
- The Provision a Shared Folder Wizard will open.
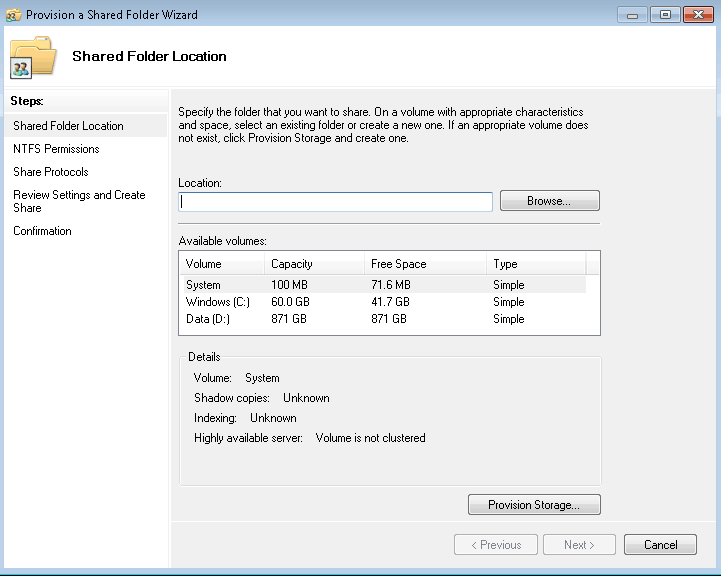
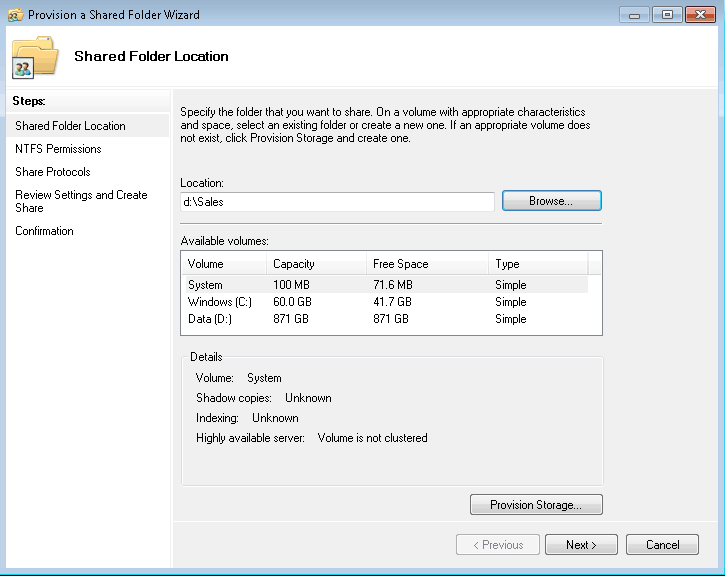
- Click Browse.
- Select the volume for the NFS share. In this example, we have chosen “d” since it is the LaCie professional storage volume.
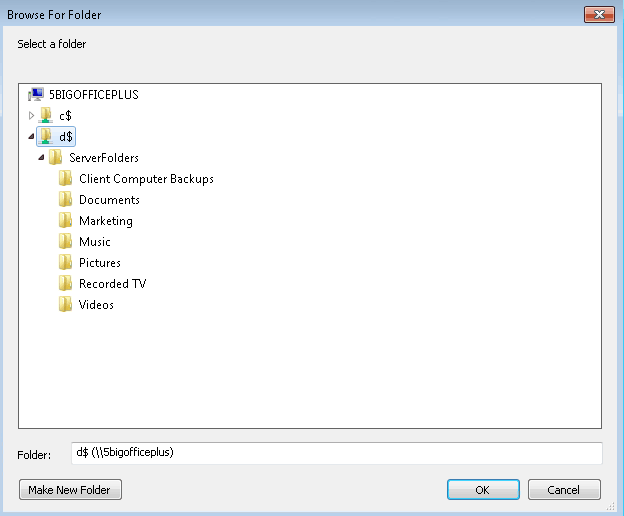
- Click Make New Folder.
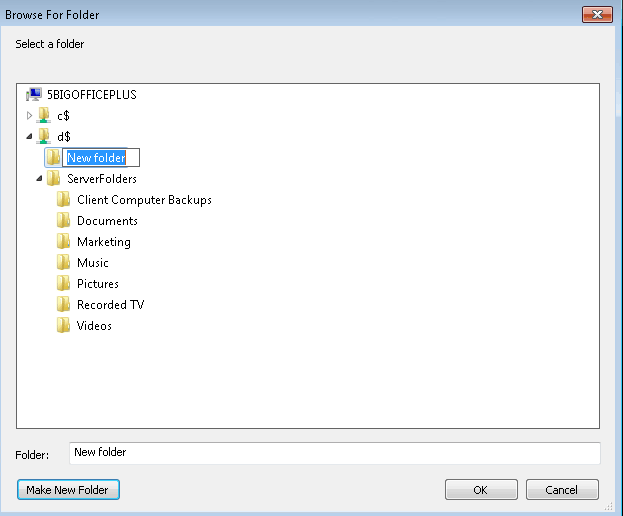
- Type the name for the NFS share. We have named this NFS share “Sales”.
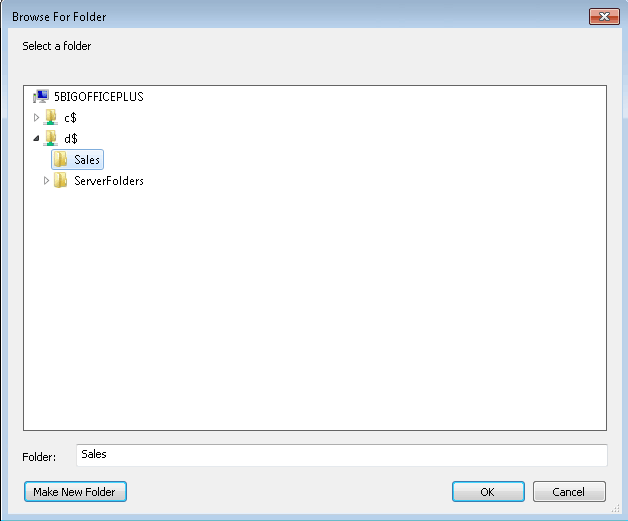
- Click OK.
- Once you have returned to the main window for the Provision a Shared Folder Wizard, click Next.
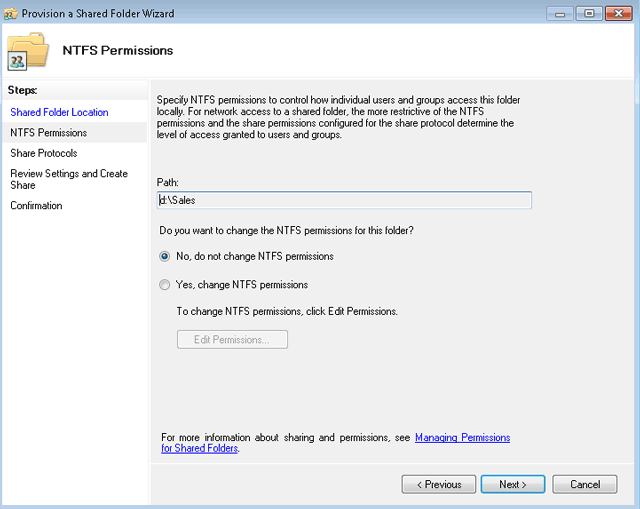
- You may adjust NTFS Permissions in this section. Click Next to go to Share Protocols.
- Check the box next to NFS . LaCie does not recommend creating SMB shares here. Please go to Shared Folders - SMB for instructions on creating SMB shares.

- Click Next for NFS Authentication.
- The NFS Authentication window offers advanced parameters to set user access to the NFS share. Please make certain that you know the level of authentication you wish to set. Once you are finished, click Next.

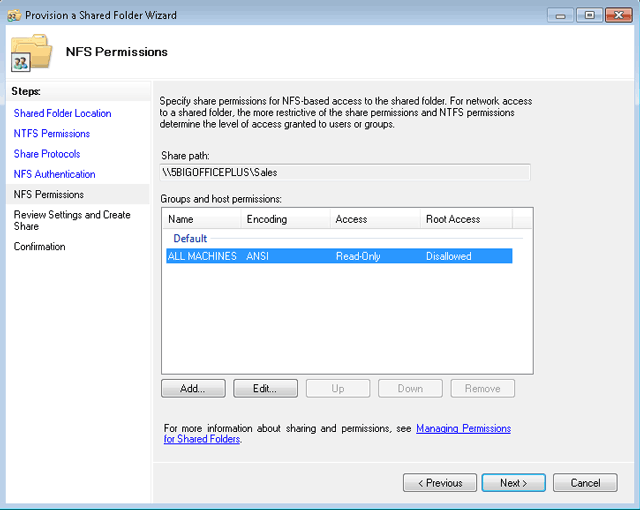
- NFS Permissions offers additional control over the users and groups that may access the NFS share. Once you have made your selections, click Next.
- Review and confirm all of your selections.
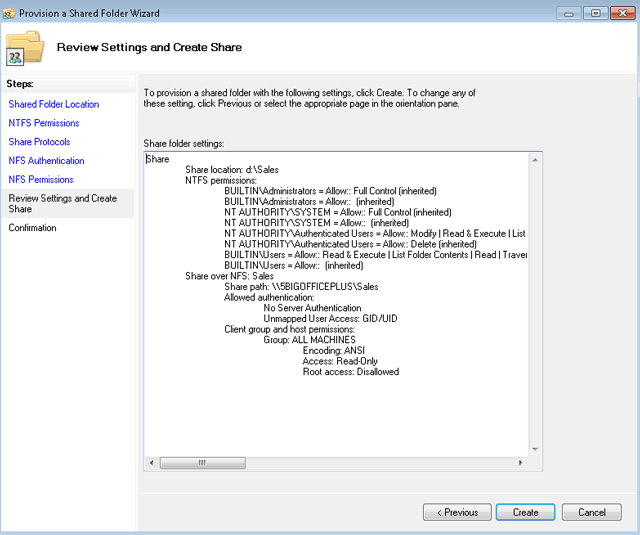
- Click Create.
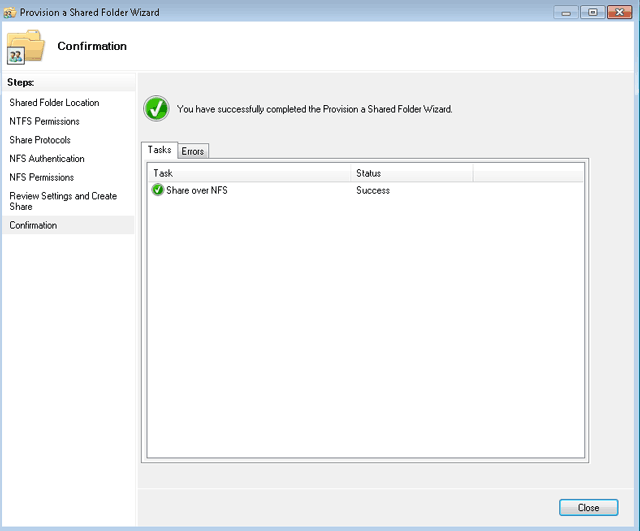
- A Confirmation window indicates that the NFS share has been created.
- The new NFS Shared Folder appears on the list of Shares.


© LaCie 2024
Last modified : Mar 01, 2013