User Tools
Site Tools
Technical Brief: Shared Folders
User Manuals Print page
 Save page as PDF
Table of Contents


Shared Folders - SMB
Creating SMB shares for Windows workstations is easy using the Dashboard.
Important info: While it is possible to create SMB shares with the Server Manager, LaCie recommends using the Dashboard only. Windows has integrated SMB Shared Folders into the Dashboard to better manage and organize data. A few simple steps allows you to create, adjust, or delete your SMB shares as desired. Additionally, features and attributes differ between the SMB shares created via the Dashboard and those configured using the Server Manager. LaCie cannot guarantee optimal operation when using the Server Manager to create SMB shares.
However, you must use Server Manager to create NFS shares. See Shared Folders - NFS for further information.
However, you must use Server Manager to create NFS shares. See Shared Folders - NFS for further information.
Dashbaord
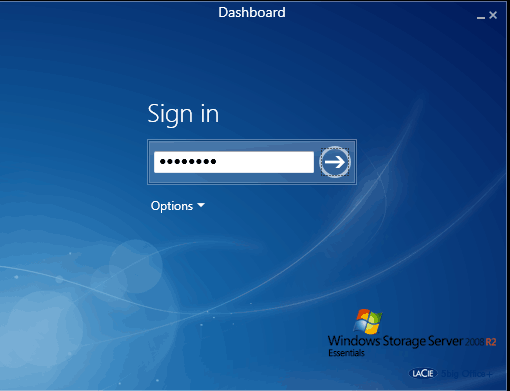
- Launch the server Dashboard from any workstation on the network.
- Enter your Administrator password.
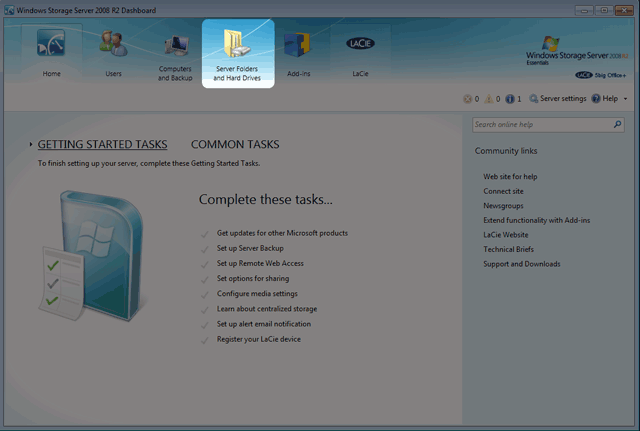
- Click on the tab Shared Folders and Hard Drives.
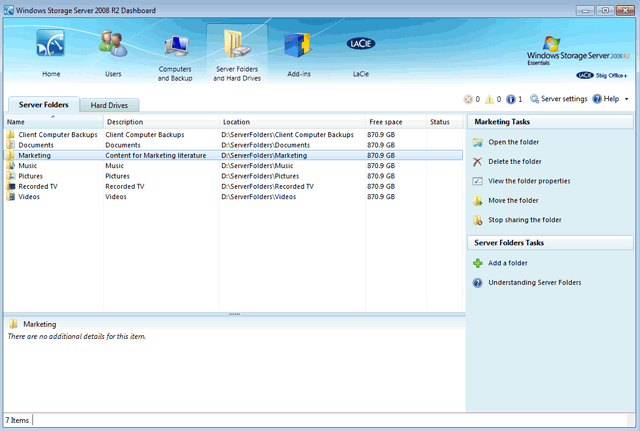
- Please note the default Shared Folders available on your server. All SMB shares may be managed from this tab.
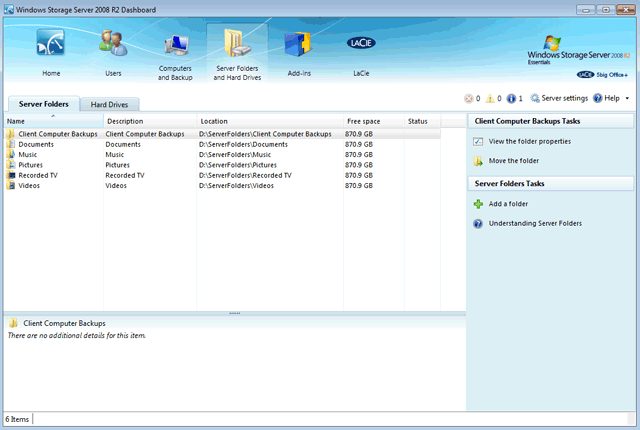
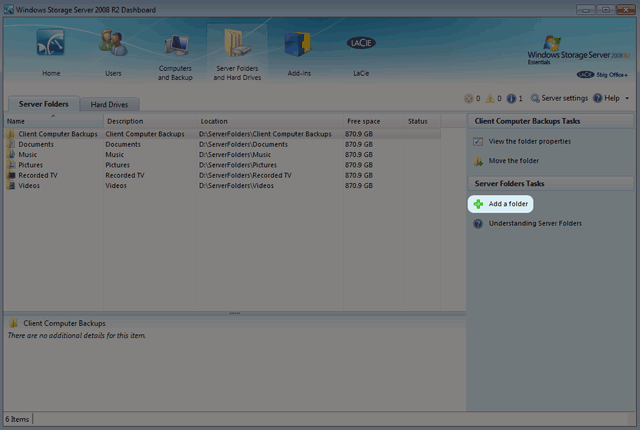
- To add a Shared Folder, click the green plus sign next to Add a folder.
- The Add a Folder window will appear. Please give the Shared Folder a name. In this example, it is called “Marketing”.
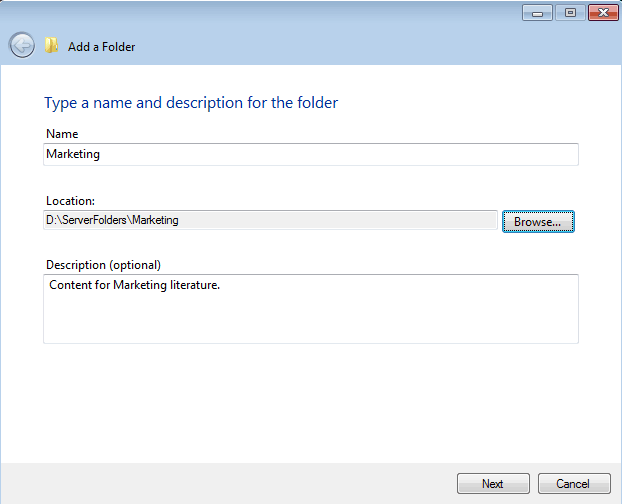
- Click Next.
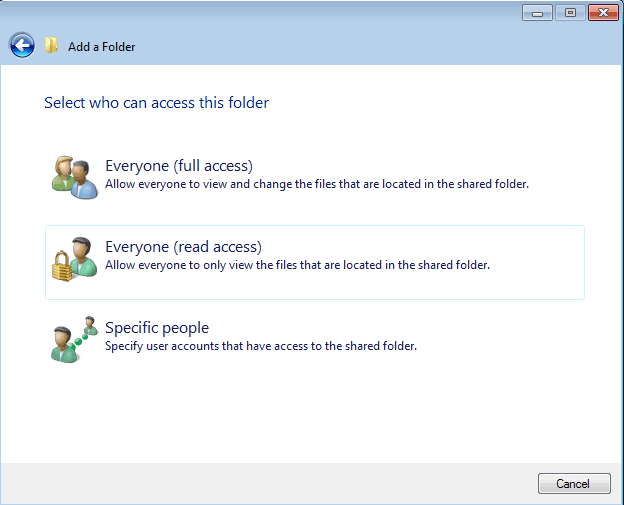
- Select access rights to the Shared Folder. You may choose read access for Everyone or full access (read/write) for Everyone. If you select Specific People, go to the next step. For read or full access, skip the next step.
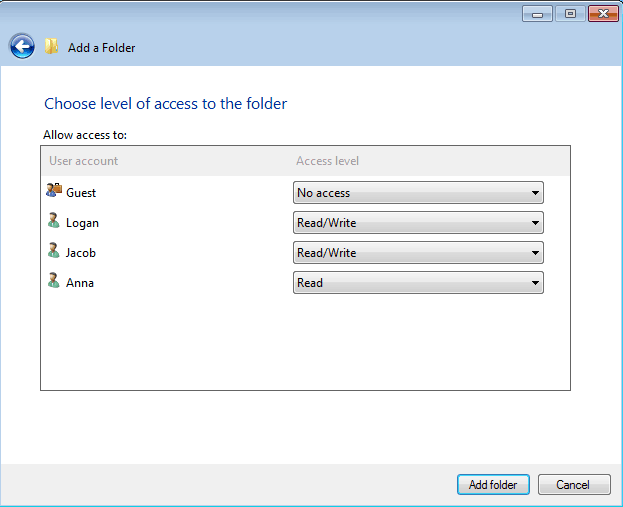
- A pulldown menu next to each user allows you to choose No access, Read, or Read/Write. Once you have made the selection for each user, click Add folder.
- You may confirm that your new Shared Folder will be backed up. Click Open to confirm the backup destination or Close to complete the creation of the share.
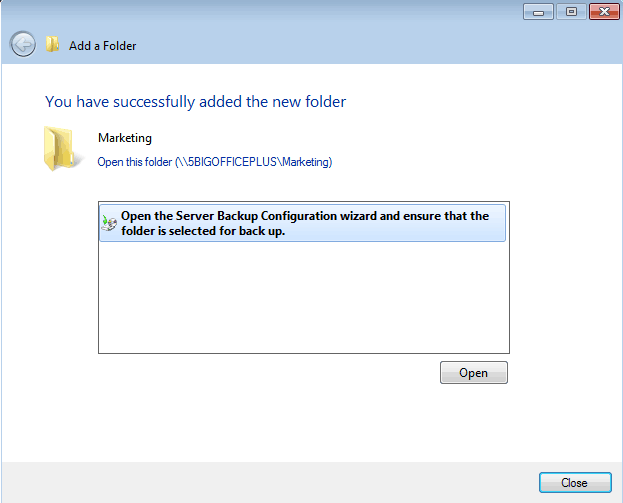
- The new Shared Folder is now available on the Dashboard.


© LaCie 2024
Last modified : Mar 01, 2013