User Tools
Site Tools
Technical Brief: DFS
User Manuals Print page
 Save page as PDF
Table of Contents


Table of Contents
Namespaces
Once DFS has been installed on your LaCie professional server, you can create Namespaces to organize Target folders and files.
Create the Namespace
New Namespace
- To launch the New Namespace Wizard, go to Start > Administrative Tools > DFS Management > New Namespace.
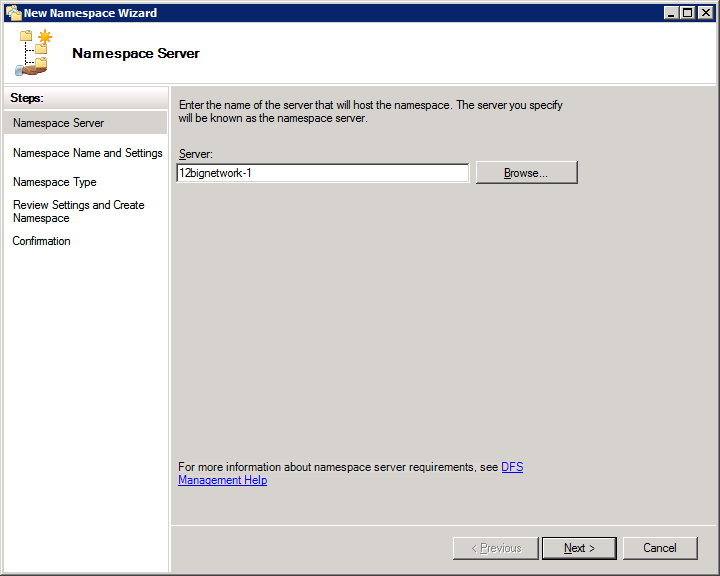
- The first window prompts you to select the server that will host the Namespace. You can type the name of the server or search for it using the Browse… button. Click Next>.
- Enter a name for the new Namespace.
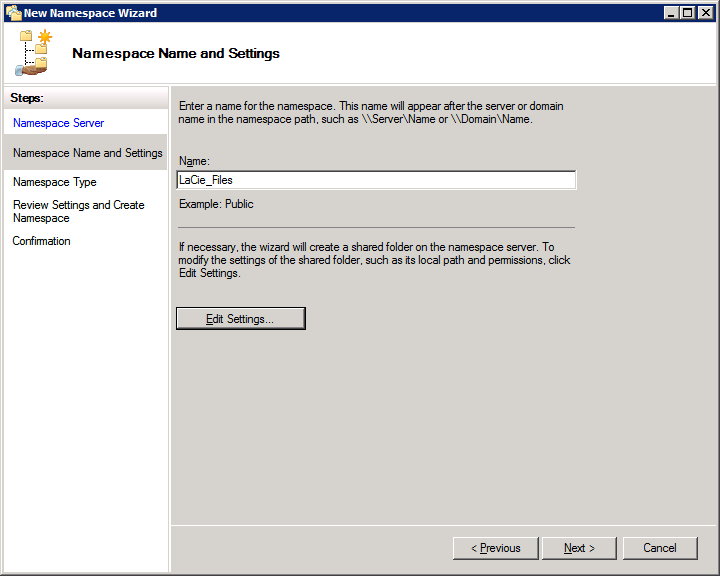
- To modify the settings for the Namespace, click Edit Settings… and see the next step.
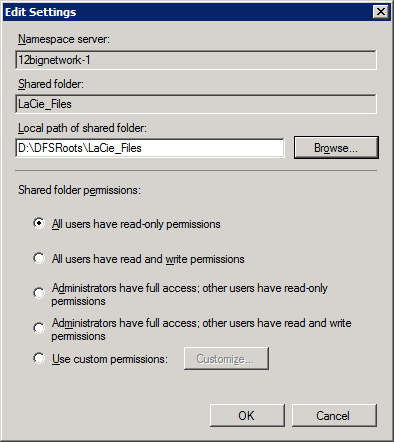
- In this example, we are creating a path for the Namespace in D, the letter assigned to the 12big Rack Storage Server-1 (12BIGNETWORK-1) Data volume. As a default, Windows Storage Server creates DFSRoots to better identify the DFS in comparison with other files. The name can be changed by the administrator. Click OK then Next>.
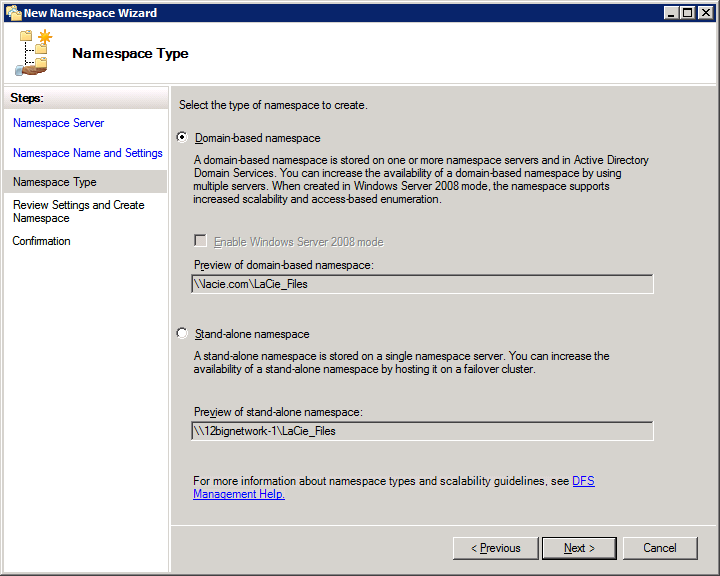
- Choose the type of Namespace you wish to create: domain-based or stand-alone. Click Next>.
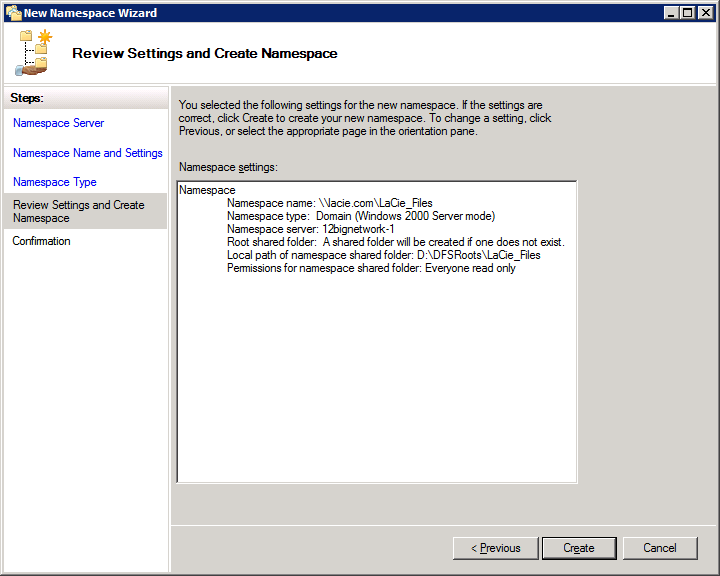
- Review the choices you have made for the Namespace and click Create.
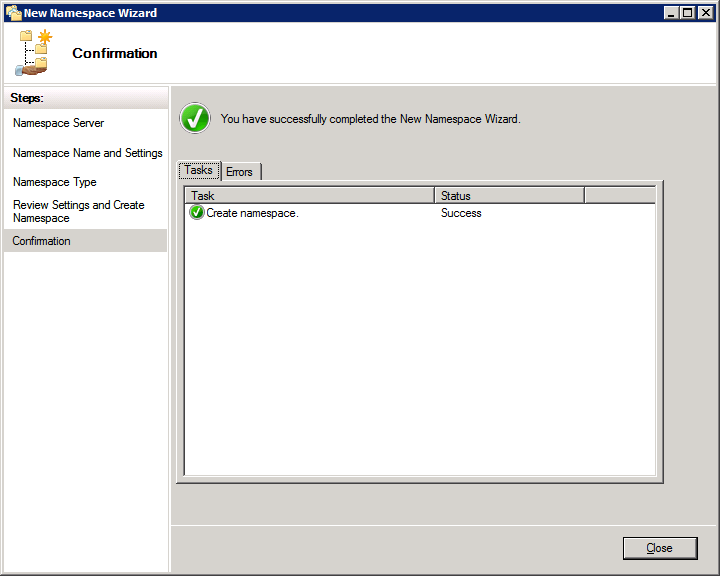
- Once finished, a Confirmation window will appear.
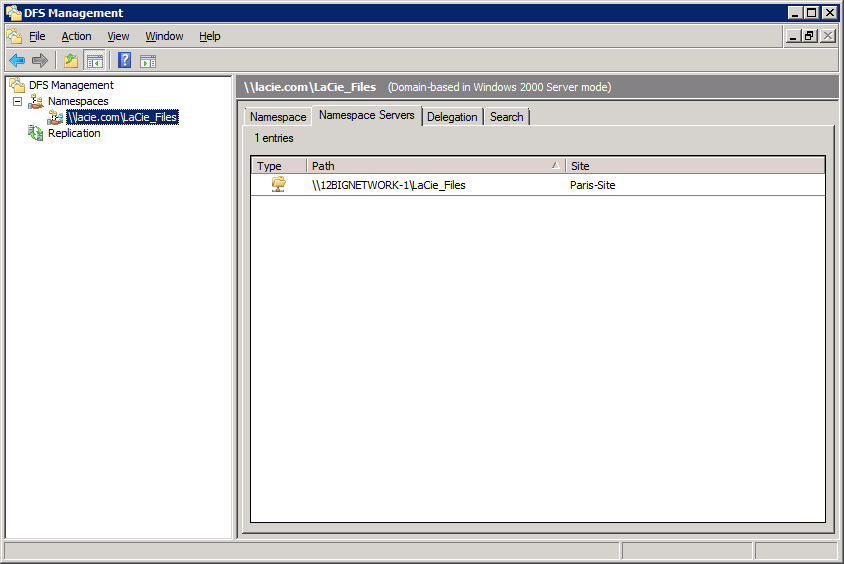
- The Namespace has been added to the server.


Add a Namespace Server (Domain only)
Once a new Namespace is created, you can add it to other servers in the domain. While many of the steps are similar, this process is not the same as making a new or separate Namespace.
- Create the first Namespace as instructed above.
- Go to Start > Administrative Tools > DFS Management > Namespaces.
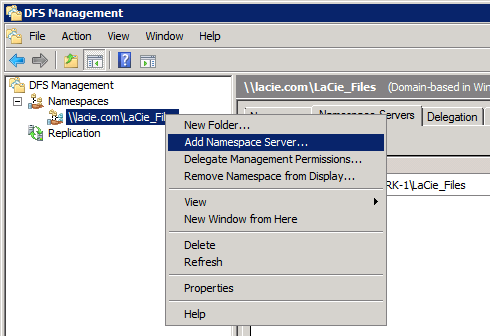
- Right-click on the Namespace to select Add Namespace Server….
- Choose the destination server. Click Edit Settings…
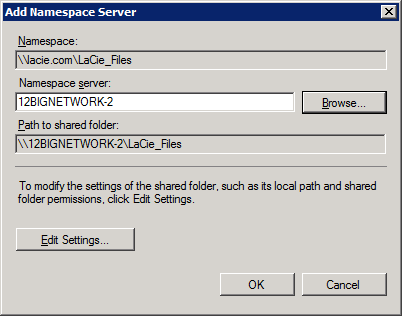
- Choose the path for the Namespace folder on the server. Click OK.

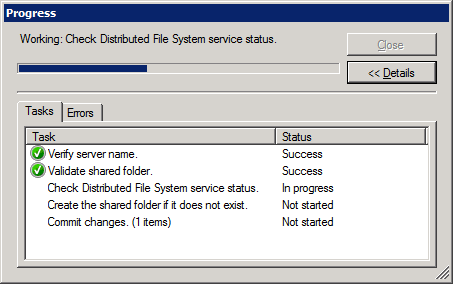
- The Namespace will be created on the new server.
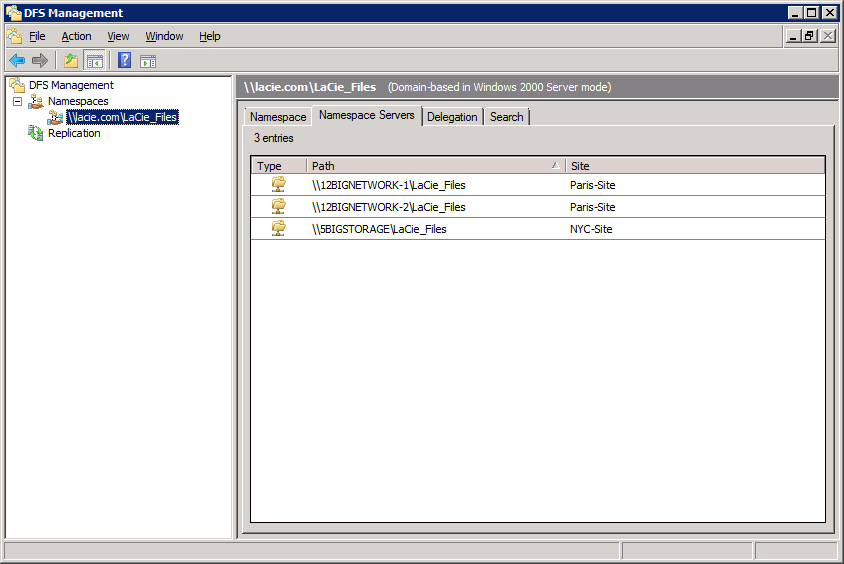
- For our example, the same steps would be repeated for the third LaCie professional server, the 5big Office+ (5BIGSTORAGE).
- This screenshot shows the Namespace on all three servers in the domain lacie.com.


Namespace: Creating Tree Folders and Adding Shared Folders
Once the Namespace has been created and added to other servers in the domain, the administrator can begin to create Tree folders. The Tree folders will help to organize the Shared Folders within the Namespace. In this example, Tree folders are based upon the department or business unit (i.e. Accounting).
Create Tree Folders
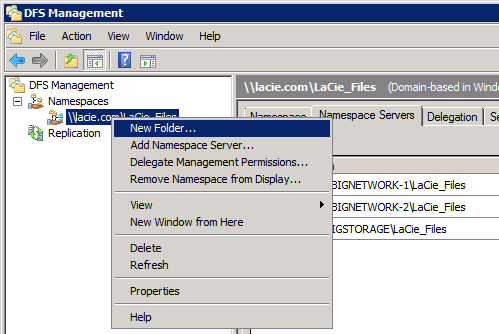
- Go to Start > Administrative Tools > DFS Management > Namespaces (LaCie_Files).
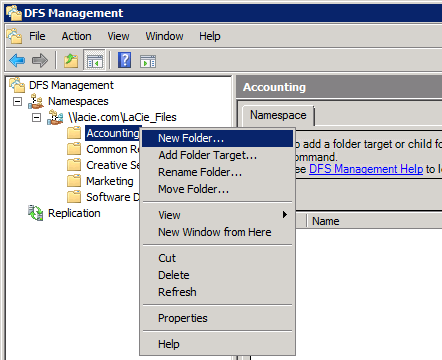
- Right-click on the server Namespace and choose New Folder…
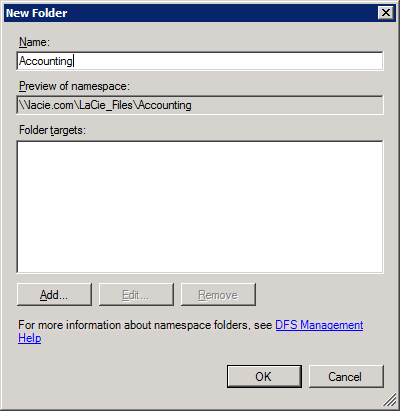
- Type the name of the folder. This is the name of one of the Tree folders. Click Add…
- Create additional Tree folders as in Step 3. Click OK when finished.
- The screenshot below illustrates the Tree folders shown earlier on Table 03 - A Single Namespace with Folder Hierarchy.

- Our example has offices in New York and Paris. Earlier, the administrator created Shared Folders for the Americas and Europe. Now, he will create Target folders to act as links to the Shared Folders. Right-click on one of the Tree folders and select New Folder…
- Type the name of the folder. This is the name of one of the Target folders.
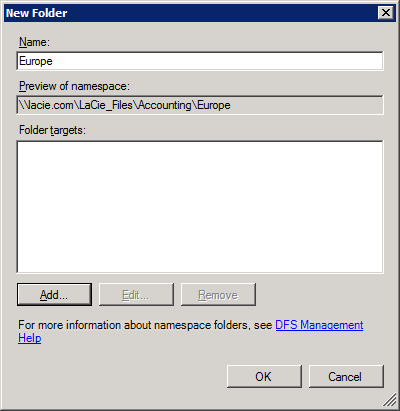
- To create the links to Shared Folders, click Add…
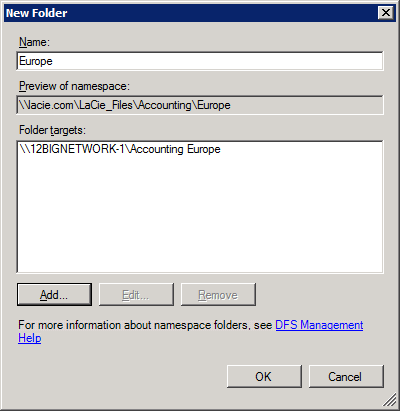
- The Browse for Shared Folders window will appear. Click Browse… to select the Server with the Shared folder. From Table 03 - A Single Namespace with Folder Hierarchy, we know that Accounting Europe is stored on 12BIGNETWORK-1.

- Select the Shared folder then click OK.
- An Add Folder Target pop-up window will appear. Confirm your selection and click OK.

- Click OK again.
- Repeat the same steps for additional Target folders.

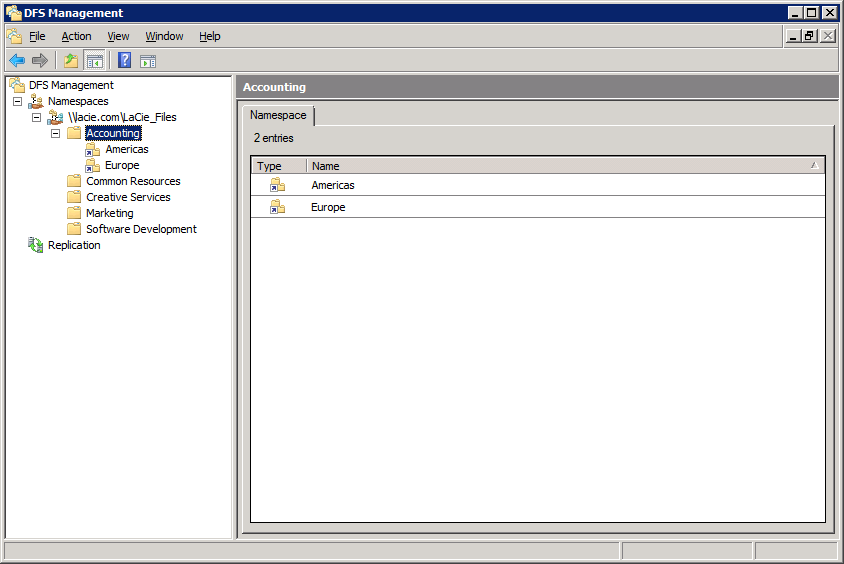
- The screenshot below shows the server directory after creating the Accounting Tree folder and adding the Target folders.
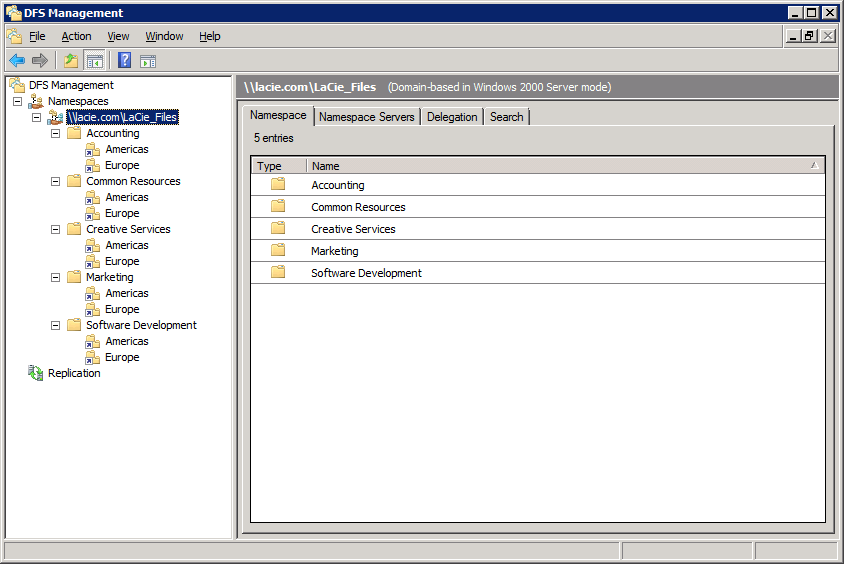
- This screenshot shows the same directory after adding all the Target folders to the Tree folders.
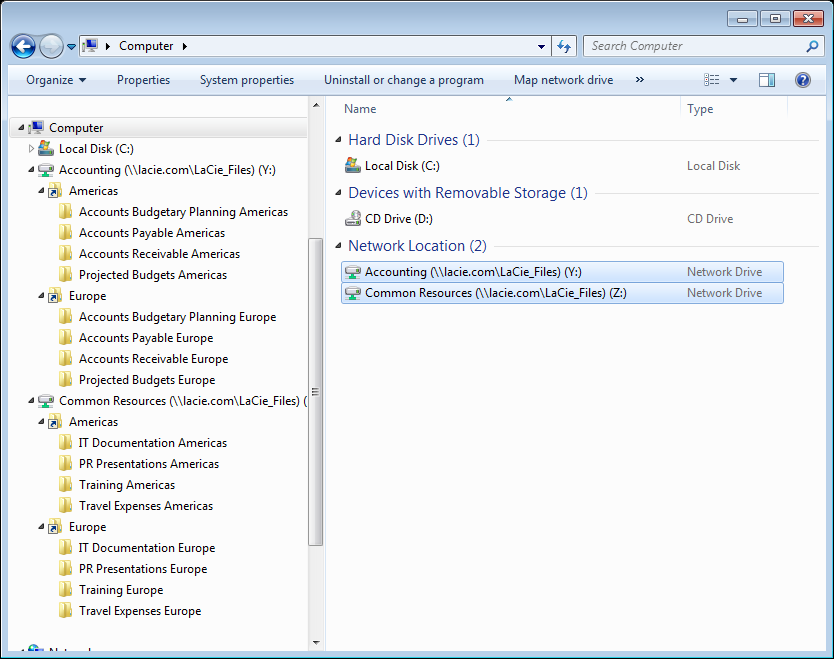
- Here we see the workstation directory. Note that only one network drive is mounted, the Namespace LaCie_Files. Access to the folders and files is now easy to manage.


© LaCie 2024
Last modified : Mar 01, 2013