User Tools
Site Tools
Technical Brief: Wuala
User Manuals Print page
 Save page as PDF
Table of Contents


Wuala Setup
Wuala is easy to configure using your LaCie professional server's Dashboard. The built-in LaCie tab will help you setup and access your Wuala account at any time. While every new Wuala user receives 2GB of free storage, you can take advantage of an additional 100GB by entering your server's promotional code. You may enter the code during the initial Wuala setup or wait until later. Your promotional code can be found on the Quick Install Guide or on a Flyer.


Important info: Your unique Wuala promotional code will give you 100GB of free online storage for three months. You may add more time and online storage capacity at your convenience. Please make certain that all data stored on Wuala is available on separate storage should you decide to let the three months expire.
Configuring Wuala for the Server
Please consider the following before starting the Wuala setup:
- You may enter the Wuala promotional code during the setup or wait until after the account has been created. The instructions below will provide details for both.
- All new users receive 2GB of free storage which would allow you to test some of Wuala's features before entering the code. Your three months of 100GB begins once you have registered the code.
- An existing Wuala account may be used with your LaCie professional server. During the setup, you will be prompted to enter an active Login and Password or to create a new account.
- The promotional code may be used with an existing account.
- In most instances, you will be prompted to reboot the server to complete the installation.
- Since Wuala is online storage, your LaCie professional server must have access to the Internet.
Setup
- Launch the Dashboard from a Windows workstation on the same network as your LaCie server. Start > All Programs > Windows Home Server 2011/Windows Storage Server 2008 R2 > Windows Home Server 2011 Dashboard/Windows Storage Server 2008 R2 Dashboard
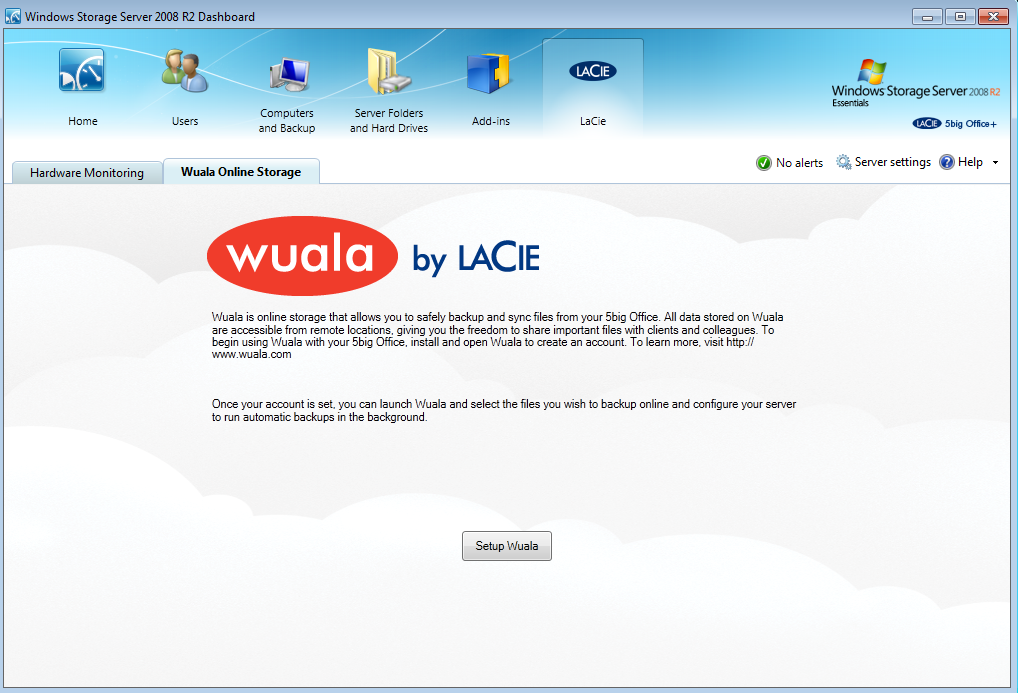
- Select LaCie on the top of the Dashboard window then click on the Wuala Online Storage tab.
- Click on the Setup Wuala button.
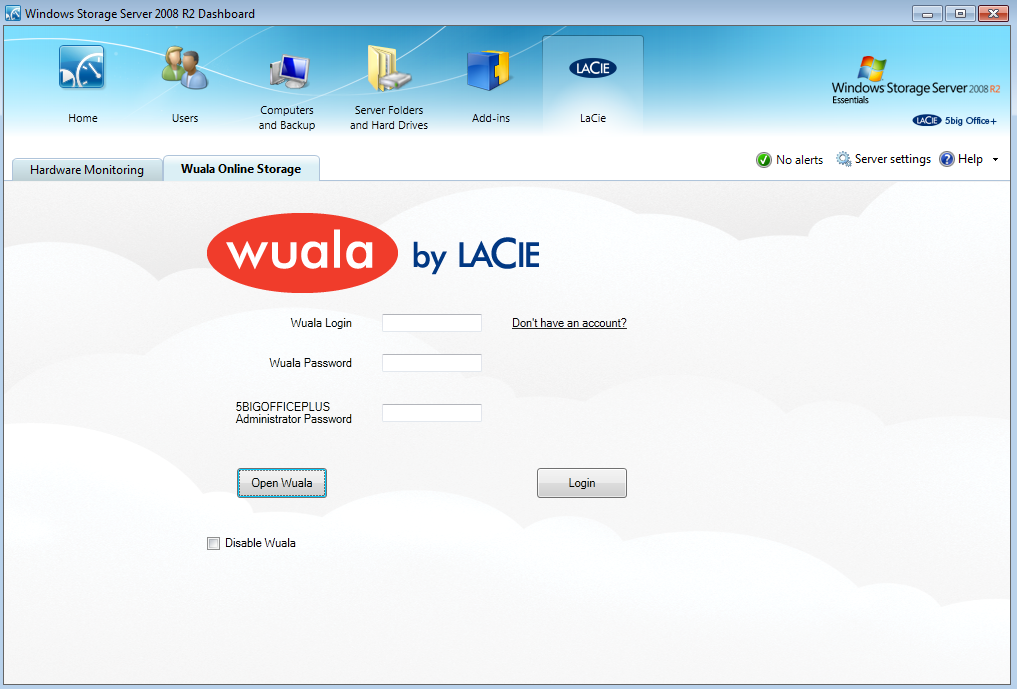
- You are prompted to enter a Wuala Login and Password or to create a new Wuala account.
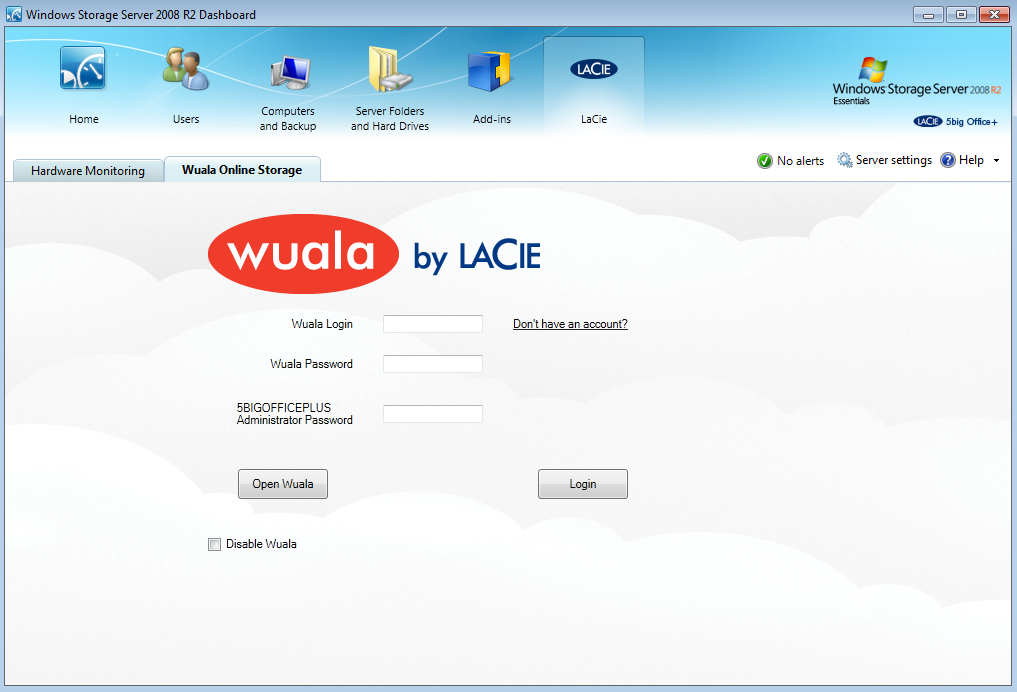
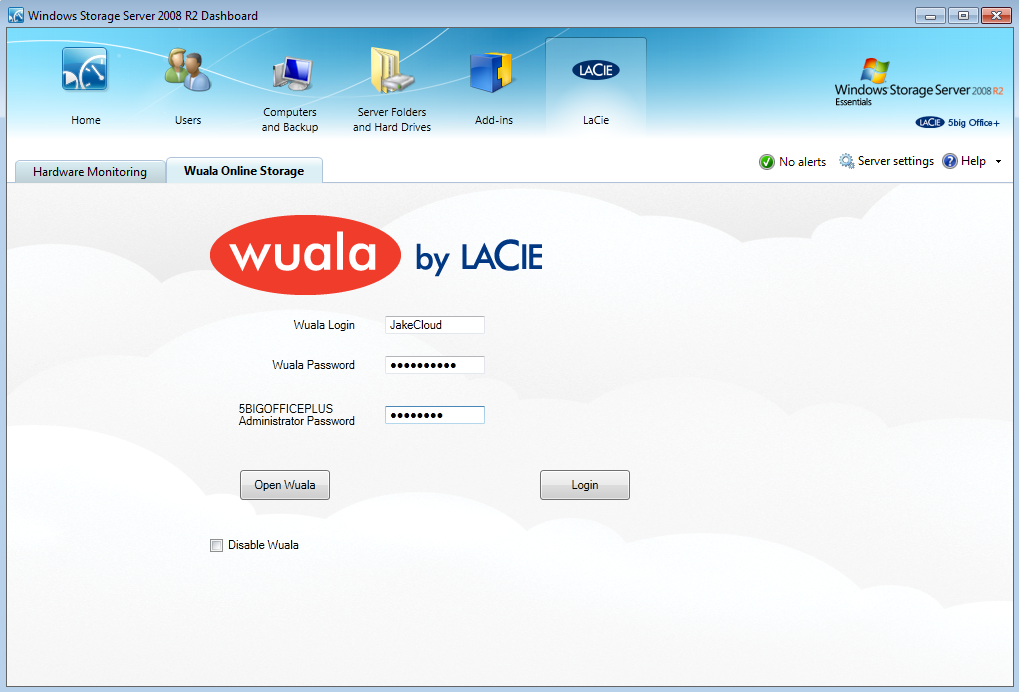
- Enter your Login and Password if you wish to use an existing Wuala account. Click Open Wuala.
- To create a new Wuala account, leave the fields blank and click Open Wuala.
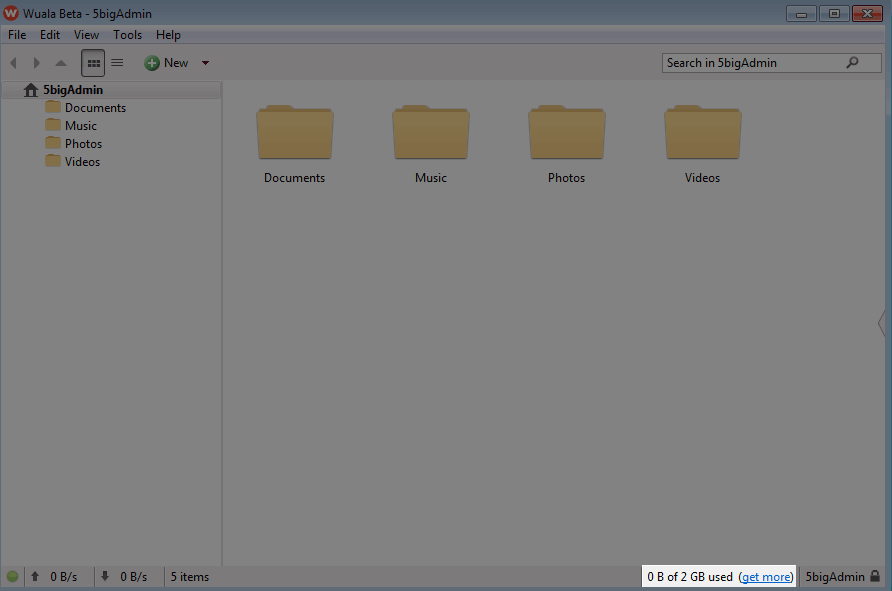
- Wuala will launch. If you entered an existing account, go to Step 11. If you are creating a new account, go to the next step.
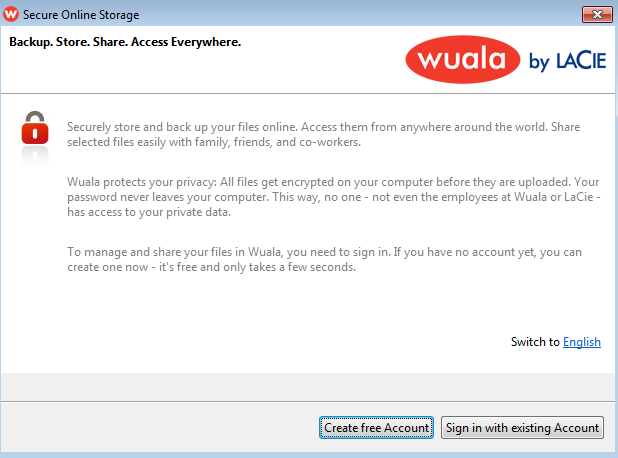
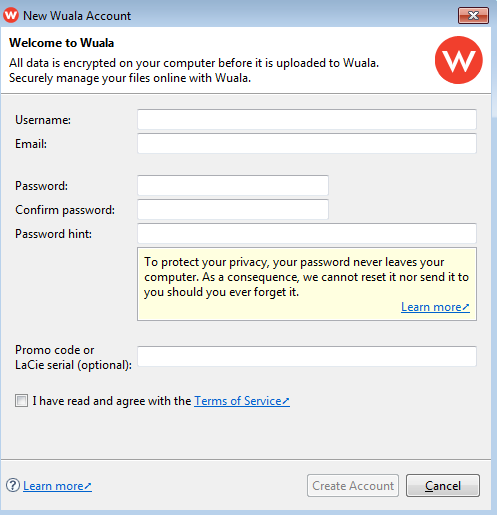
- Click Create free account.
- Fill in all the fields to create the new Wuala account.
- You may enter your Wuala promotional code at this step or wait until later (see the instructions below if you wish to enter the code after the setup).
- The checkbox next to Terms of Service must be selected to move to the next step.
- Please make certain to note your Login and Password for logging into Wuala on computers or mobile devices.
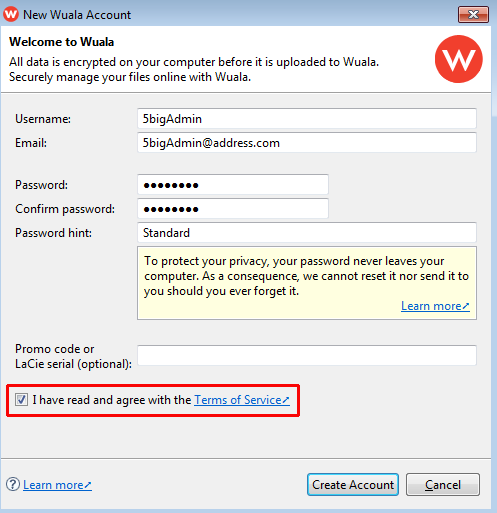
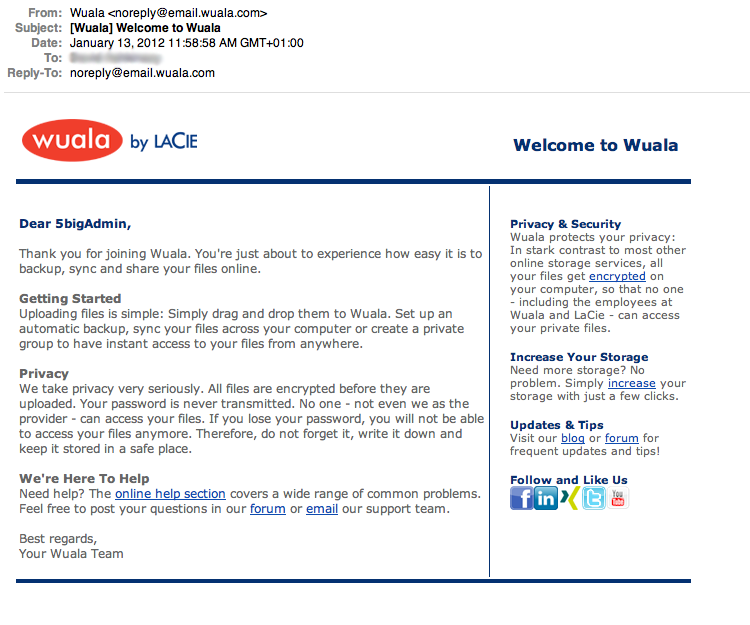
- Click Create Account. You will receive a confirmation email at the address you entered.
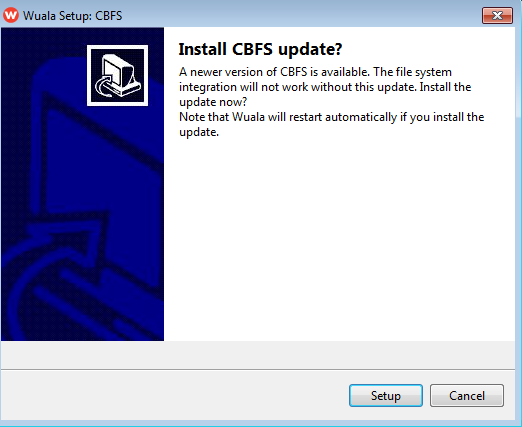
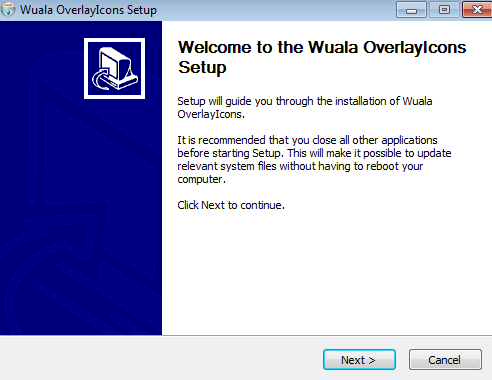
- You may be prompted to install CBFS integration files the first time you launch Wuala from your LaCie professional server. Click Setup to move to the next step.
- Click Next.
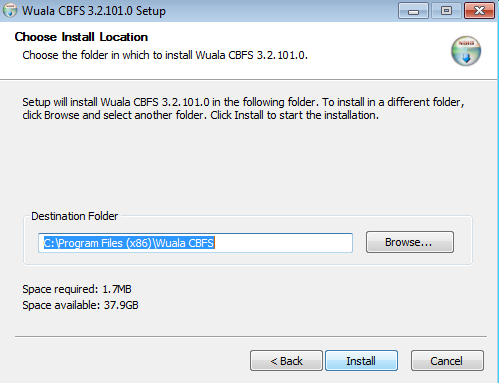
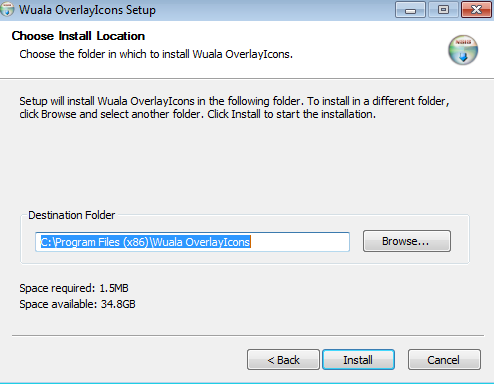
- Confirm the installation location before clicking Install.
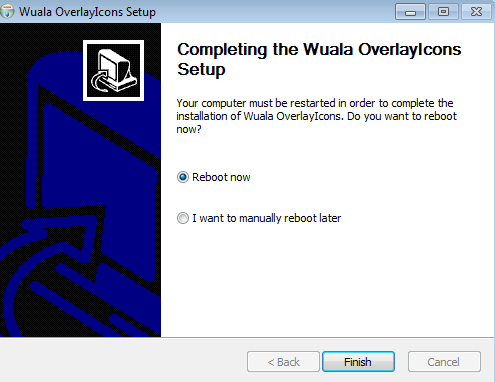
- Click Finish to reboot the server.
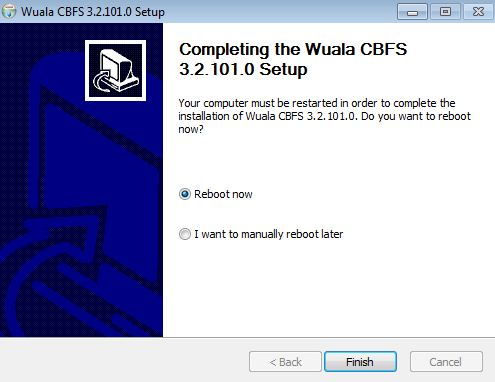
- Please make certain that other workstations are not accessing the server before clicking Yes at the prompt.

- Once the server has finished rebooting, go the Wuala Online Storage tab in the Dashboard (see Steps 1 and 2).
- Log in using your existing Wuala account or the account you just created.
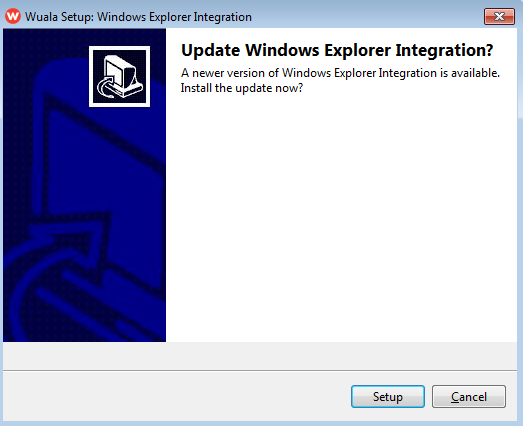
- To complete the CBFS installation, you will be prompted to update Windows Explorer. Click Next.
- Click Next.
- Confirm the installation location before clicking Install.
- Click Finish to reboot the server once again.


Wuala and its integration files have been installed. You may now use your Wuala secure online storage to backup files stored on the server or access them from remote locations.
Adding your 100GB promotional code after setup
Use the instructions below to add your Wuala promotional code to your account. Once the code is accepted, you will receive 100GB of free online Wuala storage for three months. You can extend the time or add more online capacity at any time during the three month period.
- Launch the Dashboard from a Windows workstation on the same network as your LaCie server. Start > All Programs > Windows Home Server 2011/Windows Storage Server 2008 R2 > Windows Home Server 2011 Dashboard/Windows Storage Server 2008 R2 Dashboard
- Select LaCie on the top of the Dashboard window then click on the Wuala Online Storage tab.
- To log in to Wuala:
- Select Open Wuala if Wuala is active.
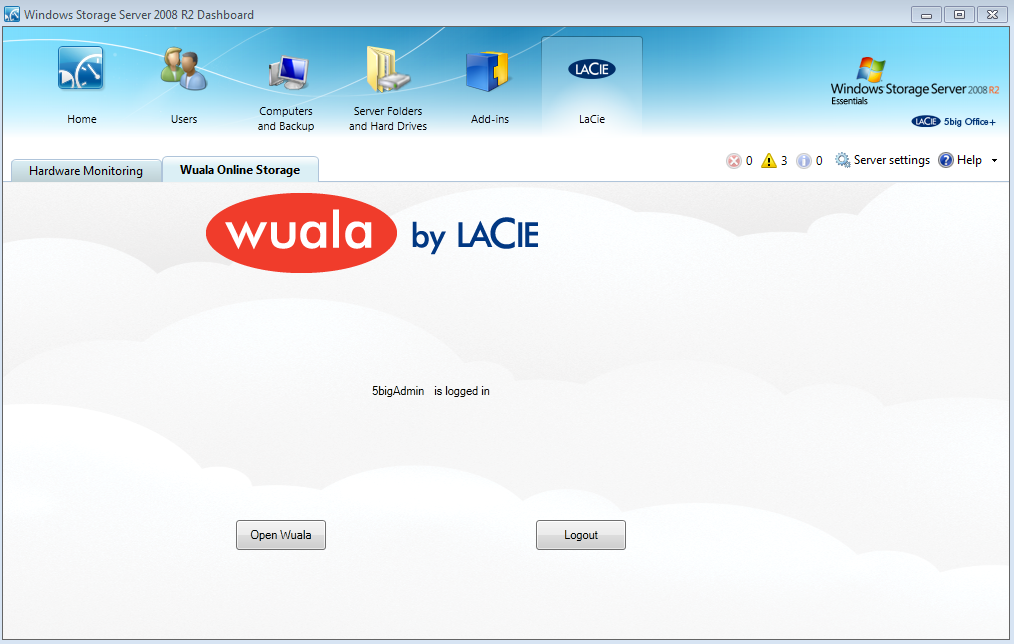
- If Wuala is not active, enter your Wuala Login, Wuala Password, and LaCie server Password. Click Open Wuala. You may be prompted to reenter your Wuala Password.
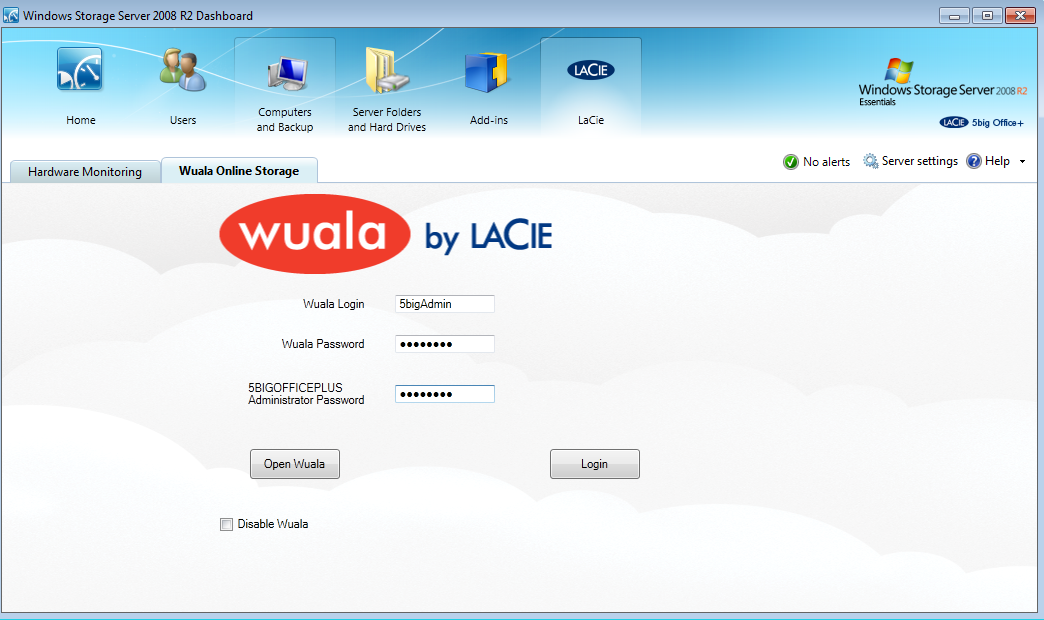
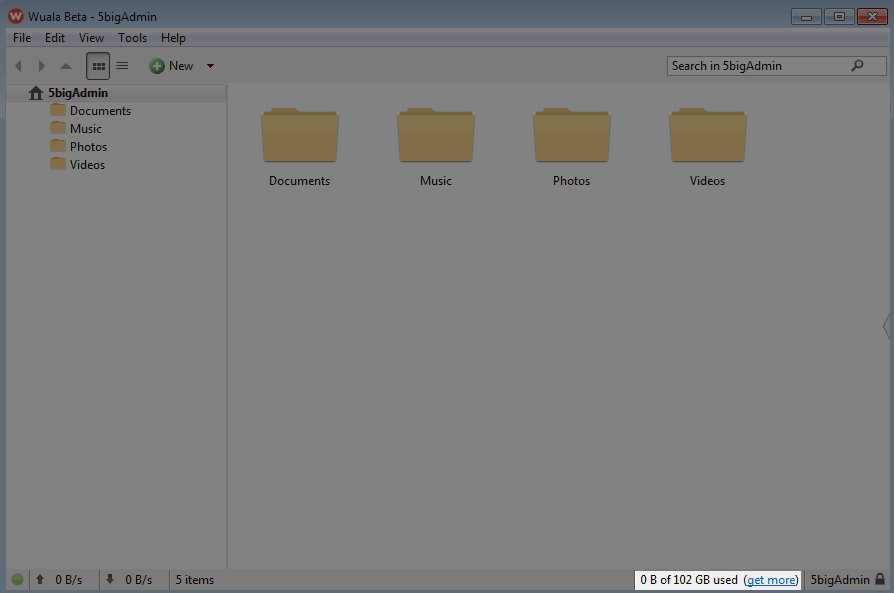
- The screenshot below shows a total capacity of 2GB before the code has been accepted.
- Click on the pulldown menu Tools to select Options…
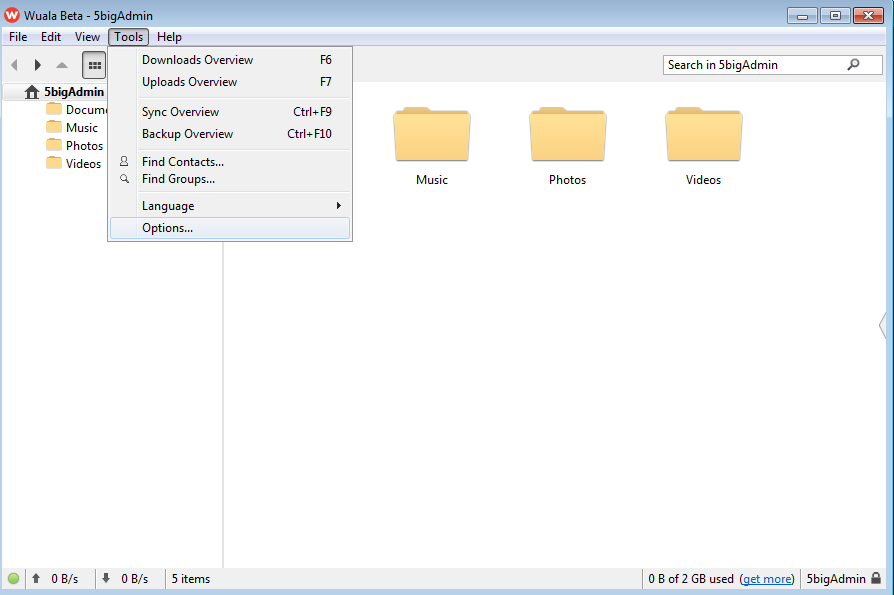
- Click on Storage.
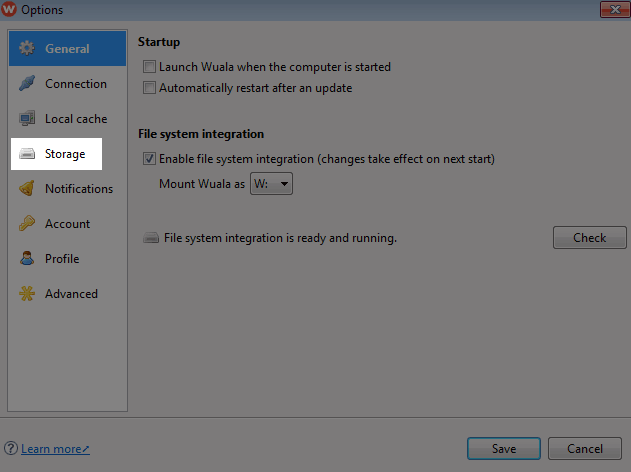

- Enter your promotional code in the empty field.
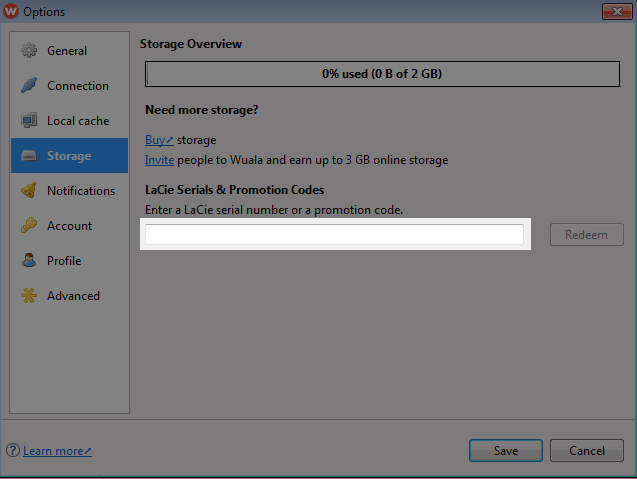

- The 100GB has been added to the total cloud storage capacity.


It is our hope that you maintain your account and use the cloud storage to aid in your data workflow. While the promotional code lasts for three months from the date it is accepted, you may extend the time or purchase additional online storage by accessing Tools > Options > Storage.
© LaCie 2024
Last modified : Mar 01, 2013