User Tools
Site Tools
5big Thunderbolt™ Series
User Manuals Print page
 Save page as PDF
Table of Contents


Replace a Disk
If you experience a disk failure, follow the steps below to install a new one. If you need instructions on installing disks in a LaCie 5big that shipped without disks, refer to Install Disks.
- Refer to the disk compatibility notes in Install Disks.
- Turn off the product.
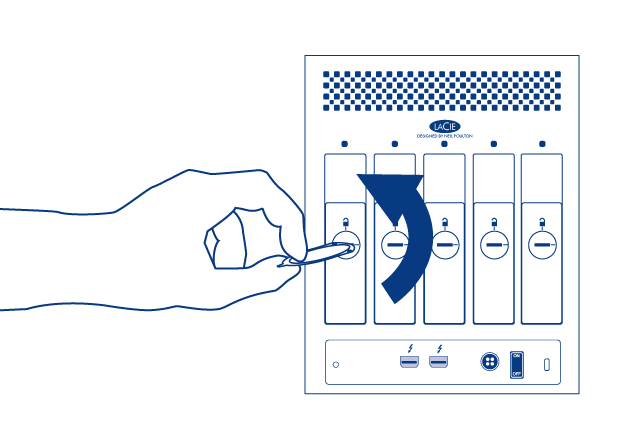
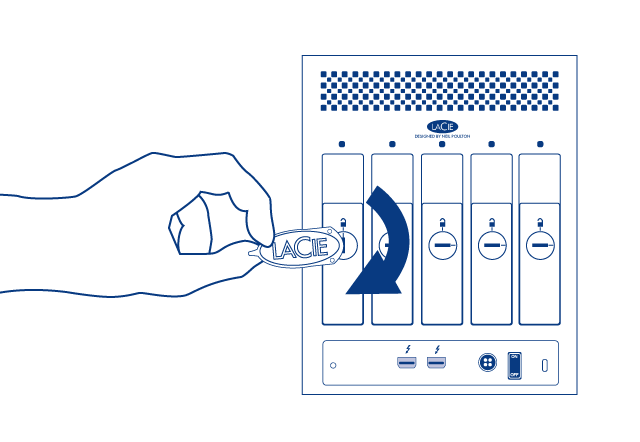
- Remove disk tray(s) for disk(s) to be replaced. The disk tray(s) may be locked. To unlock, use the included disk drawer key to rotate the lock.
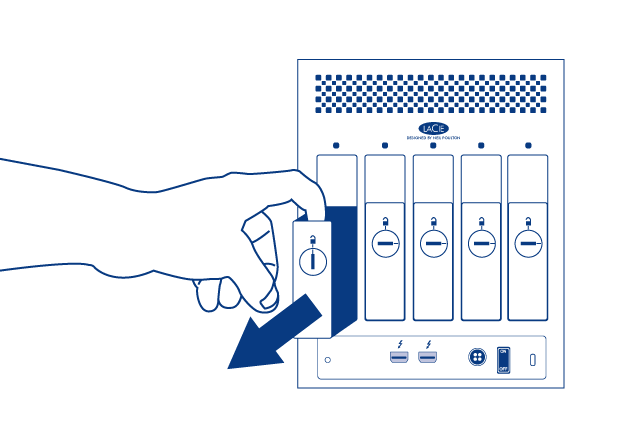
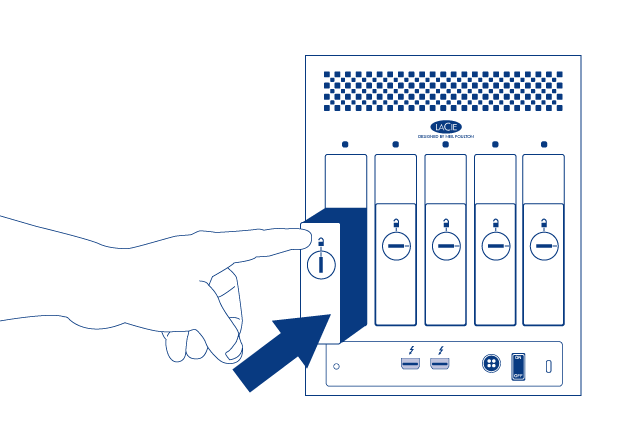
- Draw out the disk tray by inserting your finger into the space behind the disk tray handle and pulling. Repeat the process if you are replacing multiple disks.
- Uninstall disk(s) from disk tray(s):
- Using the Phillips head screwdriver, carefully unfasten all four screws from the four tray slots. Repeat the process if you are installing multiple disks.
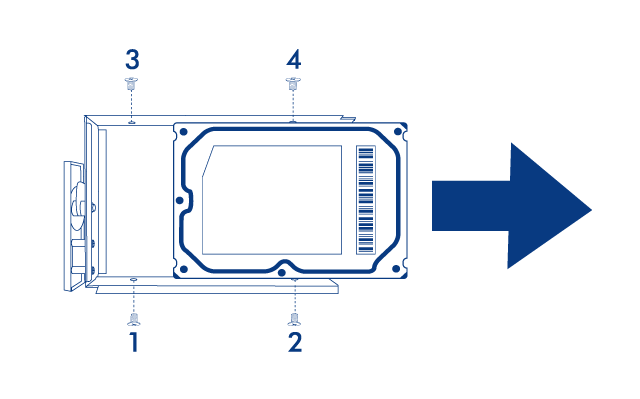
- Slide the disk out of the disk tray.
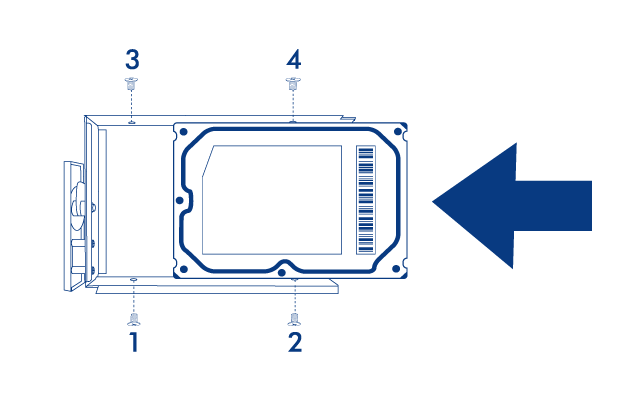
- Install new disk(s) in disk tray(s):
- Place the empty disk tray onto the flat work area with the handle on the bottom left.
- Many disks have a label on one side and the printed circuit board on the opposite side. With its label side facing up, gently place the hard disk within the disk tray. Keep the side with the printed circuit board on the work space and the SATA connector facing to the right. The four tray screw slots should align with the disk’s four screw holes.
- Using the Phillips head screwdriver, carefully fasten all four screws into the four tray slots. Do not over tighten the screws. Repeat the process if you are installing multiple disks.
- Insert full disk tray(s). Carefully insert the full disk tray into an empty disk slot. Gently push the disk tray handle firmly until you feel it snap into place. The disk tray handle should be flush with the back of the enclosure. If you are adding multiple disks, insert it next.
- Use the disk lock tool to lock the disk(s) in place.
- Turn on the product. Before the disk will mount on your desktop, it needs to be formatted into an HFS+ volume using Disk Utility. Then it can be integrated into a new RAID array as described in Create a RAID Array. If you are replacing a disk that was in a RAID 1 array, refer to this article from Apple for instructions.


Caution: To avoid potential problems caused by electrostatic discharge (ESD), it is recommended that you do not touch the hard disk’s printed circuit board. As a further precaution against ESD, use an anti-static wristband or an anti-static mat to ground yourself when handling the hard disk.
© LaCie 2024
Last modified : Mar 01, 2013