User Tools
Site Tools
LaPlug
User Manuals Print page
 Save page as PDF
Table of Contents


Table of Contents
Administer the LaPlug
The LaCie LaPlug features an easy-to-use browser-based tool for configuring the drive called the Dashboard.
Dashboard - Accessing
There are two ways to access the Dashboard, using the LaCie Network Assistant and using a browser.
Use LaCie Network Assistant
- Click on the LaCie Network Assistant icon in the system tray (Windows users) or menu bar (Mac users) and select LaPlug > Web Access.
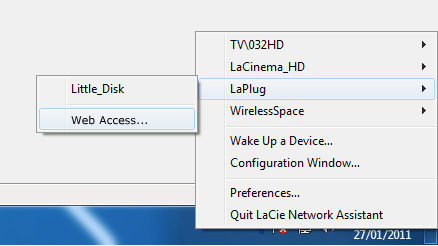
- The LaCie LaPlug login page will open in a new browser window or tab. If your browser is not open, LaCie Network Assistant will open it for you.
- In the login prompt, enter your username and password (case sensitive; default is admin/admin).
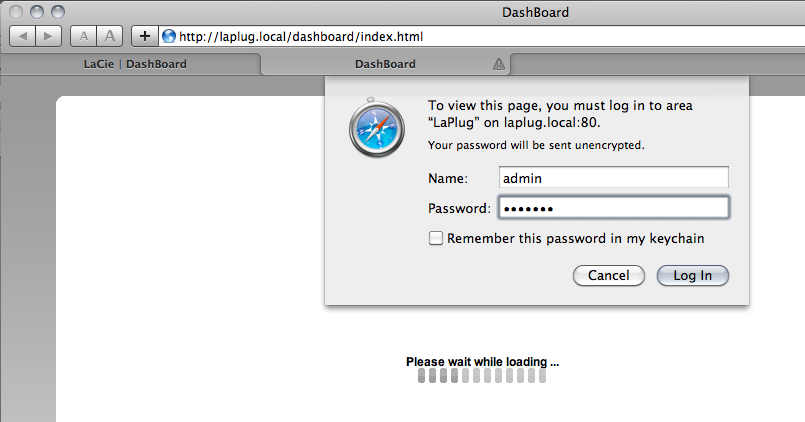
- Click Log in.


Use a Browser
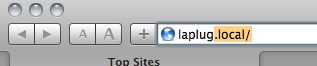
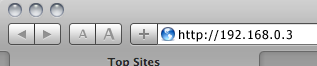
- Open your Internet browser (Firefox, Internet Explorer, Safari, etc.) and type your LaCie LaPlug's IP address or machine name (by default, LaPlug) in the browser's URL (web address) field.
For example: http://[IP-address] or http://LaPlug (Windows) http://LaPlug.local (Mac)
- In the login prompt, enter your username and password (case sensitive; default is admin/admin).
- Click Log in.


Technical note: Find your device's IP address in the LaCie Network Assistant Configuration Window.
Dashboard - Home
The welcome page contains links to helpful documents from the LaCie website and a list of the different pages that make up the Dashboard.

Restart or Shutdown
To restart or shut down the drive, click this button, then choose between Restart and Shutdown.

Dashboard - Navigation
The Dashboard is made up of a central area surrounded by widgets, or small boxes that represent the different pages that make up the Dashboard. The widget displays a summary of the information contained in the page. For full information, navigate to the page itself.
- To navigate to a page, click the widget below its title; or, drag and drop a widget to the center of the window.
- To minimize a widget, click the X next to its title.
- To expand a minimized widget, drag its icon over an expanded widget or to an open widget space.
- To rearrange widgets, drag the minimized widget icon or the expanded widget's heading onto the place of another widget.
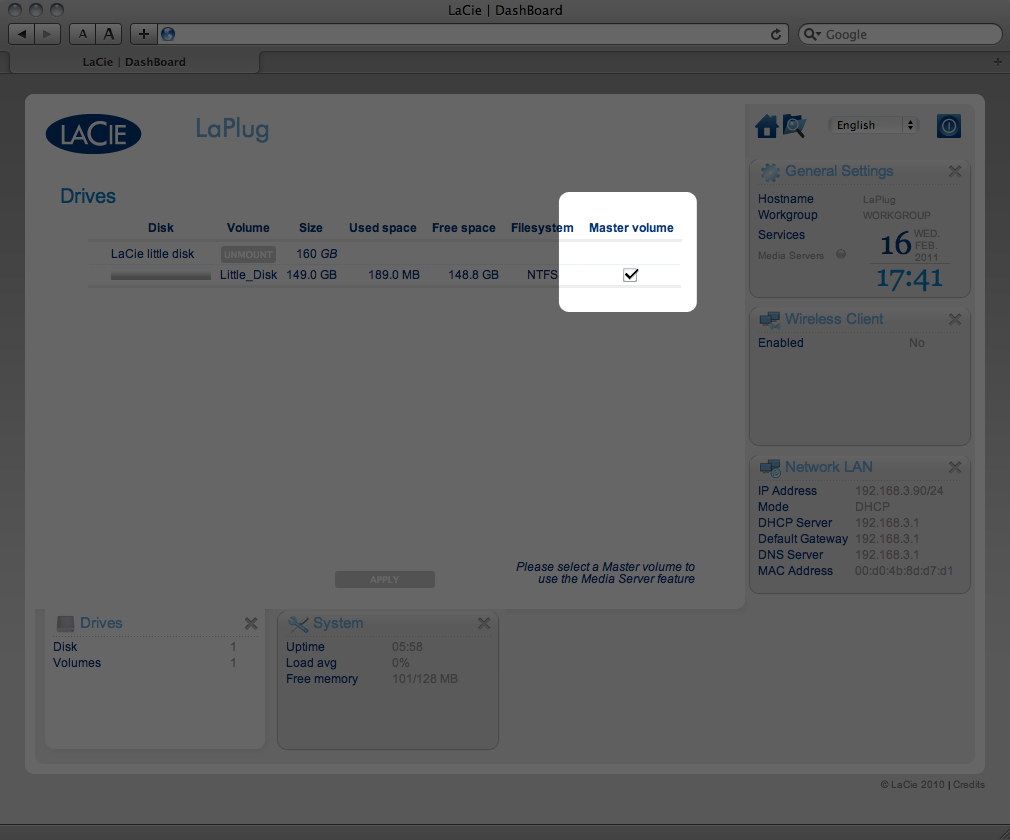
Dashboard - Drives

This page will list all the USB devices connected to your LaPlug.
Every USB device will take up at least two rows in the table; the first row describes the disk, and its volumes (or partitions) each take up an additional row(s). So a disk with a single partition will take up two rows, and a disk with two partitions will take up three rows, etc.
- Disk: This column will normally list the drive's manufacturer (or a graphical indication of free space for partitions).
- Volume: This column lists a button to unmount the disk or the name of the drive's partition.
- Unmount: To prevent file system corruption, it's important to unmount a drive by clicking this button before unplugging it.
- Size: Indicates the drive's total capacity.
- Used Space: Indicates how much of the disk's capacity is in use.
- Free Space: Indicates how much of the disk's capacity is available.
- File System: Indicates the drive's file system.
- Master Volume: One of the attached drives must be designated as the master volume in order for the Media Server feature to function. See Media Servers.

USB Power Failure
If you connect hard drive(s) to the LaPlug that experience a USB failure, the LED will blink red, all connected USB devices will become inaccessible, and you will receive an error on the Dashboard. USB failures could be the result of a defective USB device or USB cable, or insufficient power being supplied to the USB device.
To resolve the issue, unplug the last-connected USB device. Next:
- Launch the Dashboard (see Dashboard - Accessing).
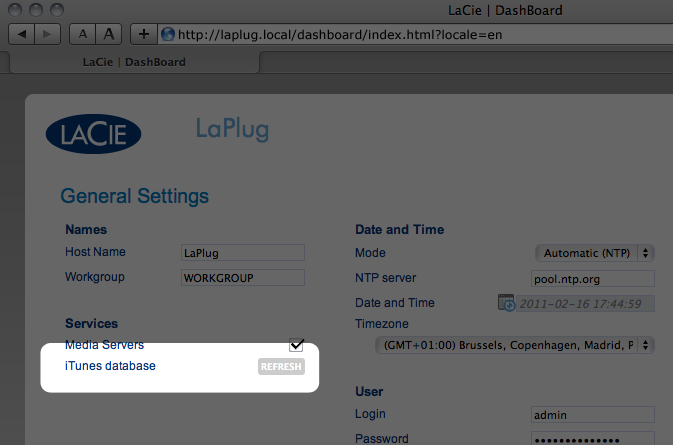
- You will see this screen:

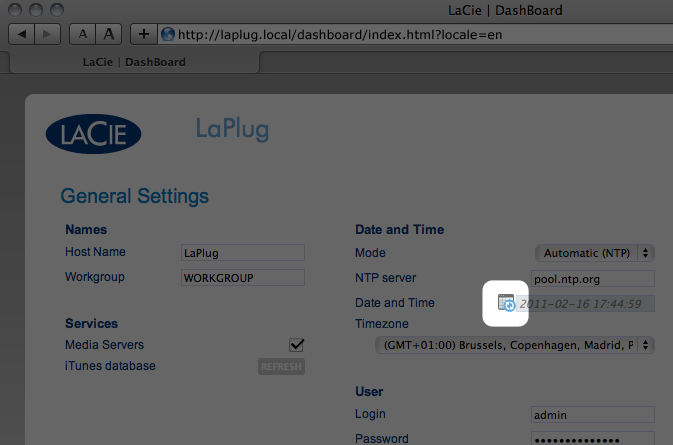
- Click the Reload button. You will see this screen:
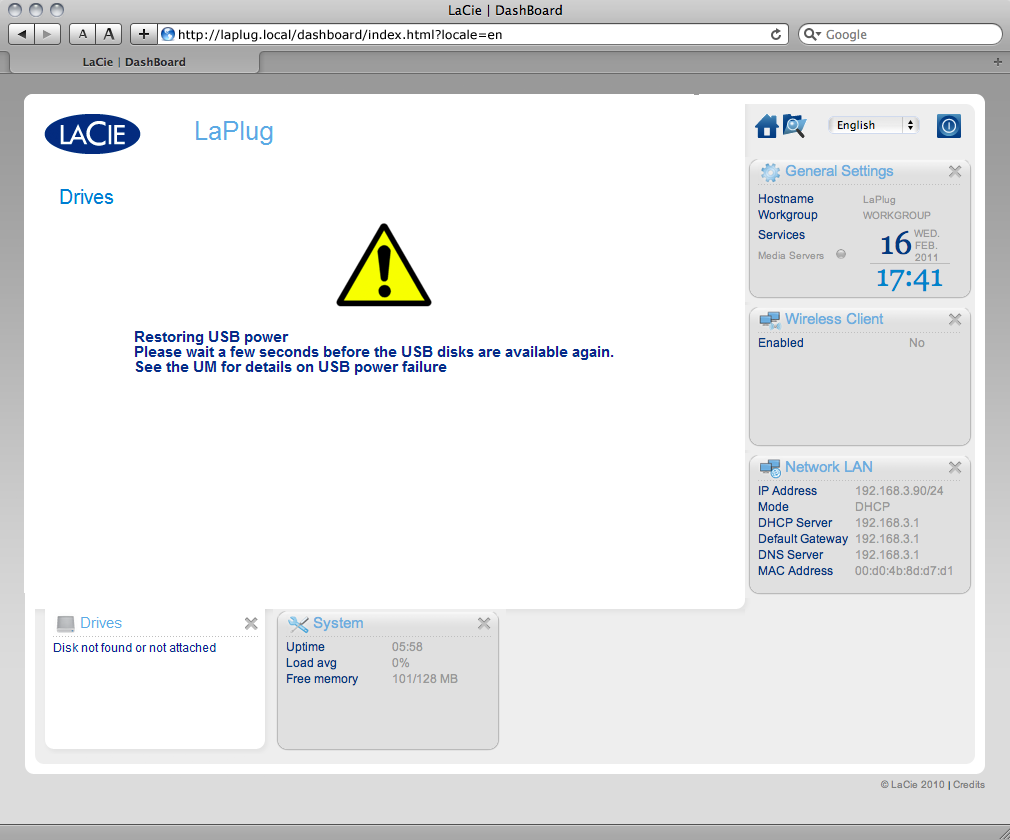
- After a few seconds, the blinking red LED will turn blue, and the Dashboard > Drives page will list any connected USB devices.


Dashboard - Network LAN

This page allows you to modify your LaPlug's network LAN settings.
LAN Interface
Mode: Choose whether the LaPlug should be automatically assigned an IP address and other values by your DHCP-managed network (DHCP), or if values should be assigned manually (Static). If you choose static, you will be able to type in the fields below.
Important info: If your LaPlug doesn't shut down correctly, as in the case of a power failure, when it reboots it will default to DHCP mode, and you will have to reset your static IP values. To avoid this, shut down the LaPlug using the power button (see Introduction) or from the Dashboard.
Dynamic DNS (Remote Access)
Click the Enabled box, then select a service and fill out the fields below. This function allows you to use a third party Dynamic DNS service to create an easy-to-remember URL for accessing your LaPlug remotely. This service is free and no subscription is required. For details and to watch a screencast which will help you to set up remote access, click the i button next to the headline Dynamic DNS.

Remote Management
- HTTP/HTTPS: These lights will be green if the UPnP IGD server acknowledges port forwarding is successful.
- FTP: Toggle this feature on/off to allow your LaPlug to be accessible via File Transfer Protocol (FTP). See Access USB Devices for details.
After modifying any of the above settings, click the Apply button.
Dashboard - Wireless Client

This page will allow you to connect your LaPlug to your wireless network. Note that Ethernet is the default connection, so you must initially connect the LaPlug to your network via the Ethernet cable. After successfully connecting to a wireless network, simply disconnect the Ethernet cable.
Available Networks Tab
All detected wireless networks will be listed as well as their technical specifications. To connect to a wireless network:
- Click an SSID to select the network. The Standard Settings tab will be displayed with connection details for the selected network.
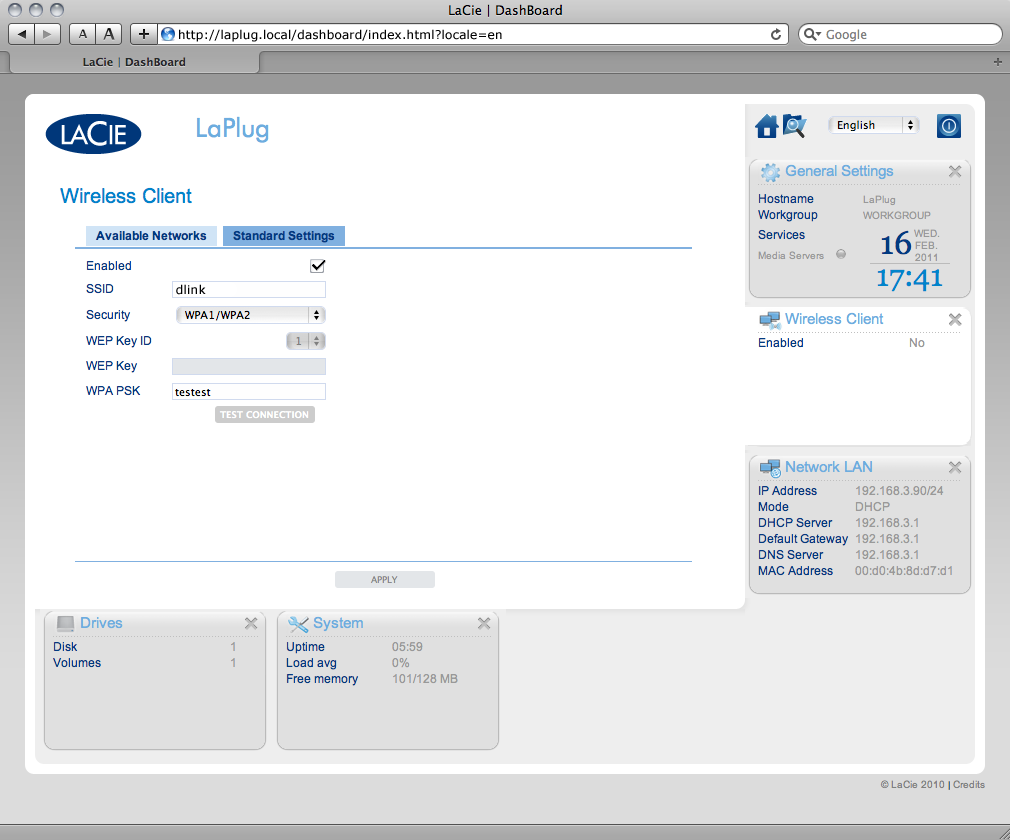
- Select the WEP key ID, fill in the WEP key, or fill in the WEP PSK (whichever is applicable).
- Click the Test Connection button. If successful, a green light will appear.
- Click the Apply button to make the connection.
- Unplug the Ethernet cable.

Dashboard - General Settings

This page allows you to modify some of your LaPlug's general parameters.
Names
- Host Name: Modify the machine name. The machine name identifies your LaPlug in LaCie Network Assistant and on the local network. The machine name is limited to 15 characters. Please use alphanumeric characters without spaces or symbols.
- Workgroup: Type a Windows workgroup name to connect your LaPlug to a Windows workgroup.
Technical note: Mac users connected to a network with Windows computers can also access USB devices this way by selecting in the Finder Network > [Workgroup] > LaPlug where “Workgroup” is the name of the Windows workgroup.
Services
- Media Servers: This feature allows your LaPlug to act as a UPnP multimedia server. Files stored on USB devices connected to the LaPlug will be available to play on UPnP-enabled players (such as cell phones, computers, and game consoles). A master volume must be selected in Dashboard > Drives to use this media server feature. For information on using your LaPlug to stream files to your UPnP devices including iTunes, see Media Servers. Note that if you've just added new content to the LaPlug, it could take a few minutes before they are available to UPnP/DLNA-certified players/adapters.
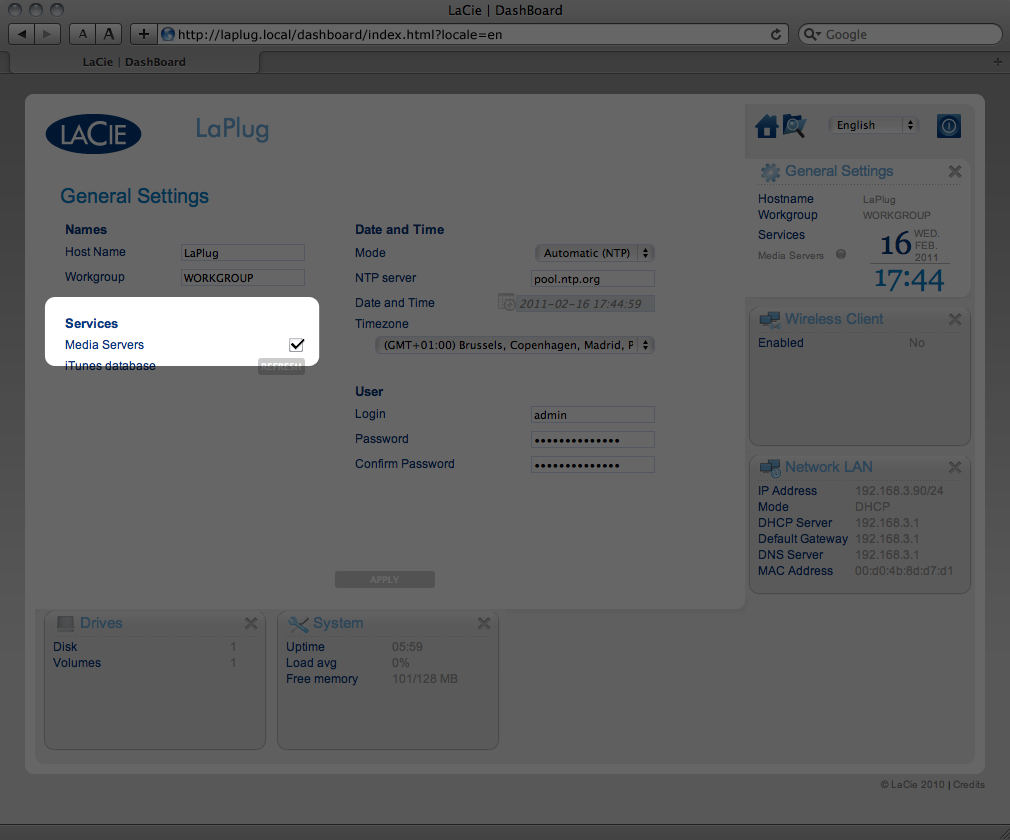
- iTunes database: If you've recently added audio files to the a USB device connected to the LaPlug, click the Refresh button. The LaPlug will index the files and make them available to iTunes.


Date and Time
- Mode: Your LaPlug can either sync date/time with your PC or with a Network Time Protocol server. Make your selection, then click the calendar button to sync.
- Timezone: Choose your timezone.

User
- Login: Change the username used to access the Dashboard and USB devices (using the Finder for Mac users or Explorer Window for Windows users).
- Password: Change the password used to access the Dashboard and USB devices.
- Confirm Password: Retype the password.
After you modify any of the above parameters, click the Apply button.
Dashboard - System

This page collects technical information about your LaCie device and controls several features.
System Tab
Online Update
Printer
You can connect a compatible USB printer to one of the LaPlug's USB ports to make that printer available throughout your network. Note that your printer must be compatible with the CUPS (Common Unix Printing System) standard. Check your printer manufacturer's website to verify.
Follow these steps:
- Make sure the LaPlug is connected and visible on your network.
- Make sure that your printer's drivers have been installed on the computer from which you want to print.
- Connect the printer's USB cable to the LaPlug and power on the printer.
- Windows users: To simplify the process of discovering your printer on the network, install Apple's Bonjour Print Services for Windows software. For more information and to download, see support.apple.com/kb/DL999. Once you install the software, it will help you discover and configure your networked printer.
- Print normally.
Light
Uncheck this box to turn off the front LED.
Configuration Tab
Dashboard - File Browser
The Dashboard features an interactive file browser that allows you to manage and transfer files via HTTP. Access the File Browser by clicking its icon in the upper right-hand corner of the Dashboard.

The File Browser allows you to transfer, copy, and delete files, as well as view photos in thumbnails and even stream multimedia content such as mp3 or view photos. It is thus a convenient way to interact with files stored on your external hard drives through the network, whether the connection be through the local network or through the internet (see Remote Access). Also, since the File Browser permits faster file transfer than drag-and-drop (SMB), it is most effective for transferring large files.
The File Browser is composed of five parts:
- The toolbar allows you to perform a range of functions, such as changing the way files are displayed and uploading files to streaming files and creating folders.
- Folders shows the folder structure on the selected share.
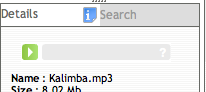
- Details displays information on a selected file, such as name, thumbnail (image files), file type, dimensions (photos), or duration (videos), while Search allows you to search for files based on file name.
- This section displays the files contained in a selected folder. To view the files as thumbnails, click Thumbs in the Tool bar.

You can view photos full-size as well as stream certain types of music and text files. Select the file, then:
- Photo: Click the View button in the toolbar.

- Music: Click the play button in the Details panel.
- TXT files: Click the Edit button in the toolbar.


© LaCie 2024
Last modified : Mar 01, 2013