User Tools
Site Tools
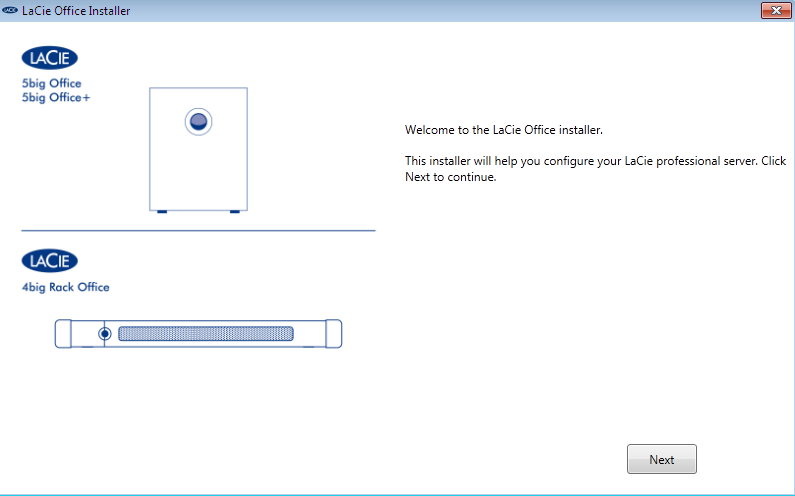
Technical Brief: Getting Started
User Manuals Print page
 Save page as PDF
Table of Contents


Table of Contents
Server Setup
Configure your server from any Windows workstation on the same network as the 4big Rack Office. LaCie recommends using the included DVD since it is tailored specifically for the 4big Rack Office. Please note that you may also run a generic installation by accessing the server via Windows Internet Explorer.
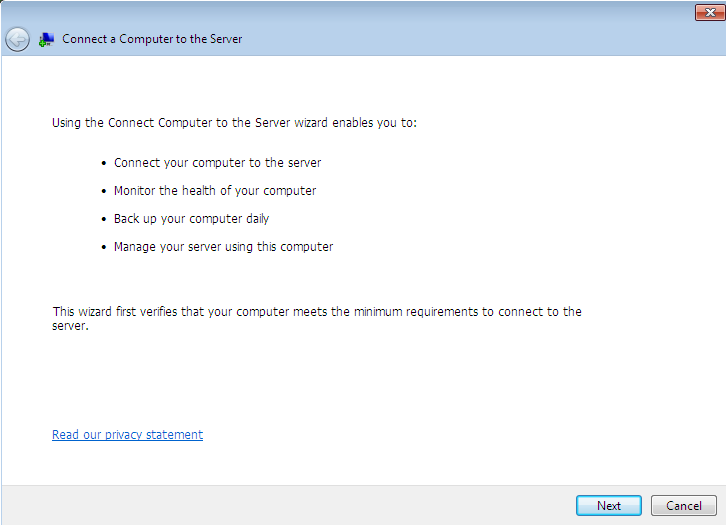
Following the initial server configuration, each Windows workstation can run the Connector (Software: Tools for accessing the server) using Windows Internet Explorer. Once the Connector has completed the installation, users can access the files stored on the server. The Connector will install the Launchpad and Dashboard applications for easy access to shared folders as well as server management tools for the administrator.
DVD Installation - Server and Workstation
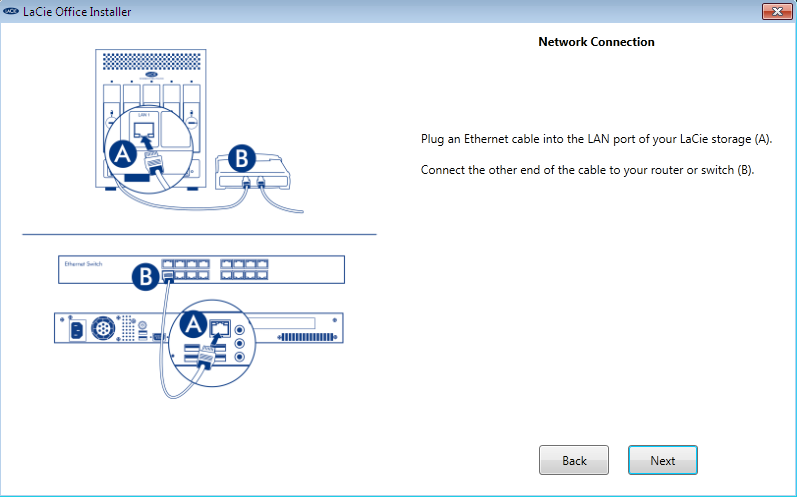
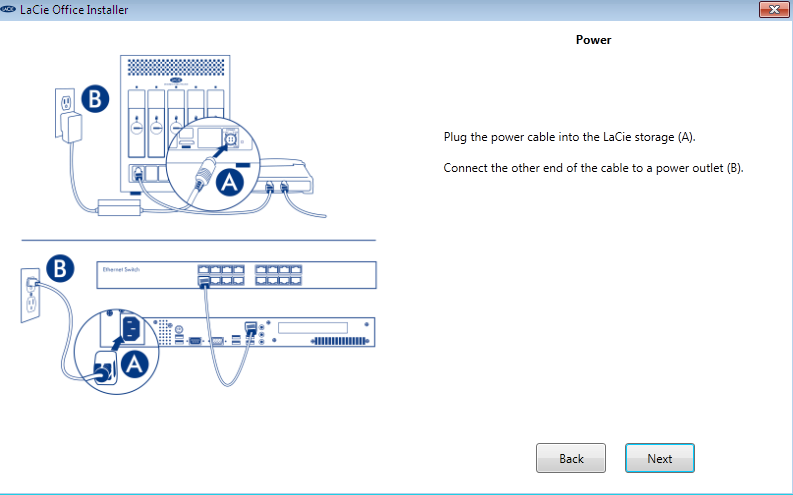
Note: Before configuring your server's settings, please make certain that you have followed the hardware integration procedures found in the 4big Rack Office User Manual.
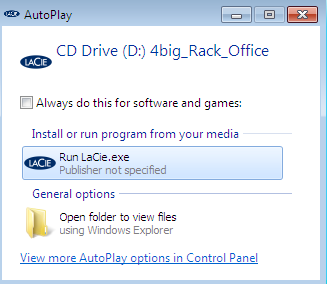
- Insert the DVD into any Windows workstation optical drive on the same network as your 4big Rack Office.
- The AutoPlay prompt will appear. Click on Run LaCie.
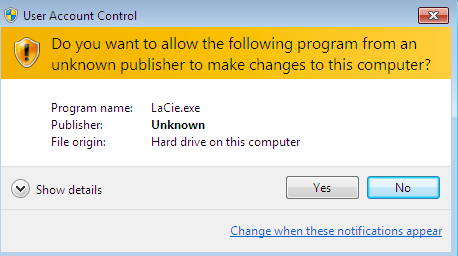
- To continue, click Yes at the prompt.
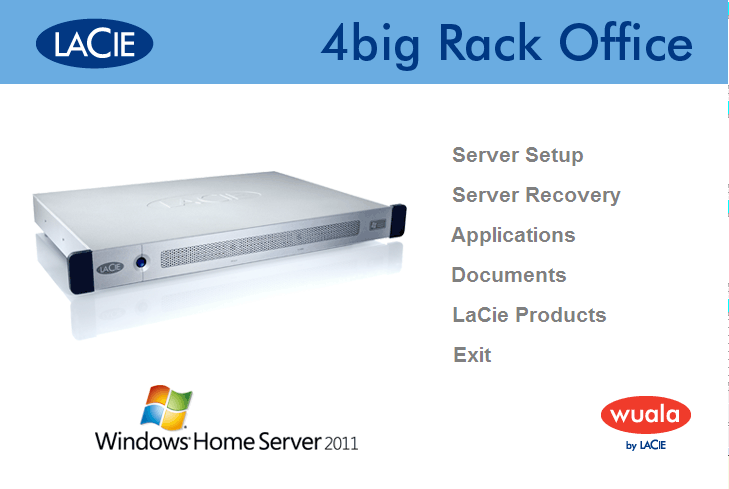
- The selection window offers you six options: Server Setup, Server Recovery, Applications, Documents, LaCie Products, and Exit. To continue with the configuration, click Server Setup.
- Follow the onscreen prompts to confirm that your server is properly connected to the network.
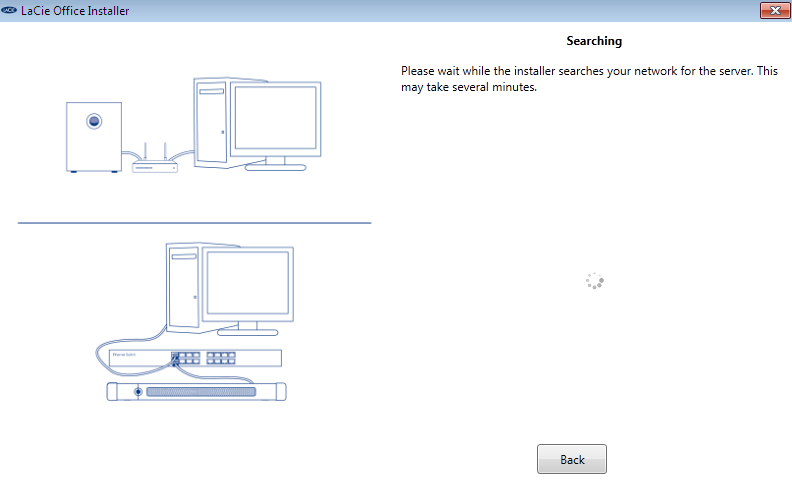
- The setup will search your network for the server.
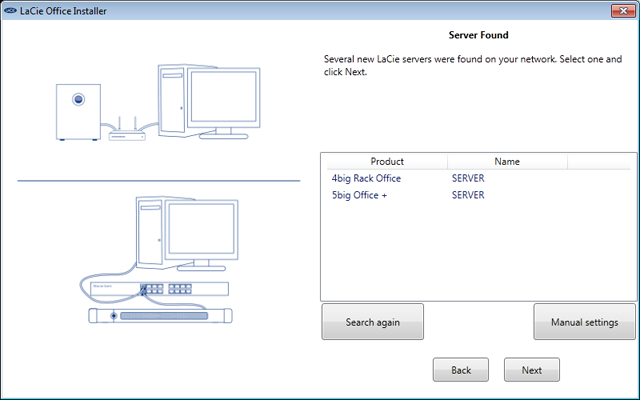
- If you have more than one LaCie professional server on the network, the Server Setup will ask which server you wish to configure. Please select the 4big Rack Office to continue with these instructions. (See Server Not Found below if the Server Setup cannot find your LaCie professional server).
- LaCie recommends against using a proxy server for the Server Setup. Click Next to continue.

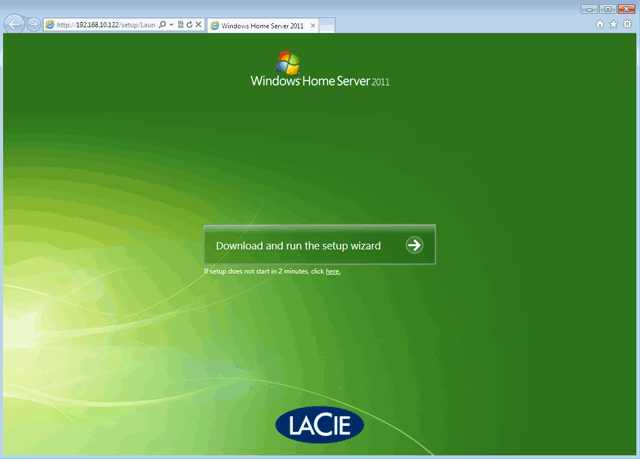
- Click Download and run the setup wizard.
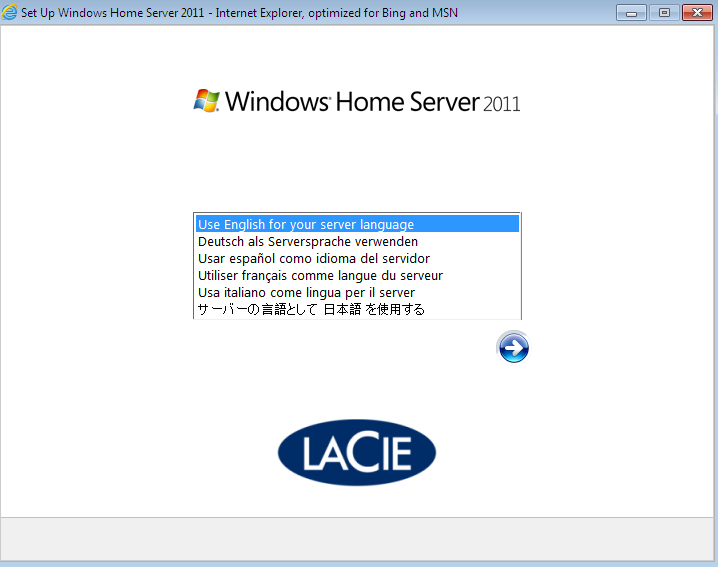
- Choose your preferred language then click on the Arrow.
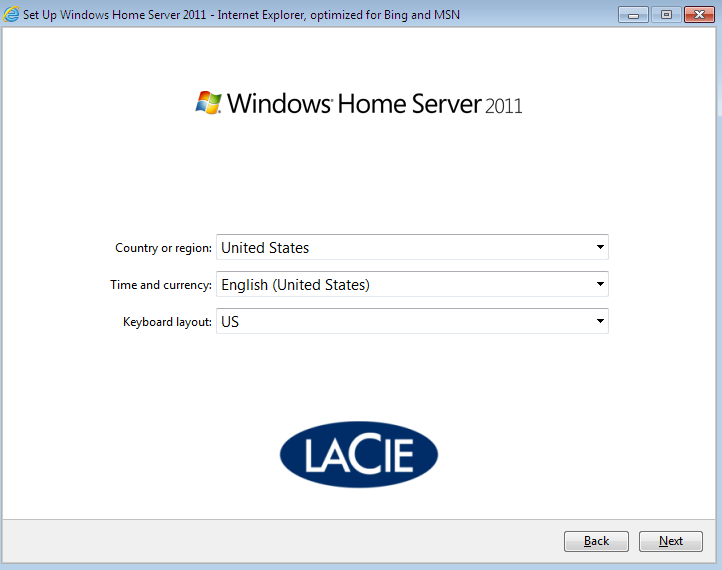
- Use the pulldown menus to select your country, time/currency, and keyboard layout.
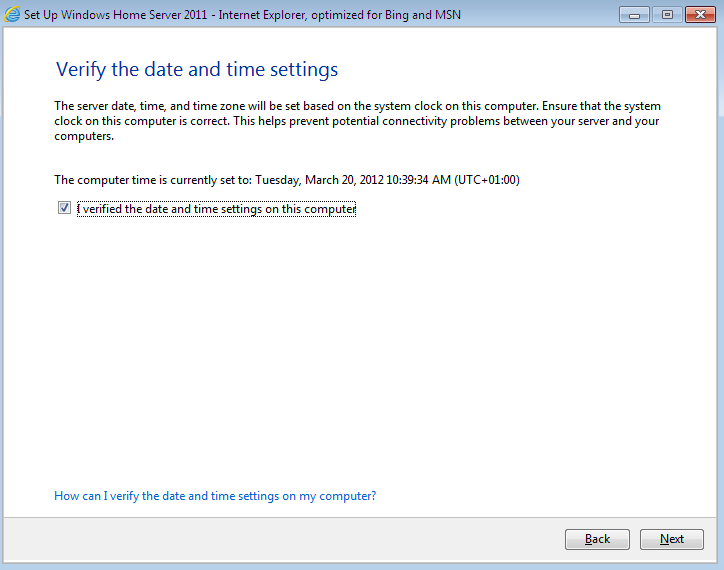
- Confirm your date and time settings before checking the box I verified the date and time settings on this computer. Click Next.
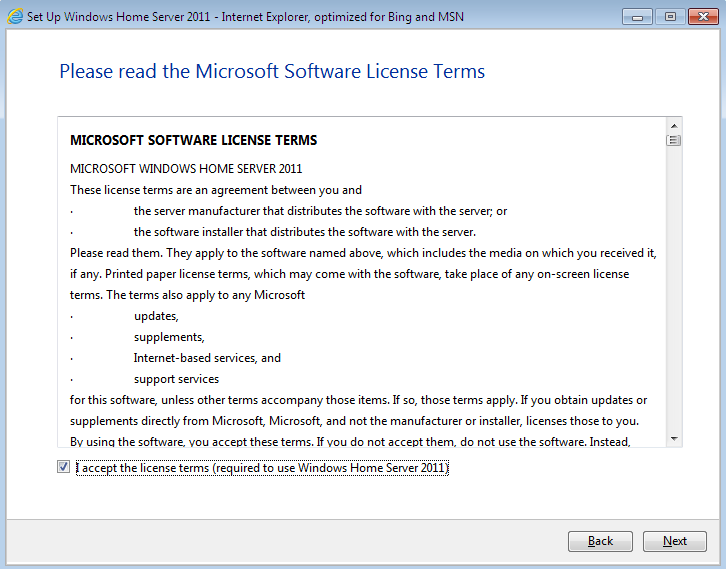
- Please read the Microsoft Software License Terms. Click Next once you have accepted the terms.
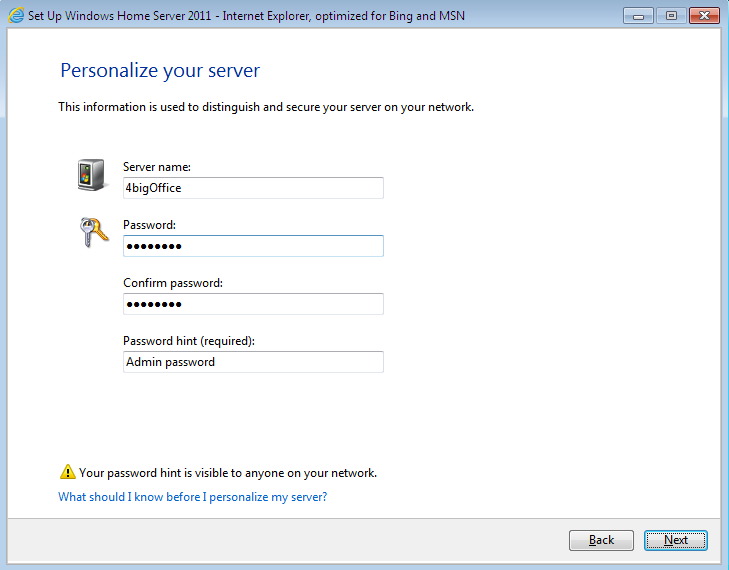
- Create a name and password for your server. The password entered here will be used by the administrator to manage the server. Click Next.
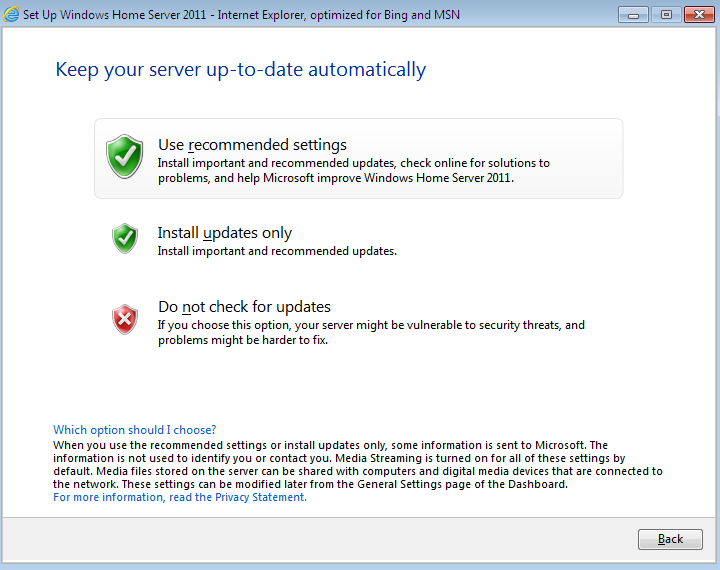
- Click on your preferred choice for software updates to continue. LaCie recommends selecting Use recommended settings to benefit from the latest security and performance improvements as they are available.
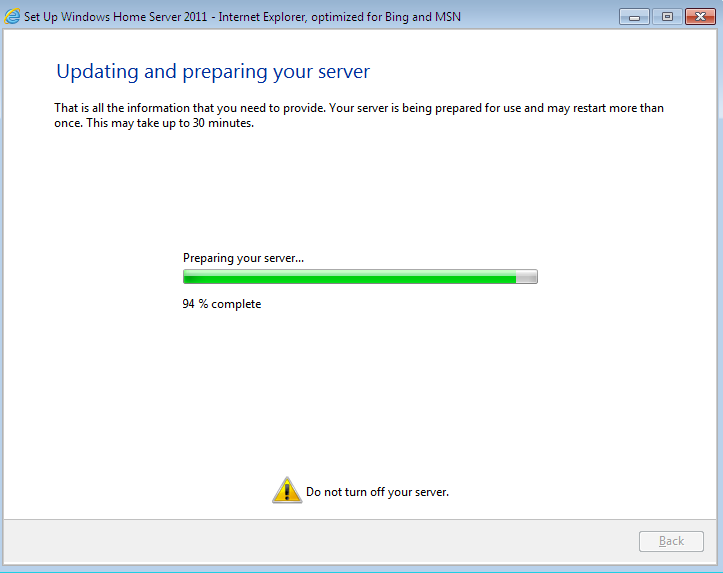
- The setup may take up to 30 minutes to prepare your server for use. Please be patient while the Server Setup installs and copies important files and drivers for the Windows operating system. The server may reboot during this part of the setup. Please make certain that USB storage is not connected to the device as it will cause the server to hang at boot.
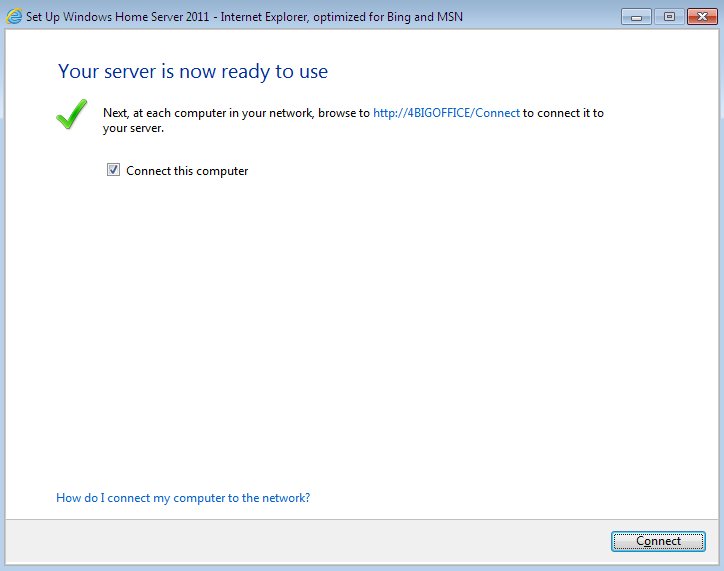
- The initial preparation is complete. To get started with your Windows workstation, click Connect.
- You will be prompted to run the Connector on the Windows workstation you are using. Click on Download software for Windows.
- Before continuing, make certain that your PC is compatible with the 4big Rack Office Connector. The Connector can run on Windows XP, Windows Vista, and Windows 7. If your workstation runs on one of the supported Windows operating systems, click Next.
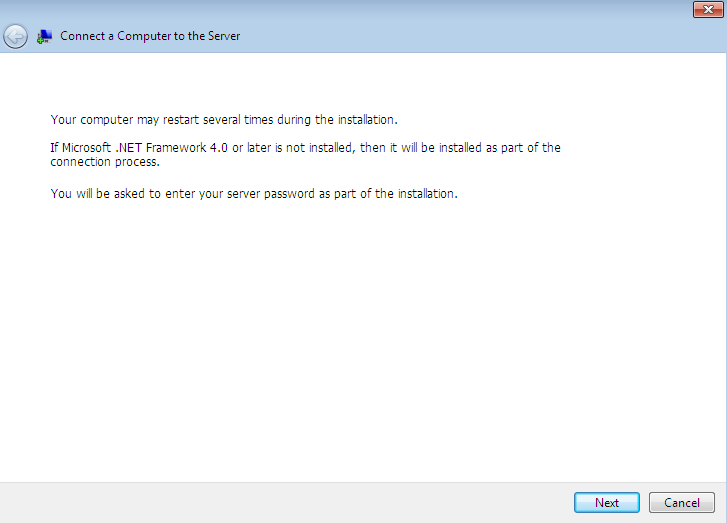
- The Connector may reboot your computer one or more times during the installation. Click Next.
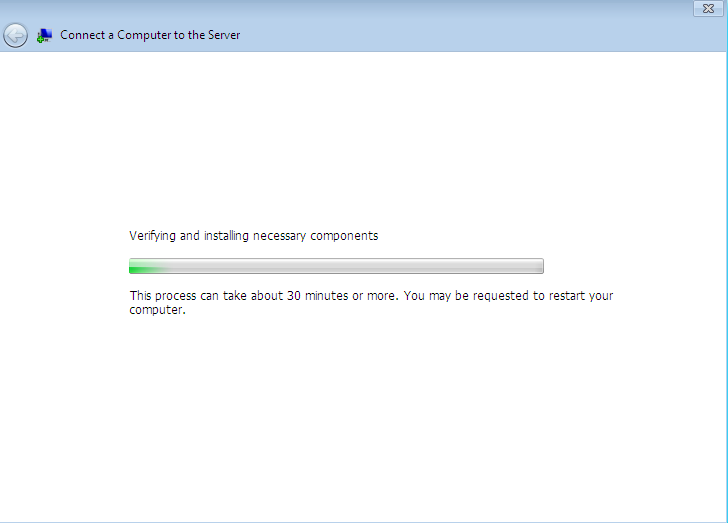
- Please be patient while the Connector installs and copies important files and drivers on your Windows workstation. Once finished, you will have access to Launchpad and Dashboard to communicate with the 4big Rack Office Software: Tools for accessing the server.
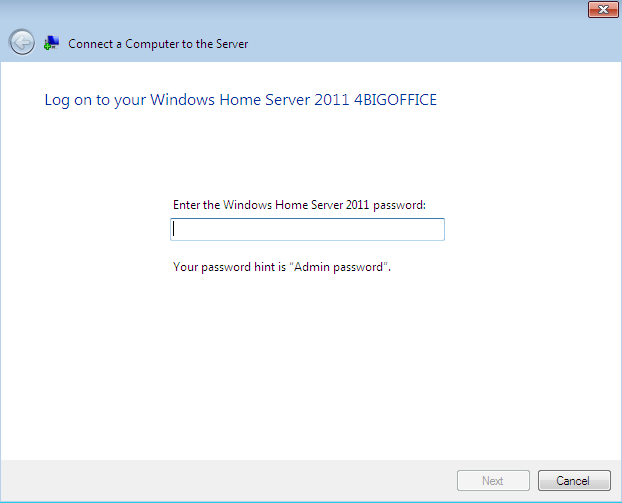
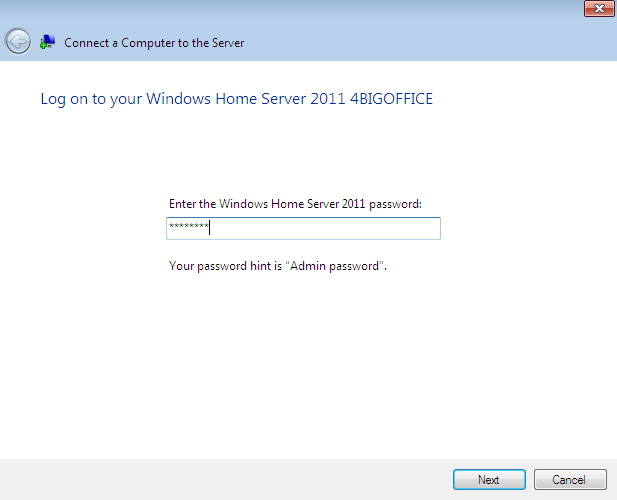
- Enter the administrator password created during the server setup. Click Next.
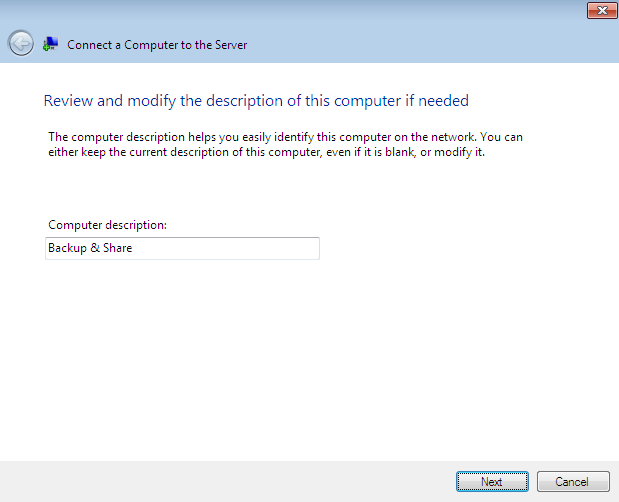
- You may add a description for your computer. A unique description can help you identify each workstation on the network.
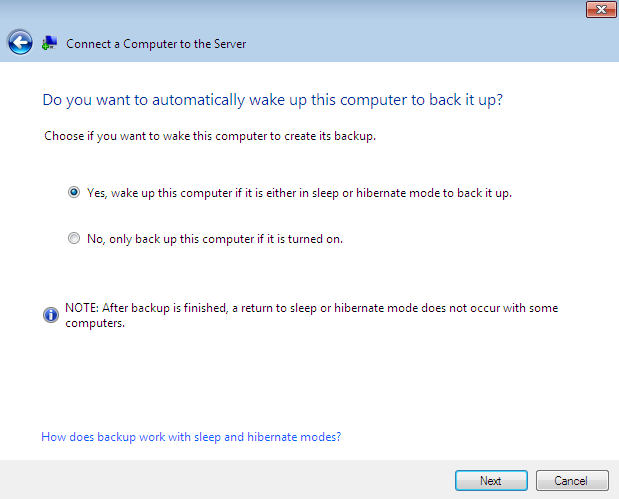
- Select Yes if you would like the server to wake up the Windows workstation for automatic backups. Please make certain that your workstation is configured for WoL (Wake on LAN) if you would like to give the server permission to wake it up.
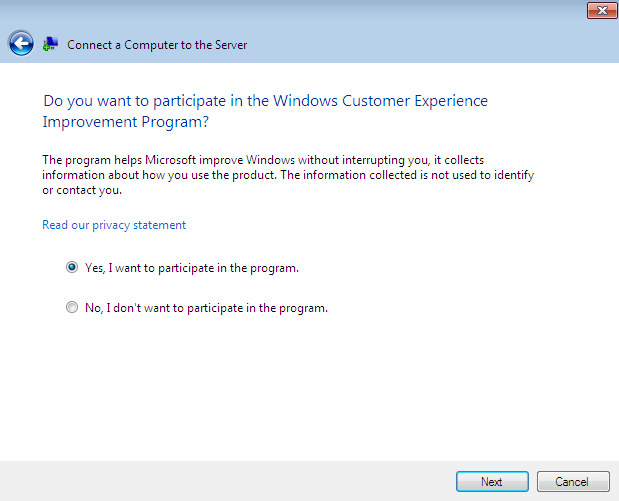
- You can take an active part in improving Windows by joining the Windows Customer Experience Improvement Program. LaCie recommends selecting Yes.
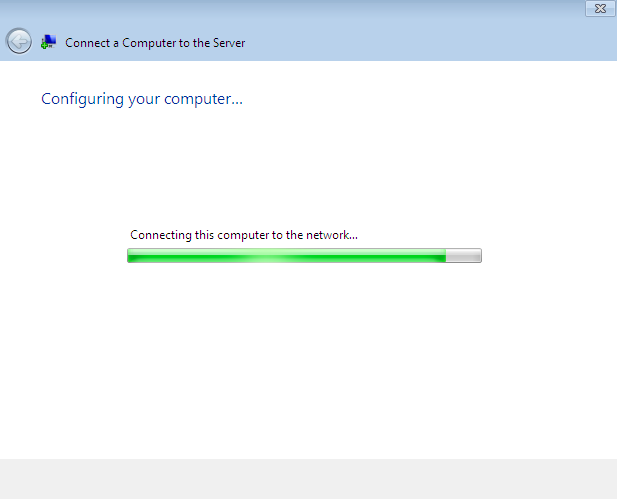
- The Connector will configure your computer settings.
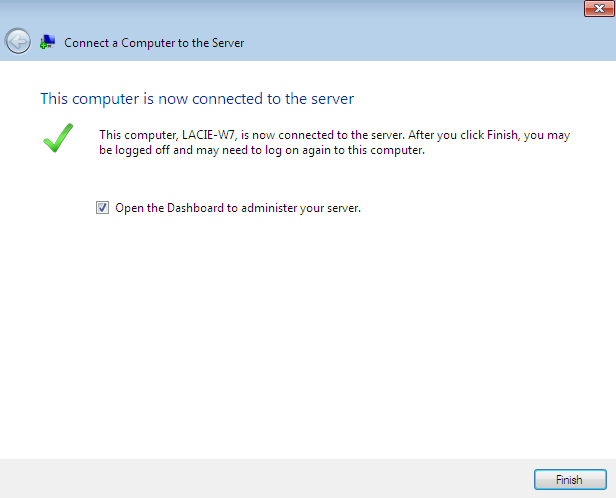
- Click Finish to exit the Connector.
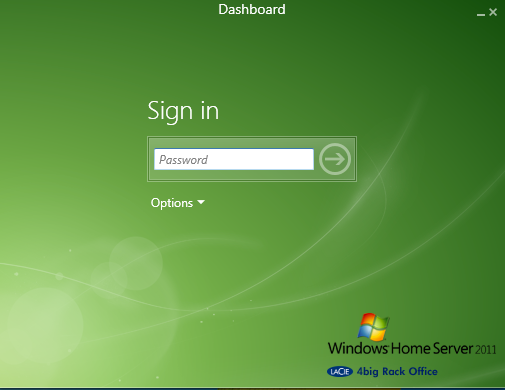
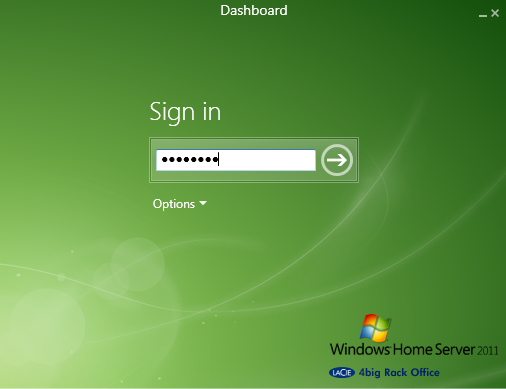
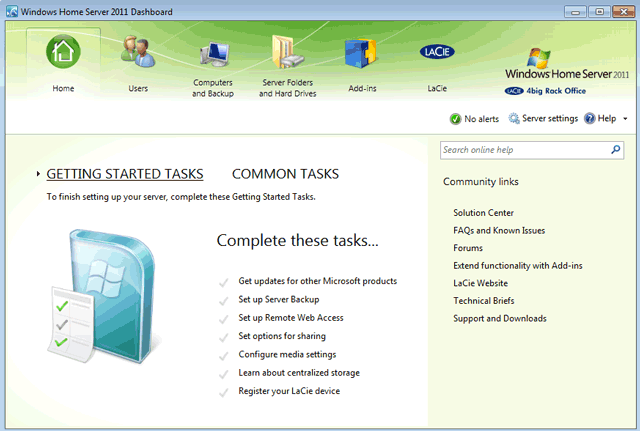
- Enter the server administrator password at the prompt for the Dashboard.
- The Dashboard offers the administrator easy access to management functions such as adding users, creating shares, and accessing Wuala secure online storage.


Server Not Found
If the Server Setup cannot find the LaCie 4big Rack Office, please make certain that:
- The server hardware is properly installed per the instructions in the 4big Rack Office User Manual.
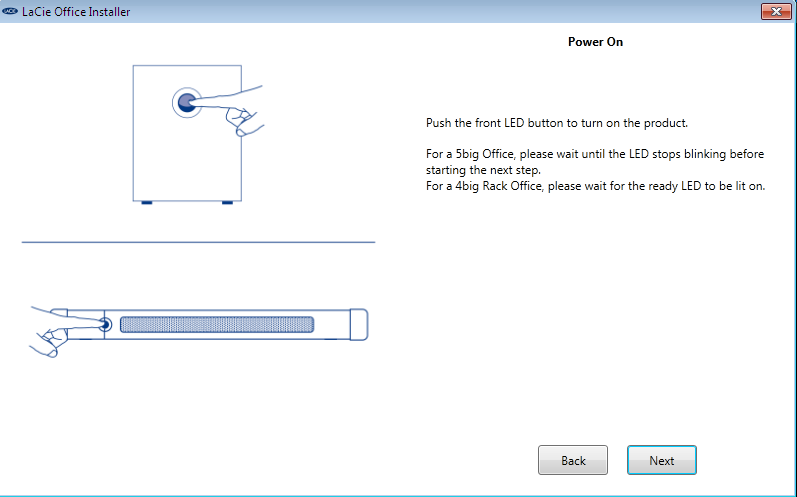
- The server is ready to use. Check to confirm that Ready LED is on.
- The Ethernet cable is securely fastened to the server and to the network.
- The Windows workstation used for the setup is connected to the same network as the 4big Rack Office.
- A USB hard drive is not connected to one of the 4big Rack Office USB ports. This could cause the server to hang during the boot process.
Workstation
Following the server setup you can run the Connector on each Windows workstation on your network. The Connector will provide easy access via Launchpad (user and administrator) and Dashboard (administrator).
Important info: Please complete the Server Setup before running the Connector on Windows workstations on your network.
To run the Connector:
- Launch Internet Explorer.
- In the address bar, please type http://SERVERNAME/connect. SERVERNAME is the name you gave to your LaCie professional server during the server setup. In the screenshot below, the server name is 4bigOffice.

- Click on Download software for Windows to start the Connector. Follow steps 22 - 33 from DVD Installation - Server and Workstation to complete the installation.

© LaCie 2024
Last modified : Mar 01, 2013