User Tools
Site Tools
LaCie Thunderbolt Series
User Manuals Print page
 Save page as PDF
Table of Contents


Table of Contents
Install Drivers (Windows Only)
Supported operating systems:
- Windows 7
- Windows 8
Windows users must install a special driver on their computers in order to use the Thunderbolt connection. Once the driver is installed, users can prepare the disks and RAID for a Windows environment.
Important info regarding RAID and Windows: RAID 0 and RAID 1 are available on the following versions of Windows:
- Windows 7 Professional/Enterprise/Ultimate
- Windows 8 and Windows 8 Pro
RAID cannot be configured using Windows 7 Standard and Home editions.
Important info regarding RAID and double-byte characters: RAID cannot be configured using a computer with double-byte characters in its name. This is often the case when using Chinese, Korean, and Japanese fonts. To configure RAID, use a name that contains only single-byte characters.
To download the installer for the LaCie Thunderbolt driver, please select your product below:
Order of operations: Please follow the order of operations as listed below. You must install the drivers BEFORE connecting the LaCie Thunderbolt device to your Windows computer.
Part 1
- Unzip the installer downloaded from LaCie.
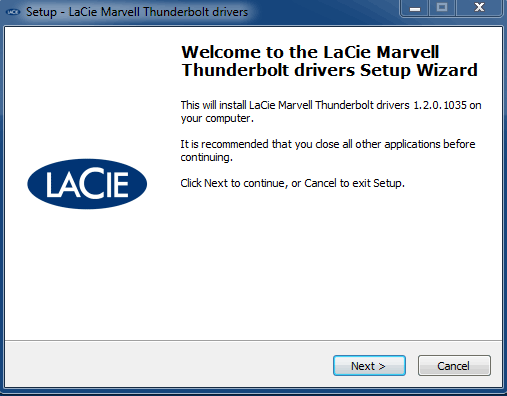
- Double-click the executable file.
- Follow the steps to complete the wizard.
- When prompted, restart your computer.
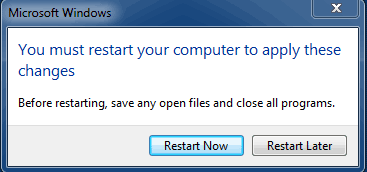
- Move on to Part 2.


Part 2
Since this LaCie product is originally configured in the HFS+ file format (for use on Mac) and RAID 0, all partitions must be erased, including the EFI partition. Windows Disk Management cannot erase the EFI partition so you'll need to run Diskpart, a separate Windows utility. For additional information on Diskpart, please click here.

Important info: The operation below is data destructive. Before continuing, LaCie recommends that you:
- Confirm that your Windows computer is compatible with Thunderbolt technology.
- Back up all files stored on your LaCie Thunderbolt device (if applicable). Please connect your LaCie Thunderbolt device to a Mac with a Thunderbolt port to back up your data.
- Disconnect all external disks from your Windows computer except for the LaCie Thunderbolt device. While Diskpart will not allow you to delete the System disk, selecting another external hard drive connected to your computer will delete all of its files. LaCie is not responsible for lost data.
The steps below are illustrated using a LaCie Little Big Disk, which contains two hard disks.
- Connect the LaCie product to your compatible Windows computer via the Thunderbolt cable. If necessary, turn the device on.
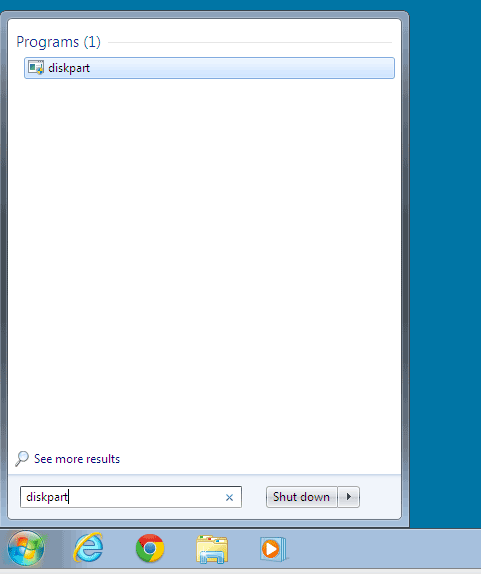
- Click on the Windows Start button.
- Search for and launch Diskpart.
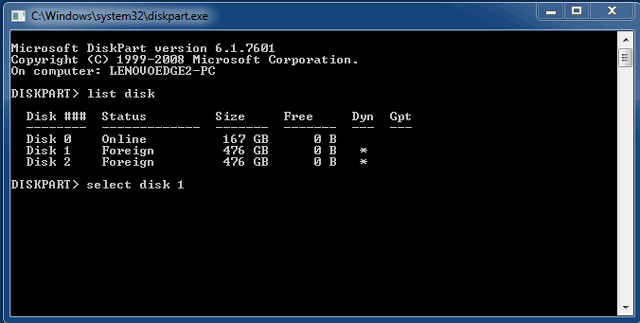
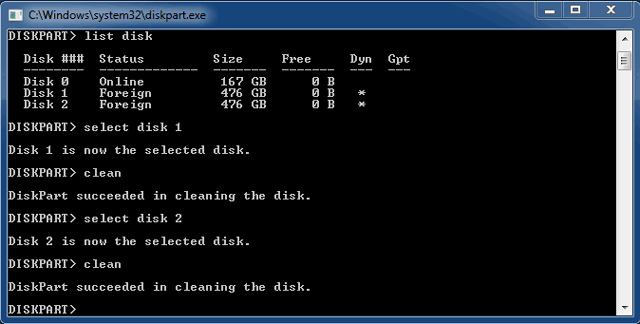
- In the Diskpart prompt, type list disk.
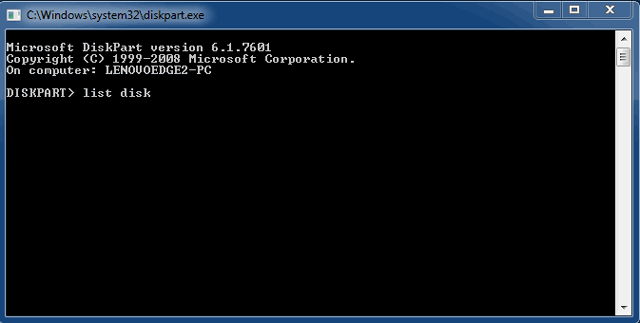
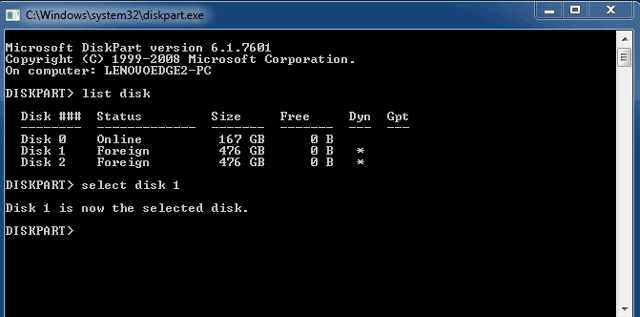
- Since the RAID was configured on a Mac, the LaCie disk partitions appear as Foreign (Disks in non-RAID configurations may appear as Online rather than Foreign). In this example, the first Foreign hard drive is Disk 1. The disk numbers will be different on Windows computers with more than one internal hard drive. Please make certain to locate the disk number(s) for your LaCie device then type select disk n. n is the number for the first LaCie hard drive, 1 in the screenshot below.
- Diskpart will confirm that your hard disk has been selected.
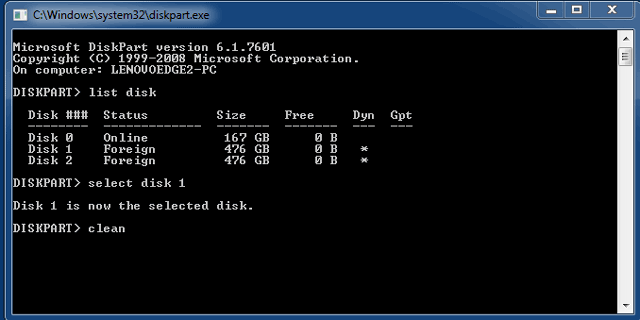
- To delete all paritions on the hard disk, type clean.
- Diskpart will confirm that your hard disk is clean, meaning that the partitions have been deleted.
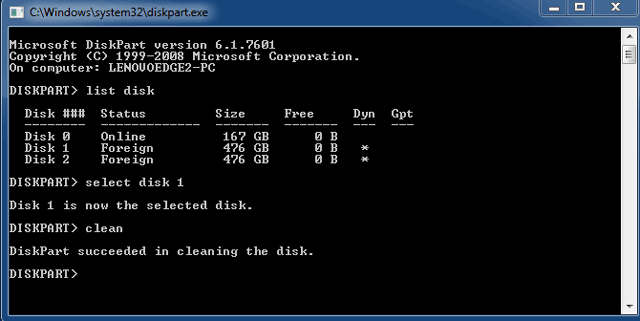
- Repeat steps 5-8 for the remaining hard disks in your LaCie Thunderbolt device.
- Once all the HFS+ partitions have been deleted, close Diskpart then move on to Part 3.


Part 3
If you successfully completed Part 2, then your LaCie Thunderbolt storage currently has no RAID set up. In Part 3, you'll set up a RAID array using Windows Disk Management.
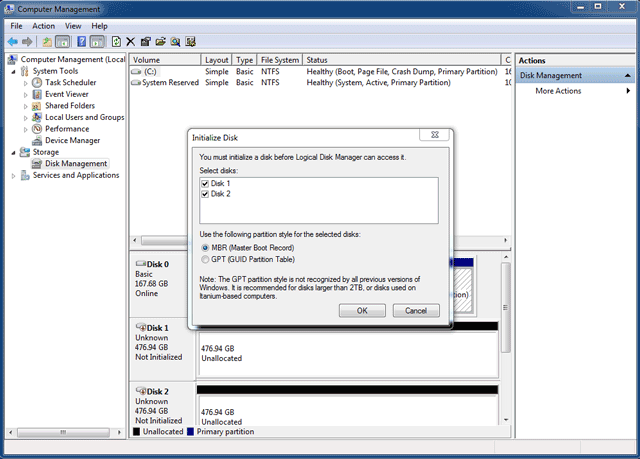
- Right-click on Computer and choose Manage. From the Manage menu, select Disk Management.
- A prompt may ask you to initialize new disks. This is normal following the use of Diskpart. Click OK.
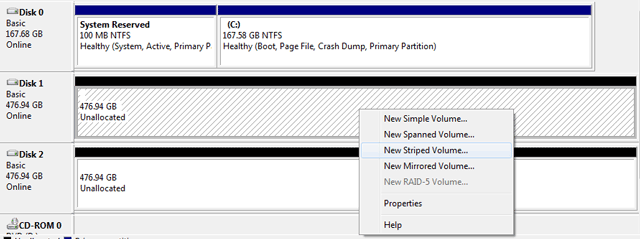
- Each of your LaCie Thunderbolt device's disks will be represented with a row in the lower part of the window. They should be labelled as Unallocated. Right-click on the first disk's row and select New Striped Volume (RAID 0) or New Mirrored Volume (RAID 1).
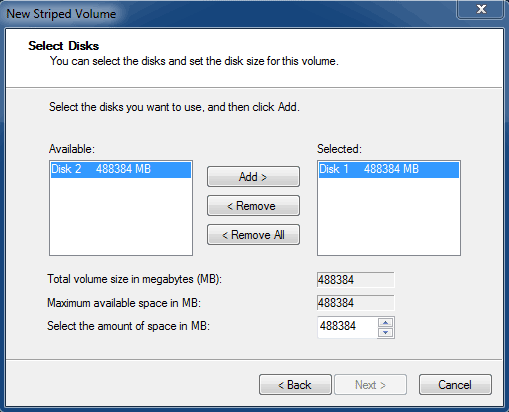
- The New Striped Volume wizard or the New Mirrored Volume wizard will open. Click Next >.
- Select the disk(s) you wish to add to the array and click the Add > button. Click Next > once all disks have been added.
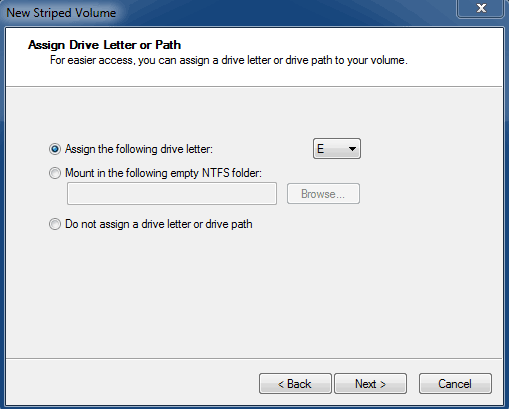
- Assign the volume a drive letter, then click Next >.
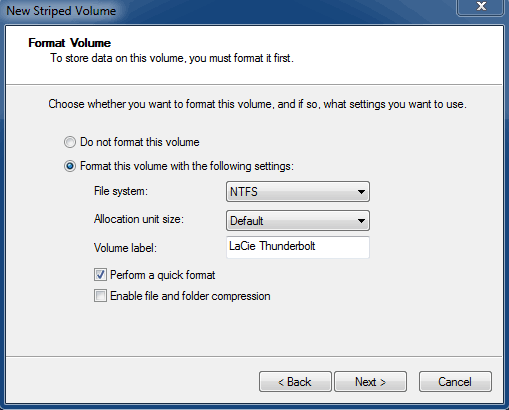
- Name the volume and assign a file system (usually NTFS), then click Next >. To expedite the RAID configuration, keep the box checked next to Perform a quick format.
- Review the summary in the next window then click Finish to format the hard disks.
- A prompt will ask you to confirm the conversion of the disks from basic to dynamic. Click Yes to continue.
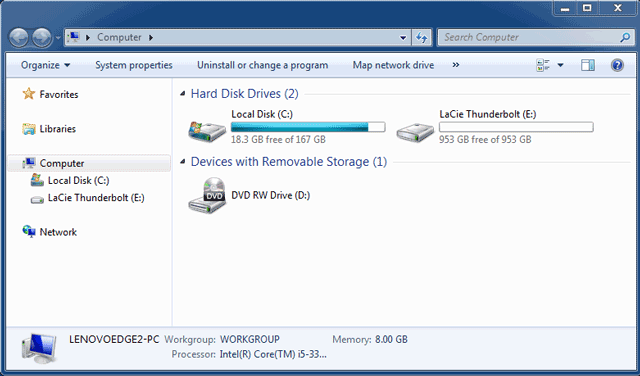
- The volume will mount on your computer. If you created a mirrored (RAID 1) volume, it will take some time for the OS to sync the drives. However, the volume is immediately accessible.


* Thunderbolt and the Thunderbolt logo are trademarks of Intel Corporation in the U.S. and/or other countries.
© LaCie 2024
Last modified : Apr 25, 2013