User Tools
Site Tools
4big Rack Office
User Manuals Print page
 Save page as PDF
Table of Contents


Table of Contents
Setting Up
Step 1 - Installation
Desktop Installation
If you do not want to install the LaCie 4big Rack Office into a rack, you can place it on a tabletop. Protective rubber feet on the bottom of the chassis prevent desktop scratching and provide airflow. In addition, removable rubber sleeves included to cover the rack connectors when the chassis is not installed in a rack.

Important Info: The LaCie 4big Rack has been designed to support a maximum of 25kg when used in a desktop configuration.
Rack Installation
The LaCie 4big Rack Office fits easily into standard 19” computer equipment rack.
- Remove the rubber sleeves from the rack connectors.
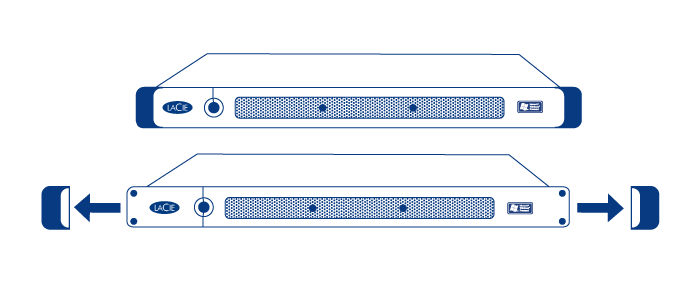
- Carefully slide the LaCie 4big Rack Office into a shelf space in the cabinet. Use your cabinet's screws to secure the device in place.
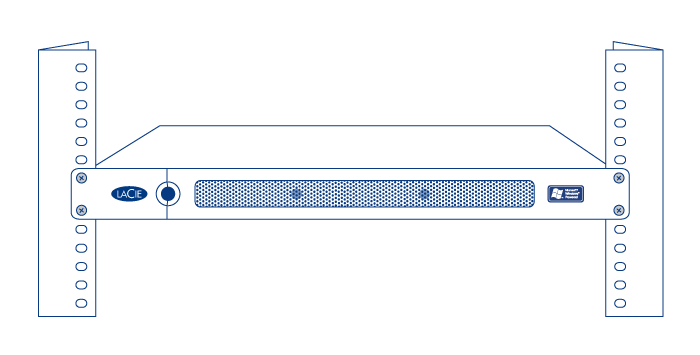


Important Info: Please refer to your equipment cabinet’s documentation for specific details about device weight and installation instructions.
Caution: Once you have mounted the LaCie 4big Rack Office, do not set heavy objects on top of the unit.
Step 2 - Network Connection
The LaCie 4big Rack Office is compatible with either 10BaseT, 100BaseTX, and Gigabit Ethernet..

- Connect the included AC power cord to your LaCie 4big Rack Office, and then plug the other end to an AC wall outlet.
- Connect the included Ethernet cable to the rear of the 4big and to a router/switch.
Step 3 - Power On
Press the power button on the front of the product (1) and wait for the LaCie 4big Rack Office to start up.

Once the Ready light (2) is on and stays lit, the LaCie 4big Rack Office will be ready to use.
© LaCie 2024
Last modified : Mar 01, 2013