User Tools
Site Tools
Table of Contents
Setting Up - Mac
The LaCie 5big Thunderbolt 2 is shipped with the following installation components:
- LaCie 5big Thunderbolt 2
- Power supply cable
- Thunderbolt cable
The instructions below are also available on the Quick Install Guide included with the LaCie 5big.
Step 1 - Download and install LaCie RAID Manager
LaCie RAID Manager is the software utility that manages the LaCie 5big’s storage. Before connecting the enclosure to your computer, download the installer for LaCie RAID Manager. The installer will load the software utility and the driver to recognize the storage.
- Download the installer at http://www.lacie.com/support/raid/5big-thunderbolt-2/.
- Launch the installer on the computer that will connect to the LaCie 5big.
- Follow the on-screen instructions to complete the installation.
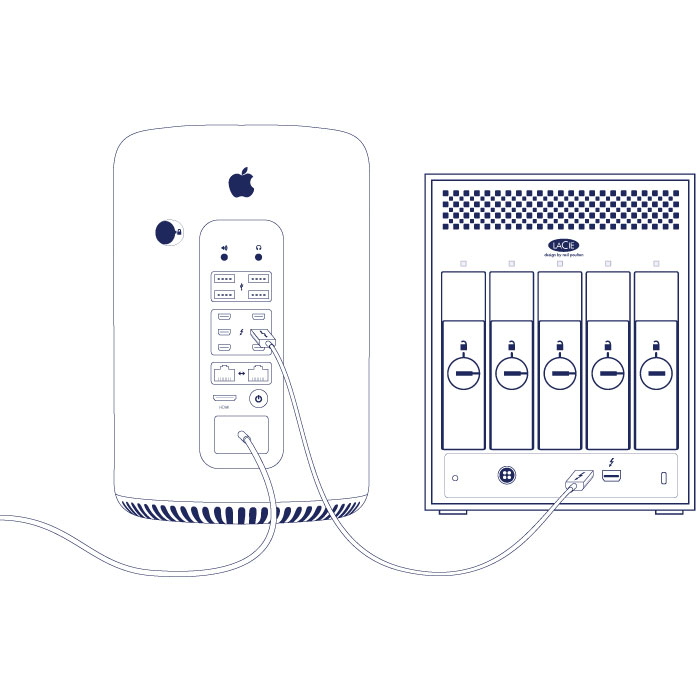
Step 2 - Thunderbolt 2 connection
Connect the included Thunderbolt cable to:
- The LaCie 5big
- The computer
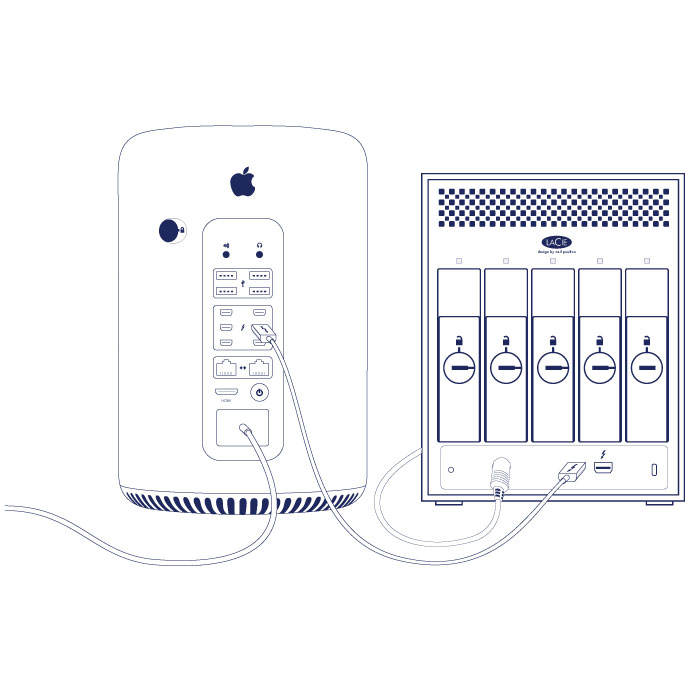
Step 3 - Power connection
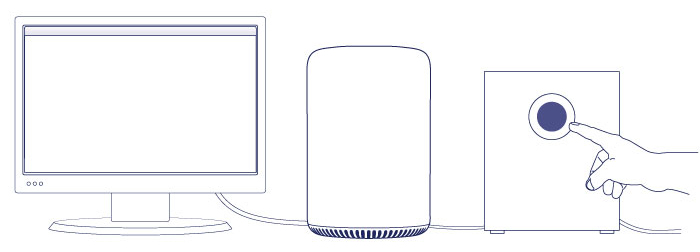
Step 4 - Power button
Apply a short press to the front LED button to power on the LaCie 5big.
LaCie 5big storage
The LaCie 5big storage is ready for use. It is:
- Formatted HFS+ for Mac
- Configured as RAID 5 (see RAID).
You can manage and configure the LaCie 5big storage using LaCie RAID Manager. See the LaCie RAID Manager User Manual for instructions.

 Print page
 Save page as PDF


