User Tools
Site Tools
2big NAS | 5big NAS Pro
User Manuals Print page
 Save page as PDF
Table of Contents


Table of Contents
Media (UPnP/DLNA) Servers
You can configure your LaCie NAS to share files (read-only) with UPnP/DLNA devices connected to the same network. Follow these steps:
- Make sure your LaCie NAS is connected to your network as described in Connect to the Network.
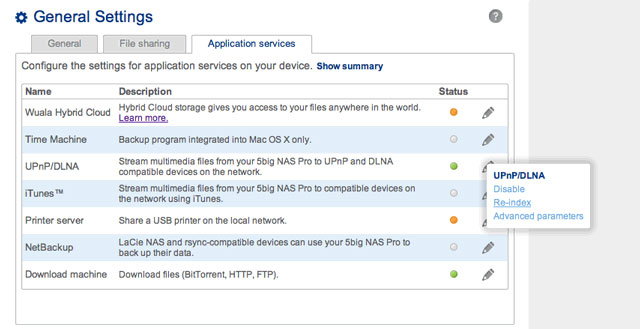
- Enable the UPnP/DLNA service from the Dashboard > General Settings > Application Services tab (see General Settings).
- Now you will be able to play files located on your NAS's share onto any other UPnP/DLNA-certified player/adapter that is connected to your network (e.g. Xbox 360, PlayStation 3, mobile devices that support DLNA, etc.).
Reindex the Media Server
To take an inventory of available multimedia files, you can Reindex your LaCie NAS and all connected desktop-attached storage (DAS).
- If applicable, make certain that your DAS are connected to your LaCie NAS.
- Confirm that UPnP/DLNA is enabled at Dashboard > General Settings > Application services (see General Settings).
- Select the configuration icon (pencil) to the far right of the UPnP/DLNA row and choose Reindex.

Start a Reindex as described above if files seem missing on your multimedia share(s) or connected devices.
The time for indexing to complete depends upon the total capacity of your storage and the size of your multimedia library. If you have created many shares on your NAS, reindexing can tax the CPU's resources. Before starting the Reindex, consider shutting off multimedia support for shares that do not store media files. See General Settings and Shares for further information on how to manage services.
iTunes
Your LaCie NAS can act as an iTunes Music server. Simply copy your iTunes library to a share on your LaCie NAS and audio files will be available to compatible devices on the network. For easy access on the entire network, use a share with public access. To limit access to an iTunes library, use a private share with LaCie Network Assistant's Authentication (see Authenticate Private Shares).
To turn on network sharing, follow the steps below for your version of iTunes.
iTunes 11
- Make sure your LaCie NAS is connected to your network as described in Connect to the Network.
- Enable the iTunes service from Dashboard > General Settings > Application Services (see General Settings).
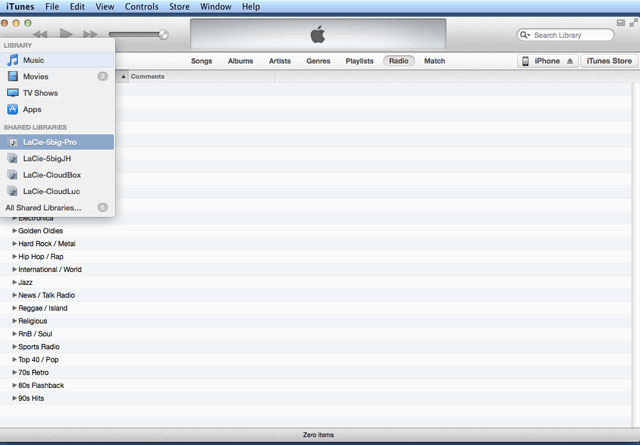
- To review the iTunes library on the LaCie NAS, launch iTunes on the computer and select the pulldown menu on the left.

Technical note: The iTunes Server Service supports the following file types: .mp3, .wav, .aac, .pls, and .m3u.
Computers with access rights to the iTunes library share can play its audio files. However, sharing must enabled in the iTunes application for iOS devices. See the steps below:
- Mount the share with the iTunes library
- Launch iTunes
- Enable sharing in iTunes Preferences
The audio files should be available on the iOS device in Shared.
Windows Media Player
Once configured, Windows Media Player (WMP) can play files located on the LaCie NAS through the network connection. Follow these steps:
- Make sure your LaCie NAS is connected to your network as described in Connect to the Network.
- Enable the UPnP/DLNA service from Dashboard > General Settings > Application Services (see General Settings).
- In WMP, choose Organize > Manage Libraries > Music (or Video or Pictures).
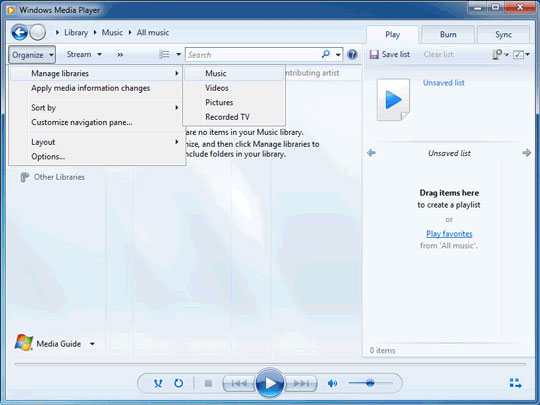
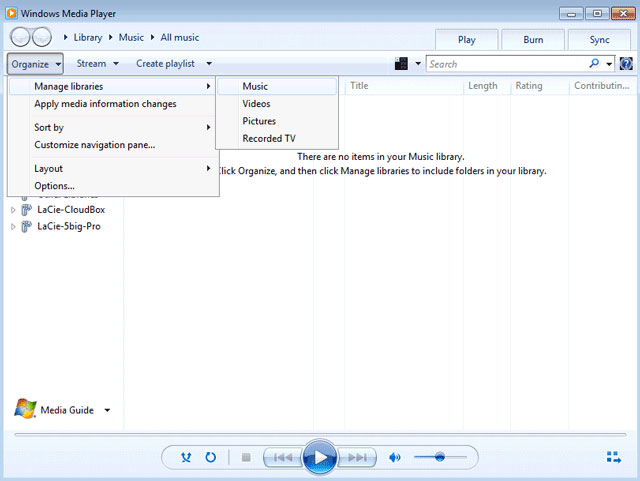
- In the dialogue window, choose Add, select your LaCie NAS's machine name under the Network section, and click Include Folder.
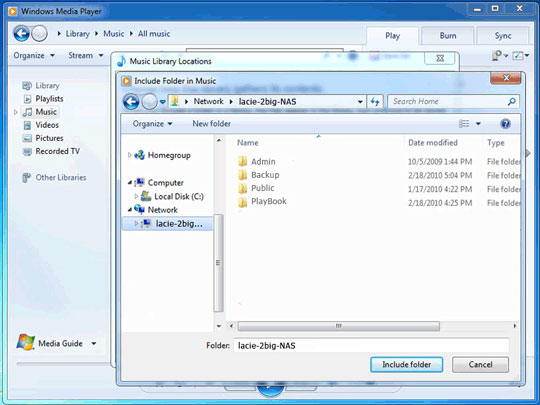
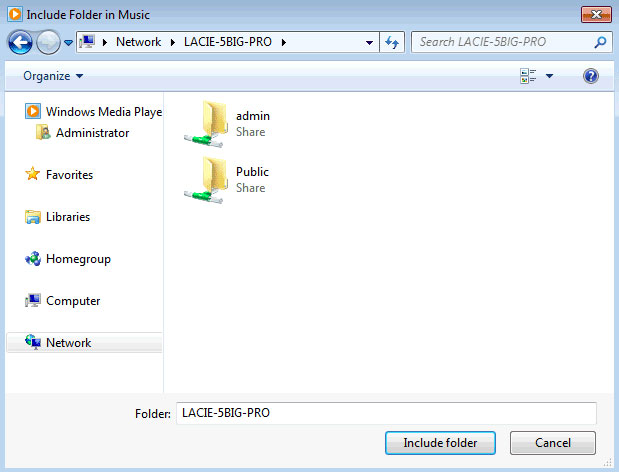
- WMP will begin indexing the media files. Once completed, they will appear in the WMP library.


© LaCie 2024
Last modified : Mar 14, 2014