User Tools
Site Tools
2big NAS | 5big NAS Pro
User Manuals Print page
 Save page as PDF
Table of Contents


Table of Contents
LaCie NAS Rescue: 5big NAS Pro
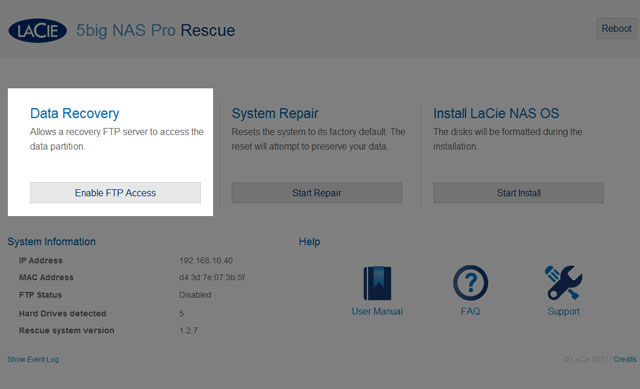
The LaCie NAS Rescue can help you troubleshoot potential technical problems. The Rescue includes three recovery options:
- Data Recovery: Enable FTP Access to the data on your LaCie 5big NAS Pro. Once enabled, you can use FTP client software or a web browser to back up the data stored on your LaCie 5big NAS Pro.
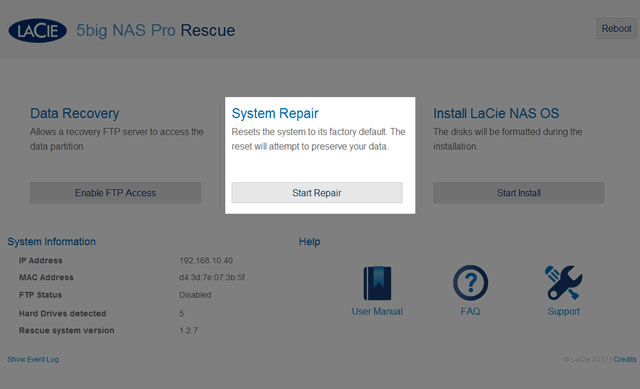
- System Repair: The Rescue will reset your LaCie 5big NAS Pro to its factory default while attempting to preserve the shares and data. LaCie cannot guarantee that all your data will be saved. Factory default includes the reversion of all Dashboard parameters (e.g. Users, General Settings, Network, etc.) to their original states.
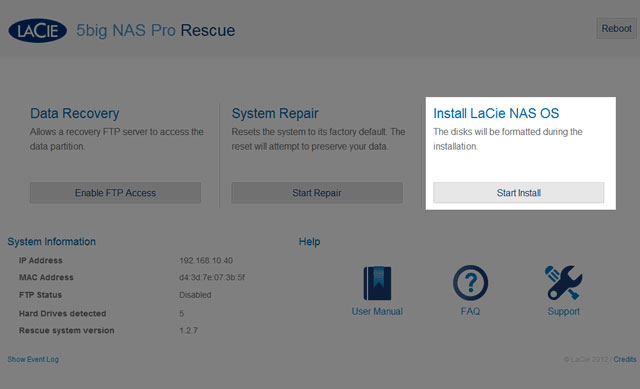
- Install LaCie NAS OS: The Rescue will format the LaCie 5big NAS Pro hard drives before reinstalling LaCie NAS OS. Since all data will be deleted during the format, LaCie highly recommends that you back up your files before selecting this option.


Prepare for the Rescue
The LaCie NAS Rescue will prompt you to enter:
- The LaCie 5big NAS Pro's IP address or network name
- The LaCie 5big NAS Pro's MAC address (Your LaCie 5big NAS Pro has two MAC addresses, one for each LAN port. You may use either MAC address for the Rescue.)
To find the addresses:
- Check the sticker located on the bottom of your LaCie 5big NAS Pro enclosure for the MAC address.
- Launching LaCie Network Assistant to review MAC and IP address information (see LaCie Network Assistant).
- Connect a VGA monitor to the NAS's VGA port.


Rescue Steps


© LaCie 2024
Last modified : Feb 18, 2016