User Tools
Site Tools
2big NAS | 5big NAS Pro
User Manuals Print page
 Save page as PDF
Table of Contents


Table of Contents
Storage

The information below identifies and explains the functions on the Storage page. For directions on how to configure RAID for your LaCie NAS, select product below:
Manual note: Certain features and functions listed below apply only to the LaCie 5big NAS Pro, such as LaCie SimplyRAID, RAID 5, RAID 6, spare disks, and double-disk security.
LaCie NAS Volume and RAID Management
Your LaCie NAS can have up to five volumes, each with its own level of RAID.
Enhanced data protection: LaCie SimplyRAID
No matter the capacity of your disks, LaCie SimplyRAID will prepare the storage for immediate use as well as future expansion. LaCie SimplyRAID allows you to:
- Install disks of varying capacities (1TB, 2TB, and 3TB)
- Replace smaller capacity disks with larger capacity disks
- Upgrade storage capacity without deleting or moving data
- Protect data without compromising performance
When using disks of varying capacities, LaCie SimplyRAID will attempt to optimize available storage for your data.
Standard disk configuration: Manual RAID
While the benefits of LaCie SimplyRAID are highly recommended, the Storage page also gives you the option to manually configure your hard disks as:
- JBOD
- RAID 0 (minimum two disks)
- RAID 1 (minimum two disks for data protection)
- RAID 5 (minimum three disks)
- RAID 5 plus spare (minimum four disks)
- RAID 6 (minimum four disks)
- RAID 6 plus spare (minimum five disks)
Review and revise the storage settings

The initial view for the Storage page displays the volume(s) and current RAID scheme(s) for your LaCie NAS. Use this page to add, manage, and configure the NAS storage.
Select a volume

Choose a volume within the left-hand column. The selected volume will appear in white while the other volumes are grey.
Volume tools

Tools to manage the selected volume are available in the center of the Storage page.


Drive
The dynamic photo of the LaCie NAS backplate highlights:
- The disks associated with the volume selected on the left-hand column.
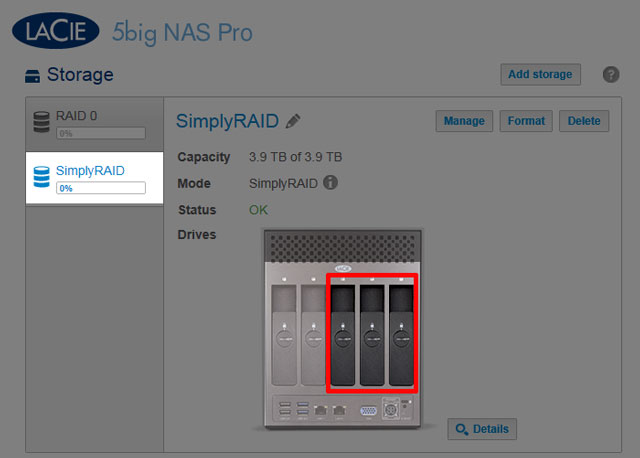

Disks in the volume
- New disks available for a new or existing volume.
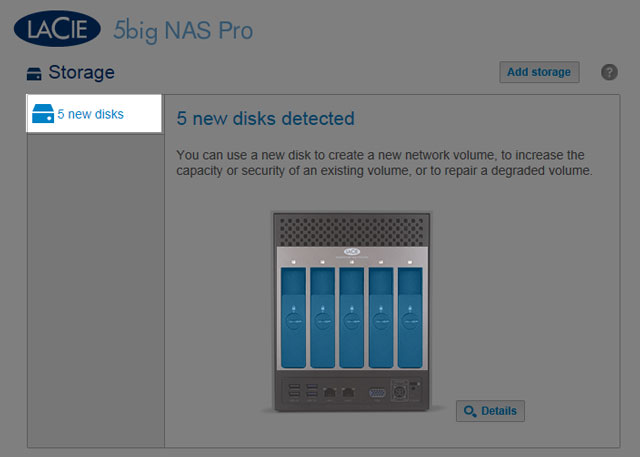
New disks
- Empty slots available for expansion.
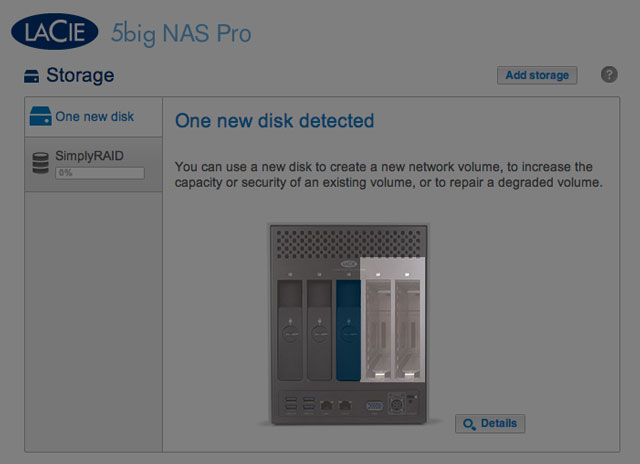
Empty slots
- Failed or missing disks.
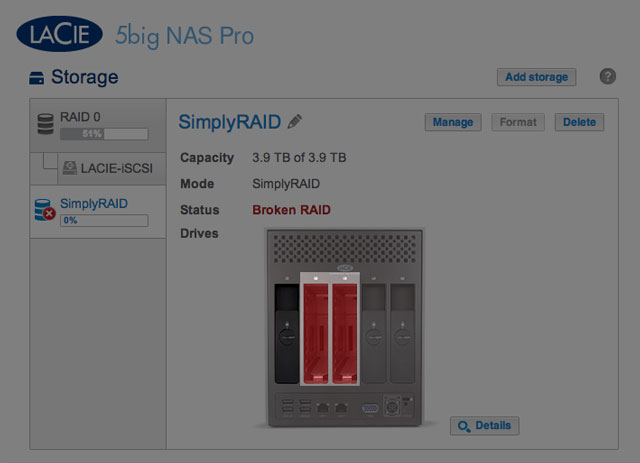
Missing disks


Storage capacity and distribution
Factors that determine the storage capacities for data, protection, and expansion:
- The amount of disks in the enclosure
- The storage capacity of each disk (see note below on mixed capacities)
- RAID mode
- Single-disk or double-disk security
Examples:
- RAID 0 configuration with five disks. The only color is dark blue for data capacity since RAID 0 has no protection.
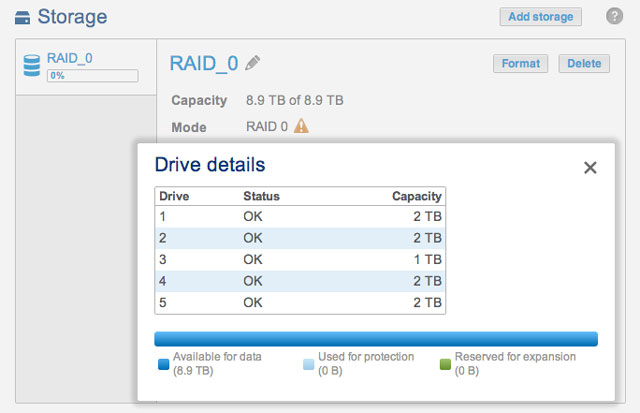
RAID 0: Five disks
- LaCie SimplyRAID configuration with two disks.. Dark and light blue for data and protection, respectively. Both disks are the same capacity.
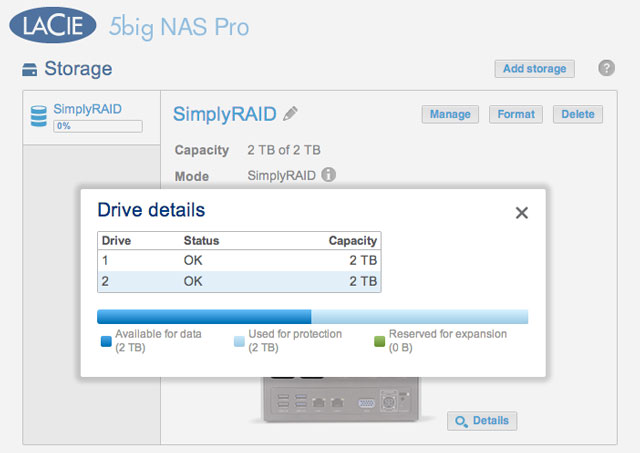
SimplyRAID: Five disks
- RAID 6 configuration with five disks. All colors are represented since the RAID 6 uses double-disk security and the disks are of mixed capacities.
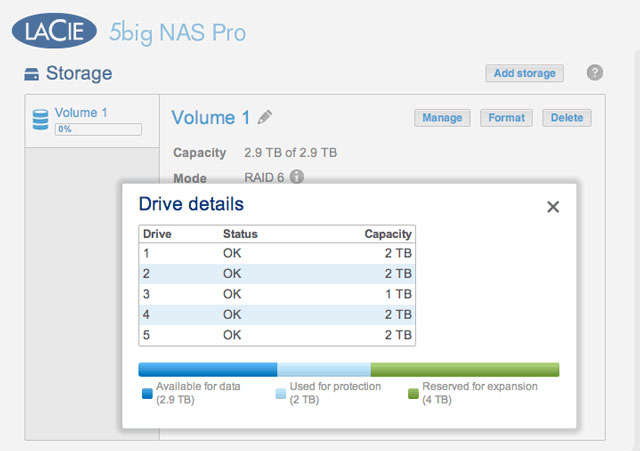
RAID 6: Five disks


© LaCie 2024
Last modified : Mar 14, 2014